INITIAL SETUP
to enjoy the sound mix created by your favorite movie and music artists.
BXR: Enhances bass performance when playing MP3 tracks. Select ON, or leave at the default OFF setting for
Tone: Determines whether the treble and bass controls are active. When it’s off, the tone controls are “flat”, with no changes. When it’s on, the bass and treble frequencies are boosted or cut, depending upon the
Bass and Treble: Boost or cut the low or high frequencies by up to 10dB by using the 7/3 Buttons to change the setting by 2dB at a time.
6-/8-Channel Inputs
The
HDMI-Equipped Multichannel Disc Player:
•Connect the player’s HDMI output to one of the AVR’s HDMI Inputs. No other connections are necessary.
•Make sure the HDMI input is selected as the audio input in the Input Setup menu.
•Connect the player’s HDMI output and its multichannel analog audio outputs to one of the AVR’s HDMI Inputs and to the AVR’s
•When listening to
•To listen to
Multichannel Disc Player Without HDMI Output, or When Video Display Has No HDMI Input:
•Connect the player’s component video outputs to one set of Component Video Inputs on the AVR. Depending on the capabilities of the player and your video display, you may need to use the DVD composite video connection instead.
•Connect the player’s digital audio output to a digital audio input on the AVR.
•Connect the player’s multichannel audio outputs to the AVR’s
•When listening to
selected as the audio input in the Input Setup menu. If a component video connection was made, select the correct input at the COM- PONENT IN line of the Input Setup menu. If the DVD Video input was used, it will automatically be selected.
•To listen to
NOTE: The
System Settings
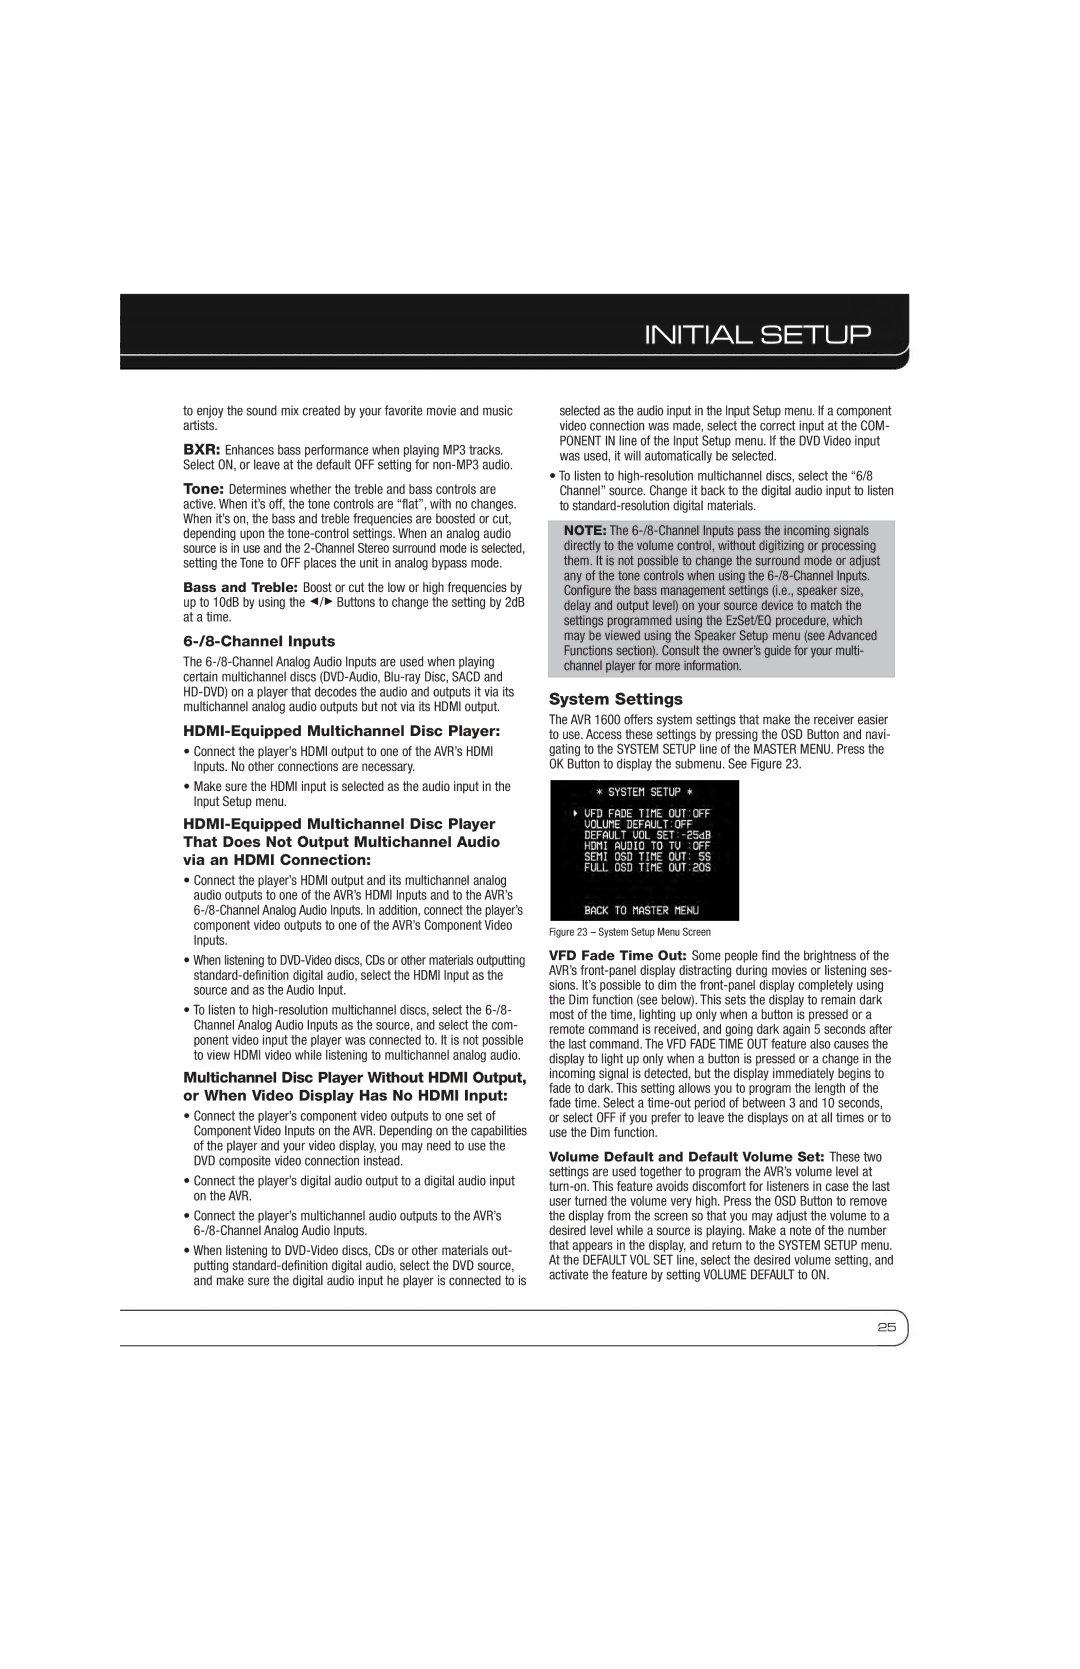
The AVR 1600 offers system settings that make the receiver easier to use. Access these settings by pressing the OSD Button and navi- gating to the SYSTEM SETUP line of the MASTER MENU. Press the OK Button to display the submenu. See Figure 23.
Figure 23 – System Setup Menu Screen
VFD Fade Time Out: Some people find the brightness of the AVR’s front-panel display distracting during movies or listening ses- sions. It’s possible to dim the front-panel display completely using the Dim function (see below). This sets the display to remain dark most of the time, lighting up only when a button is pressed or a remote command is received, and going dark again 5 seconds after the last command. The VFD FADE TIME OUT feature also causes the display to light up only when a button is pressed or a change in the incoming signal is detected, but the display immediately begins to fade to dark. This setting allows you to program the length of the fade time. Select a time-out period of between 3 and 10 seconds, or select OFF if you prefer to leave the displays on at all times or to use the Dim function.
Volume Default and Default Volume Set: These two settings are used together to program the AVR’s volume level at
25
