BASIC OPERATION (continued)
Easy Preset
ENGLISH
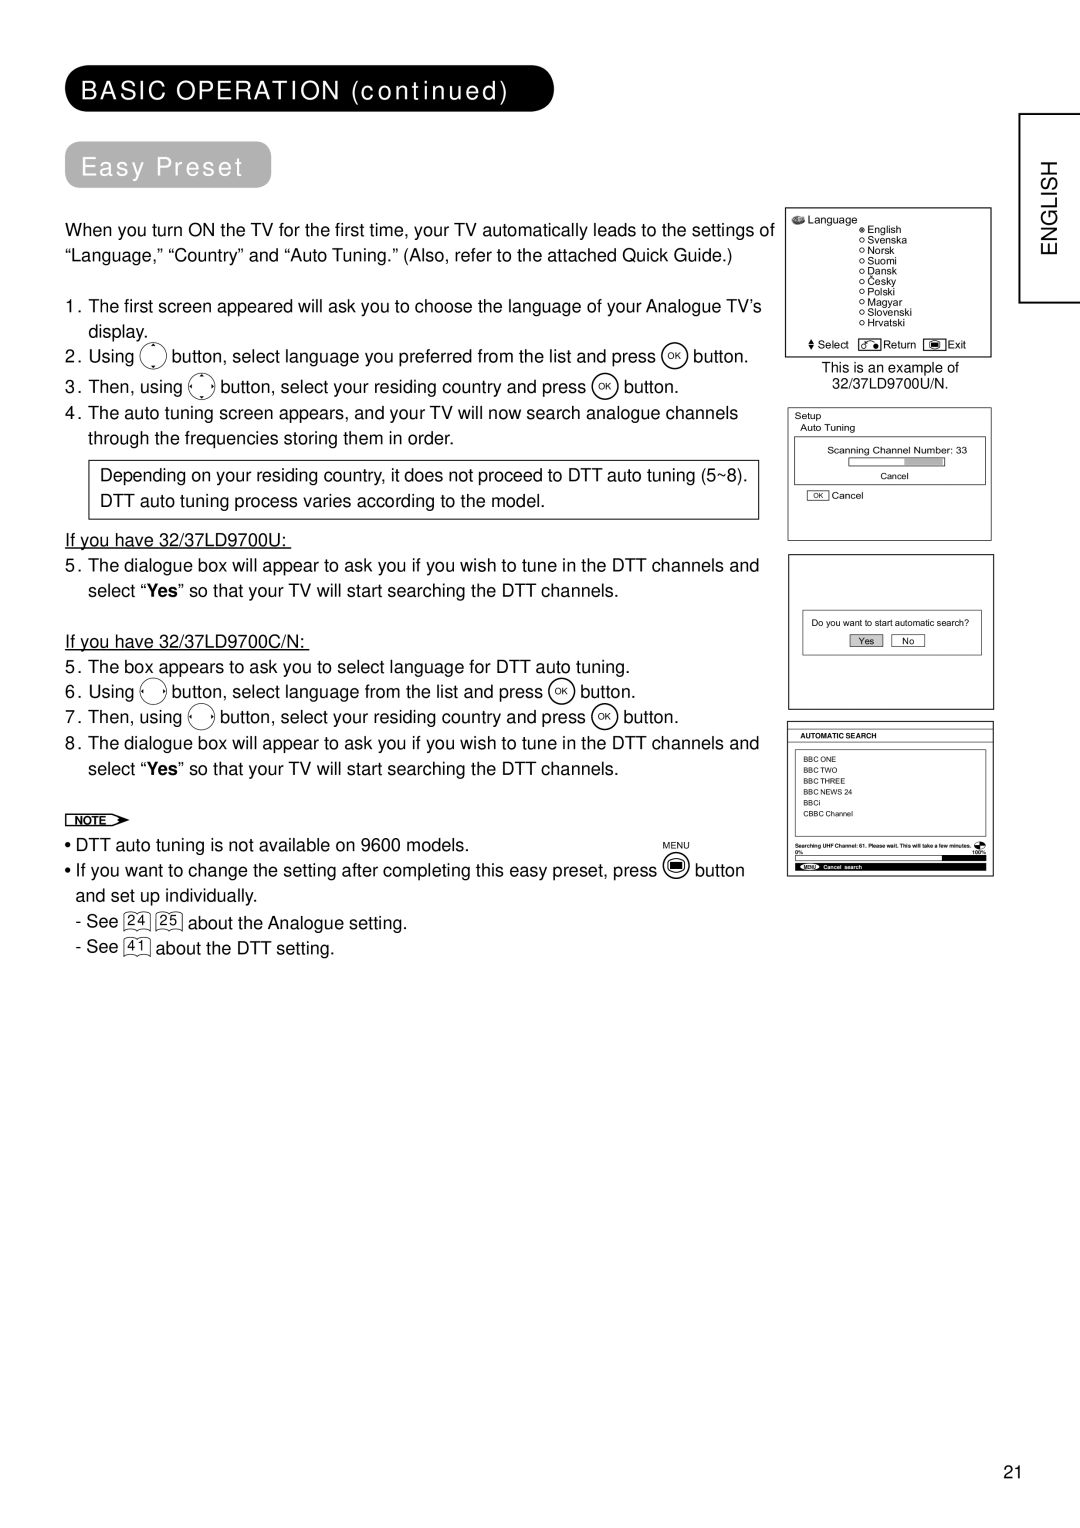
When you turn ON the TV for the first time, your TV automatically leads to the settings of “Language,” “Country” and “Auto Tuning.” (Also, refer to the attached Quick Guide.)
1.The first screen appeared will ask you to choose the language of your Analogue TV’s display.
2.Using ![]() button, select language you preferred from the list and press OK button.
button, select language you preferred from the list and press OK button.
3.Then, using ![]() button, select your residing country and press OK button.
button, select your residing country and press OK button.
4.The auto tuning screen appears, and your TV will now search analogue channels through the frequencies storing them in order.
Depending on your residing country, it does not proceed to DTT auto tuning (5~8). DTT auto tuning process varies according to the model.
If you have 32/37LD9700U:
5.The dialogue box will appear to ask you if you wish to tune in the DTT channels and select “Yes” so that your TV will start searching the DTT channels.
If you have 32/37LD9700C/N:
5.The box appears to ask you to select language for DTT auto tuning.
6.Using ![]() button, select language from the list and press OK button.
button, select language from the list and press OK button.
7.Then, using ![]() button, select your residing country and press OK button.
button, select your residing country and press OK button.
8.The dialogue box will appear to ask you if you wish to tune in the DTT channels and select “Yes” so that your TV will start searching the DTT channels.
NOTE |
|
|
|
DTT auto tuning is not available on 9600 models. | MENU | ||
If you want to change the setting after completing this easy preset, press |
|
| button |
|
| ||
|
| ||
and set up individually. |
|
|
|
-See 24 25 about the Analogue setting.
-See 41 about the DTT setting.
![]() Language
Language
English Svenska Norsk Suomi Dansk Česky Polski Magyar Slovenski Hrvatski
Select | Return | Exit |
This is an example of
32/37LD9700U/N.
Setup
Auto Tuning
Scanning Channel Number: 33
Cancel
OK Cancel
Do you want to start automatic search?
Yes 
 No
No
AUTOMATIC SEARCH
BBC ONE
BBC TWO
BBC THREE
BBC NEWS 24
BBCi
CBBC Channel
Searching UHF Channel: 61. Please wait. This will take a few minutes. ![]()
0% | 100% | |
MENU Cancel search
21