Multifunctional settings
PICTURE Menu
Menu
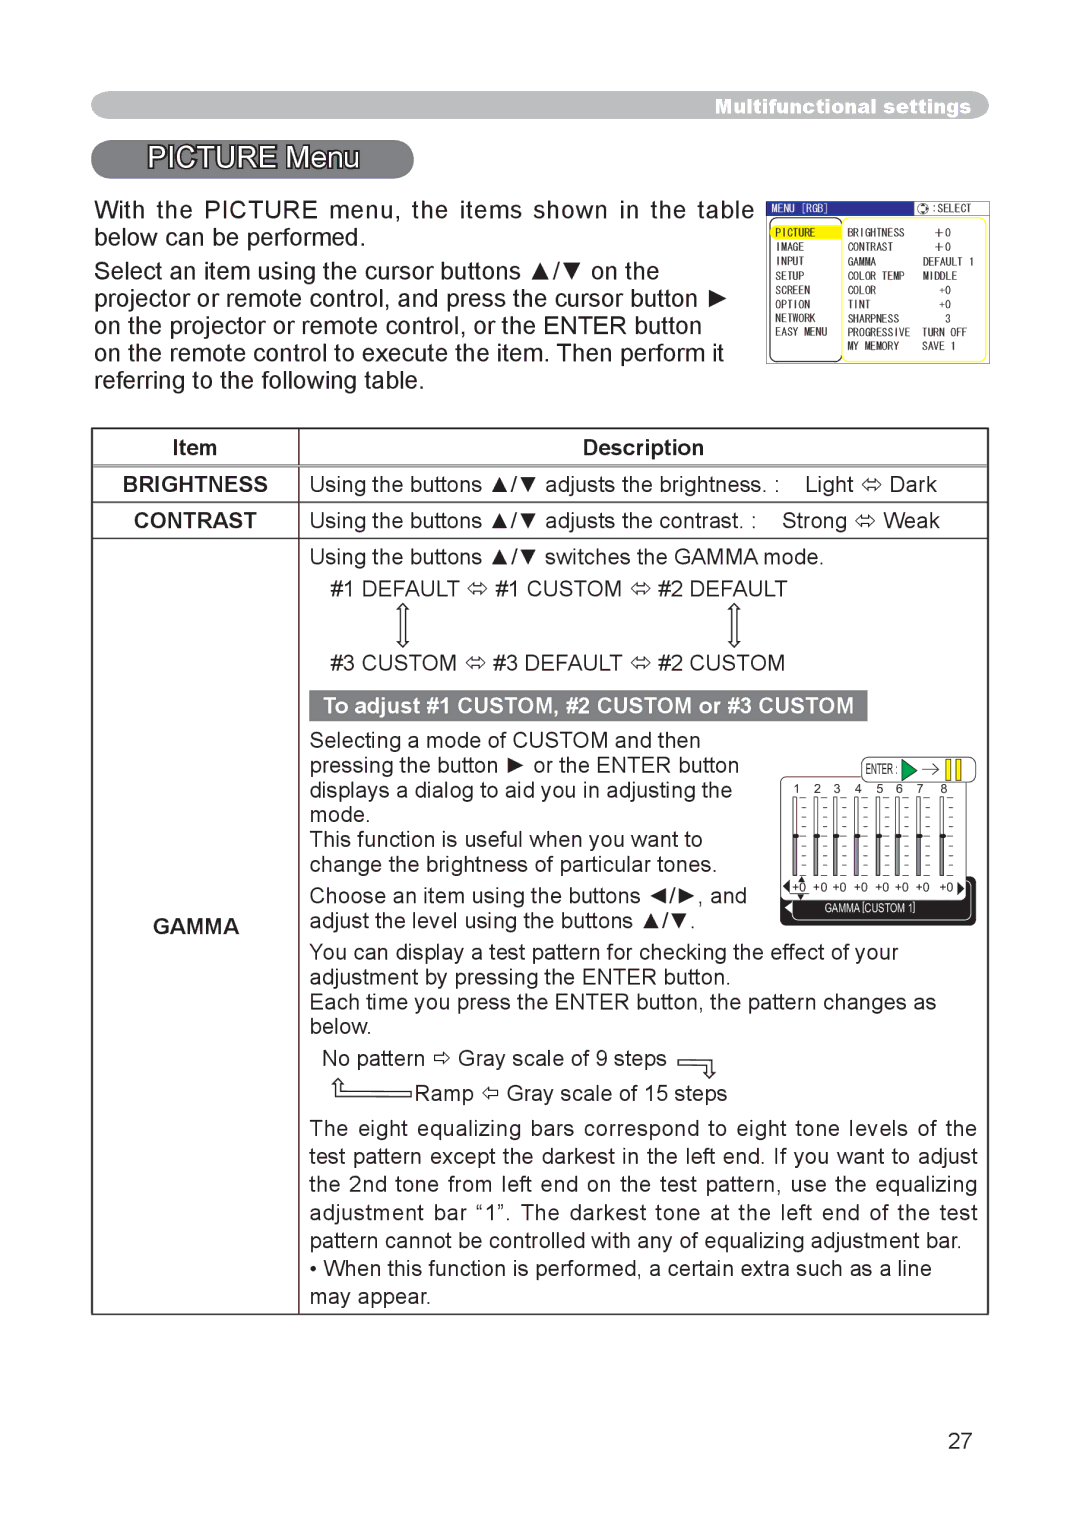
With the PICTURE menu, the items shown in the table below can be performed.
Select an item using the cursor buttons ▲/▼ on the projector or remote control, and press the cursor button ► on the projector or remote control, or the ENTER button on the remote control to execute the item. Then perform it referring to the following table.
MENU [RGB] | :SELECT |
PICTURE | BRIGHTNESS +0 |
IMAGE | CONTRAST +0 |
INPUT | GAMMA DEFAULT 1 |
SETUP | COLOR TEMP MIDDLE |
SCREEN | COLOR +0 |
OPTION | TINT +0 |
NETWORK | SHARPNESS 3 |
EASY MENU | PROGRESSIVE TURN OFF |
| MY MEMORY SAVE 1 |
Item | Description |
|
|
|
|
|
|
|
|
|
|
|
|
|
|
|
|
|
|
|
|
|
|
|
|
| |
BRIGHTNESS | Using the buttons ▲/▼ adjusts the brightness. : |
|
| Light Dark |
| ||||||||
CONTRAST | Using the buttons ▲/▼ adjusts the contrast. : | Strong Weak | |||||||||||
| Using the buttons ▲/▼ switches the GAMMA mode. |
|
|
|
|
| |||||||
| #1 DEFAULT #1 CUSTOM #2 DEFAULT |
|
|
|
|
| |||||||
| #3 CUSTOM #3 DEFAULT #2 CUSTOM |
|
|
|
|
| |||||||
| To adjust #1 CUSTOM, #2 CUSTOM or #3 CUSTOM |
|
|
|
|
| |||||||
| Selecting a mode of CUSTOM and then |
|
|
|
|
|
|
|
|
|
|
|
|
| pressing the button ► or the ENTER button |
|
|
|
|
|
| ENTER : |
| ||||
| displays a dialog to aid you in adjusting the |
|
| 1 2 3 4 | 5 6 7 | 8 | |||||||
| mode. |
|
|
|
|
|
|
|
|
|
|
|
|
| This function is useful when you want to |
|
|
|
|
|
|
|
|
|
|
|
|
|
|
|
|
|
|
|
|
|
|
|
|
| |
| change the brightness of particular tones. |
|
|
|
|
|
|
|
|
|
|
|
|
| Choose an item using the buttons ◄/►, and | +0 +0 +0 +0 | +0 +0 +0 | +0 | |||||||||
|
|
|
|
| GAMMA [CUSTOM 1] |
| |||||||
GAMMA | adjust the level using the buttons ▲/▼. |
|
|
|
|
| |||||||
|
|
|
|
|
|
|
|
|
|
|
| ||
| You can display a test pattern for checking the effect of your |
| |||||||||||
| adjustment by pressing the ENTER button. |
|
|
|
|
|
|
|
|
|
|
|
|
| Each time you press the ENTER button, the pattern changes as |
| |||||||||||
| below. |
|
|
|
|
|
|
|
|
|
|
|
|
| No pattern Gray scale of 9 steps |
|
|
|
|
|
|
|
|
|
|
|
|
| Ramp Gray scale of 15 steps |
|
|
|
|
|
|
|
|
|
|
|
|
| The eight equalizing bars correspond to eight tone levels of the | ||||||||||||
| test pattern except the darkest in the left end. If you want to adjust | ||||||||||||
| the 2nd tone from left end on the test pattern, use the equalizing | ||||||||||||
| adjustment bar “1”. The darkest tone at the left end of the test | ||||||||||||
| pattern cannot be controlled with any of equalizing adjustment bar. | ||||||||||||
•When this function is performed, a certain extra such as a line may appear.
27