Command Control via the Network
Command Control via the Network
You can configure and control the projector via the network using
Communication Port
The following two ports are assigned for the command control. TCP #23
TCP #9715
NOTE • Command control is not available via communication port (TCP #9716) that is used for the
Command Control Settings (9)
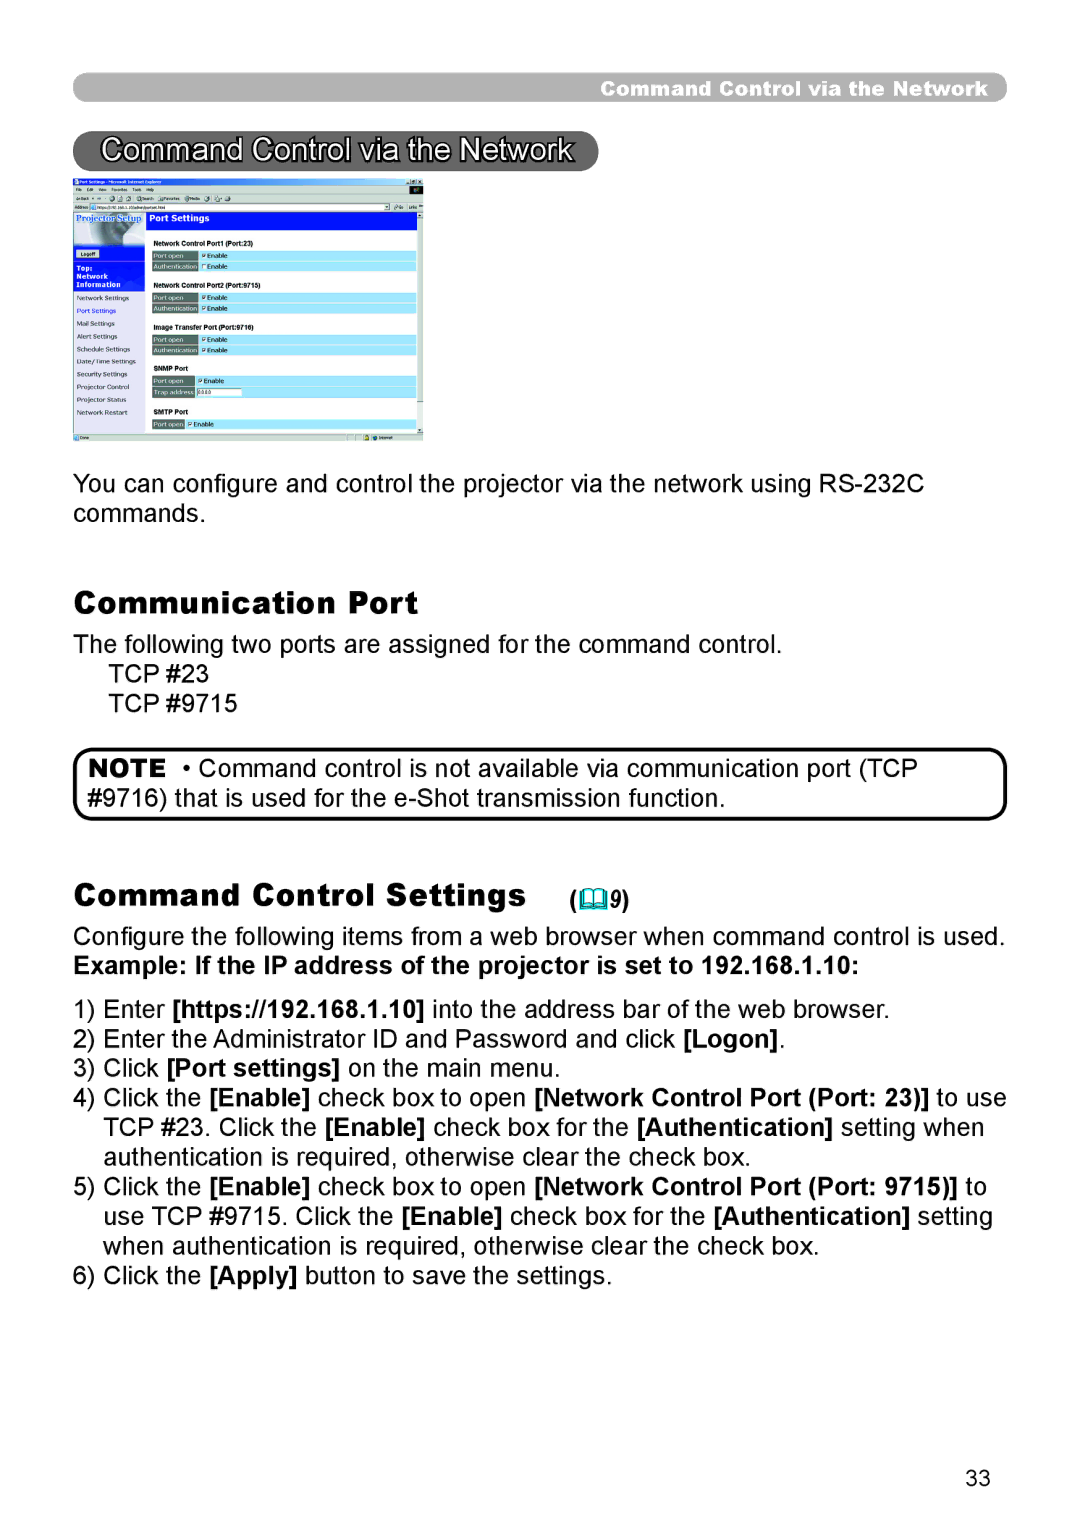
Configure the following items from a web browser when command control is used.
Example: If the IP address of the projector is set to 192.168.1.10:
1)Enter [https://192.168.1.10] into the address bar of the web browser.
2)Enter the Administrator ID and Password and click [Logon].
3)Click [Port settings] on the main menu.
4)Click the [Enable] check box to open [Network Control Port (Port: 23)] to use TCP #23. Click the [Enable] check box for the [Authentication] setting when authentication is required, otherwise clear the check box.
5)Click the [Enable] check box to open [Network Control Port (Port: 9715)] to use TCP #9715. Click the [Enable] check box for the [Authentication] setting when authentication is required, otherwise clear the check box.
6)Click the [Apply] button to save the settings.
33