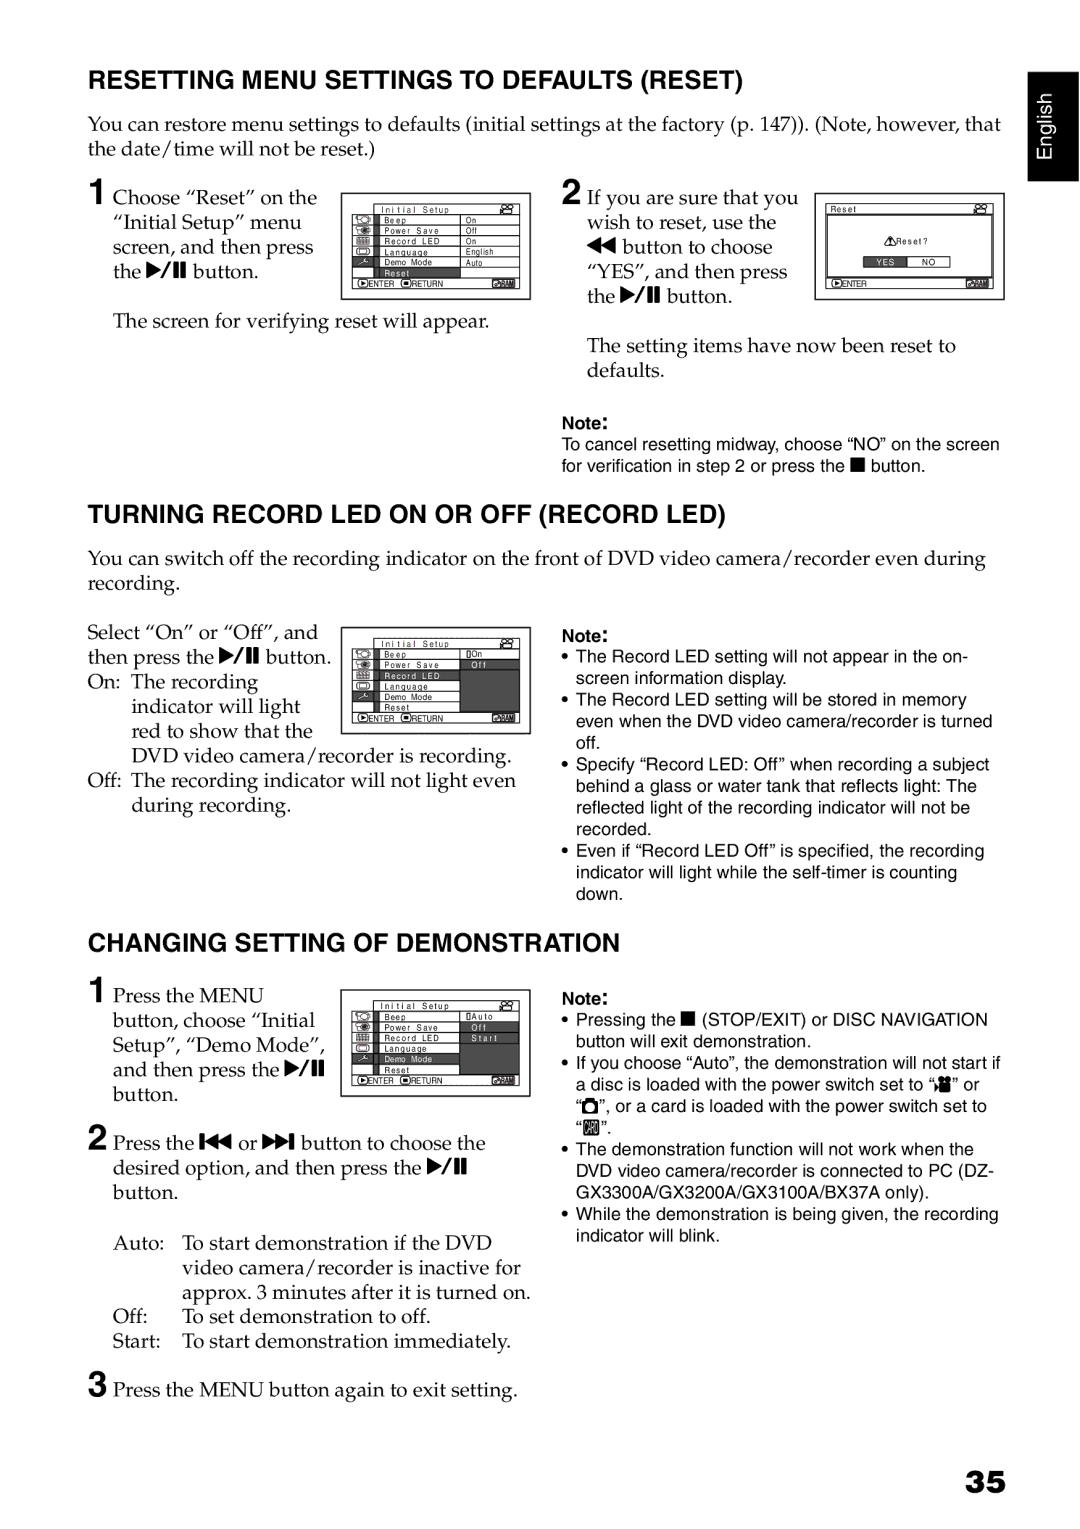
RESETTING MENU SETTINGS TO DEFAULTS (RESET)
You can restore menu settings to defaults (initial settings at the factory (p. 147)). (Note, however, that the date/time will not be reset.)
1 Choose “Reset” on the | I n i t i a l S e t u p | Off | 2 If you are sure that you | Re s e t |
| |
“Initial Setup” menu | Po w e r S a v e | wish to reset, use the |
|
| ||
| Be e p |
| On |
|
|
|
screen, and then press | R e c o r d LED | On | dbutton to choose |
| Re s e t ? | |
L a n g u a g e | English |
|
| |||
the Abutton. | Demo Mode | Auto | “YES”, and then press | YES | NO | |
Re s e t |
|
|
|
| ||
| ENTER | RETURN |
| the Abutton. | ENTER |
|
The screen for verifying reset will appear. |
|
| ||||
|
|
| ||||
|
|
|
| The setting items have now been reset to | ||
|
|
|
| defaults. |
|
|
|
|
|
| Note: |
|
|
|
|
|
| To cancel resetting midway, choose “NO” on the screen | ||
|
|
|
| for verification in step 2 or press the Cbutton. | ||
TURNING RECORD LED ON OR OFF (RECORD LED)
You can switch off the recording indicator on the front of DVD video camera/recorder even during recording.
English
Select “On” or “Off”, and |
|
|
then press the Abutton. | I n i t i a l S e t u p |
|
Be e p | OnOn | |
Po w e r S a v e | O f f | |
On: The recording | R e c o r d LED |
|
L a n g u a g e |
| |
indicator will light | Demo Mode |
|
Re s e t |
| |
ENTER RETURN |
| |
red to show that the |
| |
|
| |
DVD video camera/recorder is recording. | ||
Off: The recording indicator will not light even during recording.
Note:
•The Record LED setting will not appear in the on- screen information display.
•The Record LED setting will be stored in memory even when the DVD video camera/recorder is turned off.
•Specify “Record LED: Off” when recording a subject
behind a glass or water tank that reflects light: The reflected light of the recording indicator will not be recorded.
•Even if “Record LED Off” is specified, the recording indicator will light while the
CHANGING SETTING OF DEMONSTRATION
1 Press the MENU | I n i | t i a l S e t u p | O f f |
button, choose “Initial | Powe r S ave | ||
| B e e p | A u t o | |
Setup”, “Demo Mode”, | Re c o r d LED | S t a r t | |
L a n g u a g e |
| ||
and then press the A | Demo Mode |
| |
ENTER | RETURN |
| |
| R e s e t |
| |
button. |
|
|
|
2 Press the for ebutton to choose the desired option, and then press the A button.
Auto: To start demonstration if the DVD video camera/recorder is inactive for approx. 3 minutes after it is turned on.
Off: To set demonstration to off.
Start: To start demonstration immediately.
3 Press the MENU button again to exit setting.
Note:
•Pressing the C(STOP/EXIT) or DISC NAVIGATION button will exit demonstration.
•If you choose “Auto”, the demonstration will not start if a disc is loaded with the power switch set to “O” or “N”, or a card is loaded with the power switch set to “P”.
•The demonstration function will not work when the DVD video camera/recorder is connected to PC (DZ- GX3300A/GX3200A/GX3100A/BX37A only).
•While the demonstration is being given, the recording indicator will blink.
35
