Folder on the Workstation
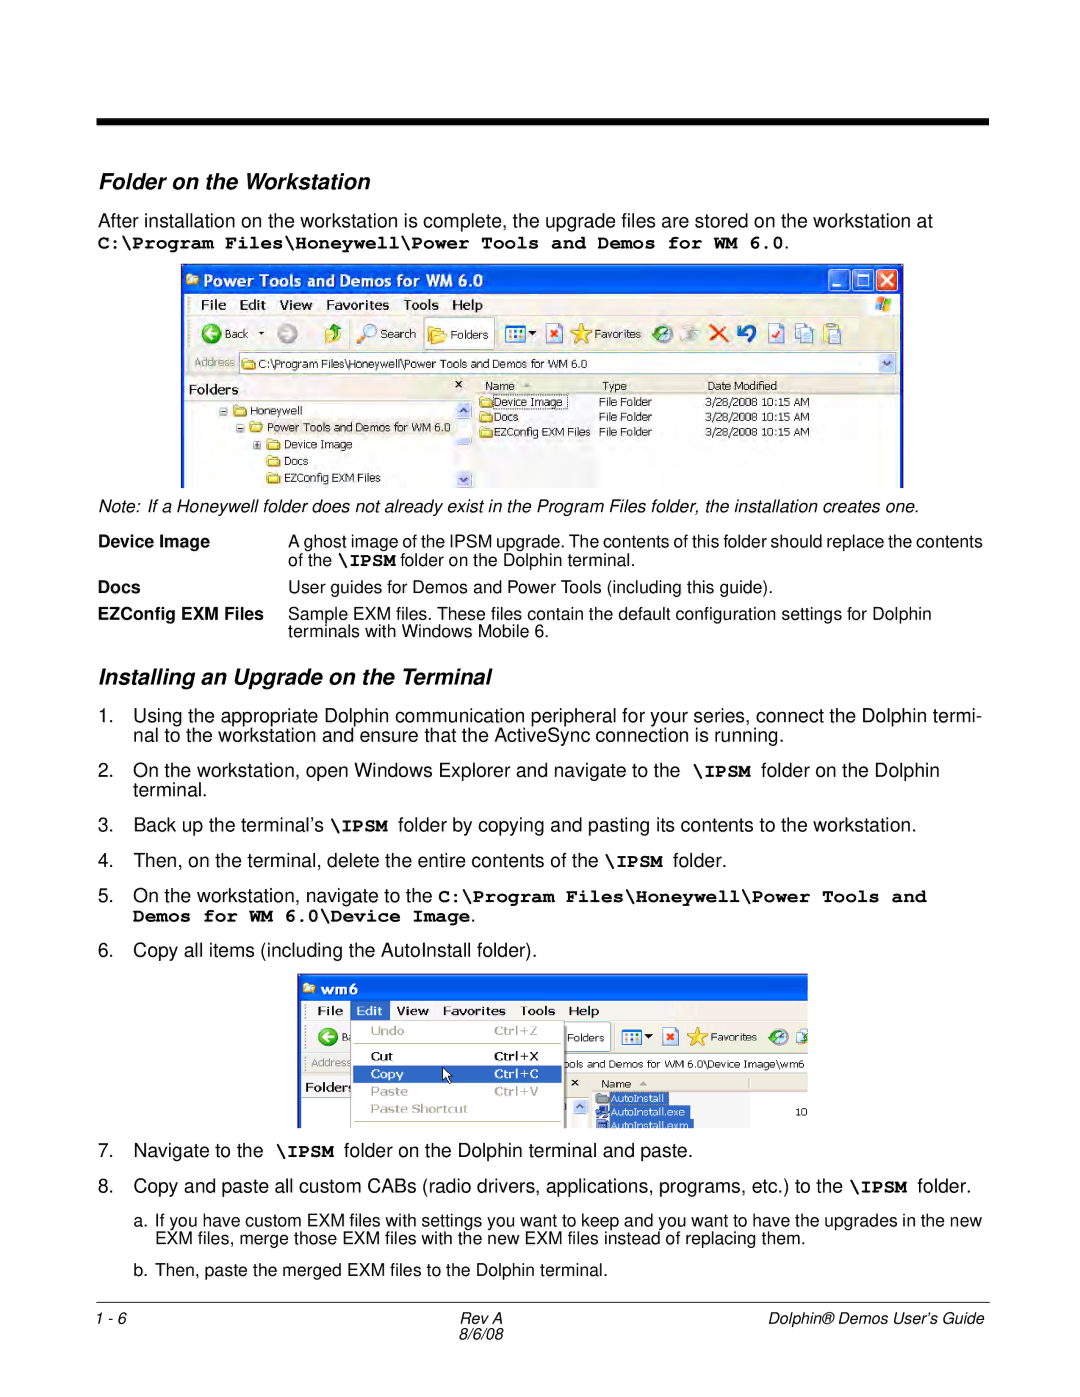
After installation on the workstation is complete, the upgrade files are stored on the workstation at
C:\Program Files\Honeywell\Power Tools and Demos for WM 6.0.
Note: If a Honeywell folder does not already exist in the Program Files folder, the installation creates one.
Device Image | A ghost image of the IPSM upgrade. The contents of this folder should replace the contents |
Docs | of the \IPSM folder on the Dolphin terminal. |
User guides for Demos and Power Tools (including this guide). |
EZConfig EXM Files Sample EXM files. These files contain the default configuration settings for Dolphin terminals with Windows Mobile 6.
Installing an Upgrade on the Terminal
1.Using the appropriate Dolphin communication peripheral for your series, connect the Dolphin termi- nal to the workstation and ensure that the ActiveSync connection is running.
2.On the workstation, open Windows Explorer and navigate to the \IPSM folder on the Dolphin terminal.
3.Back up the terminal’s \IPSM folder by copying and pasting its contents to the workstation.
4.Then, on the terminal, delete the entire contents of the \IPSM folder.
5.On the workstation, navigate to the C:\Program Files\Honeywell\Power Tools and Demos for WM 6.0\Device Image.
6.Copy all items (including the AutoInstall folder).
7.Navigate to the \IPSM folder on the Dolphin terminal and paste.
8.Copy and paste all custom CABs (radio drivers, applications, programs, etc.) to the \IPSM folder.
a.If you have custom EXM files with settings you want to keep and you want to have the upgrades in the new EXM files, merge those EXM files with the new EXM files instead of replacing them.
b.Then, paste the merged EXM files to the Dolphin terminal.
1 - 6 | Rev A | Dolphin® Demos User’s Guide |
| 8/6/08 |
|
