chapter 8
Note: When transporting your HP psc, make sure that the print cartridges have been removed, the HP psc has been properly shut down by pressing the On/Resume button, and you have allowed time for the print carriage to return to the home position and for the scanner to return to its parked position.
1Turn on the HP psc.
Disregard steps 1 through 7 if your HP psc will not turn on. You will not be able to remove the print cartridges. Proceed to step 8.
2Open the
The print carriage moves to the center of the HP psc.
3Remove the print cartridges. See replace the print cartridges on page 30 for information on removing the print cartridges.
Caution! Remove both print cartridges. Failure to do so might damage your HP psc.
4Place the print cartridges in an airtight bag so they will not dry out, and put them aside. Do not send them with the HP psc, unless instructed to by the HP customer support call agent.
5Close the
6Wait for the print carriage to park (stop moving) in the home position on the left side of the HP psc. This might take a few seconds.
7Turn off the HP psc.
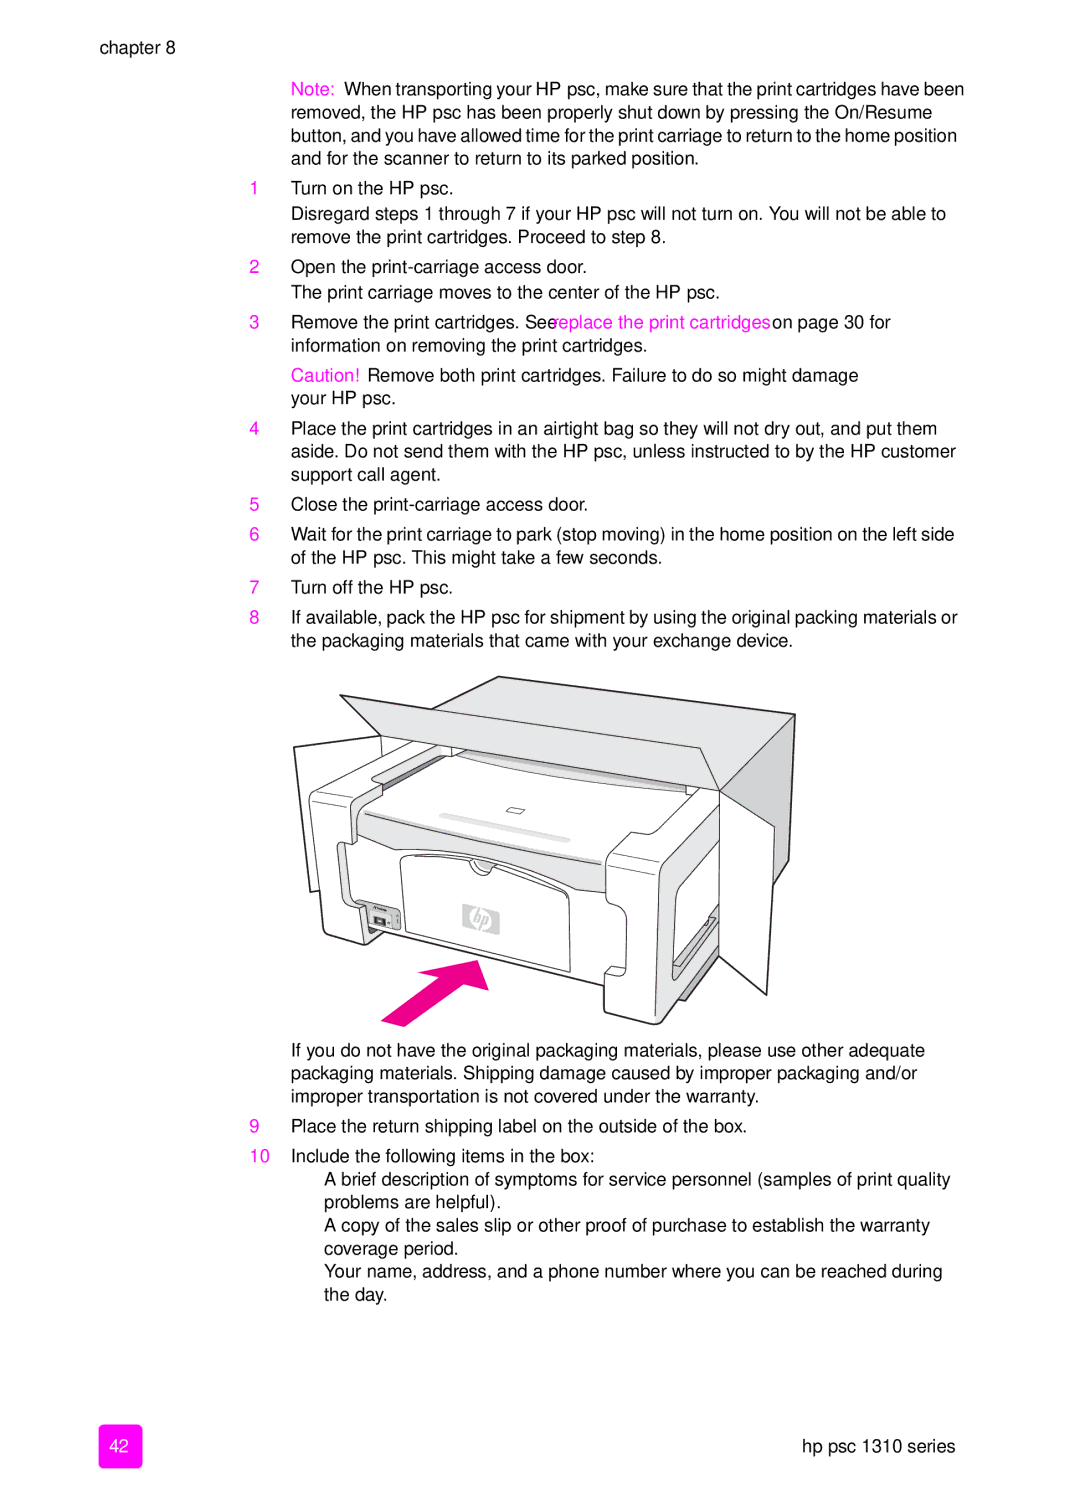
8If available, pack the HP psc for shipment by using the original packing materials or the packaging materials that came with your exchange device.
If you do not have the original packaging materials, please use other adequate packaging materials. Shipping damage caused by improper packaging and/or improper transportation is not covered under the warranty.
9Place the return shipping label on the outside of the box.
10Include the following items in the box:
–A brief description of symptoms for service personnel (samples of print quality problems are helpful).
–A copy of the sales slip or other proof of purchase to establish the warranty coverage period.
–Your name, address, and a phone number where you can be reached during the day.
42 | hp psc 1310 series |