Appendix A: Using the Preferences Menu
Note: For reference information regarding the options and soft keys in the Preferences menu, see “Preferences Menu” starting on page 66.
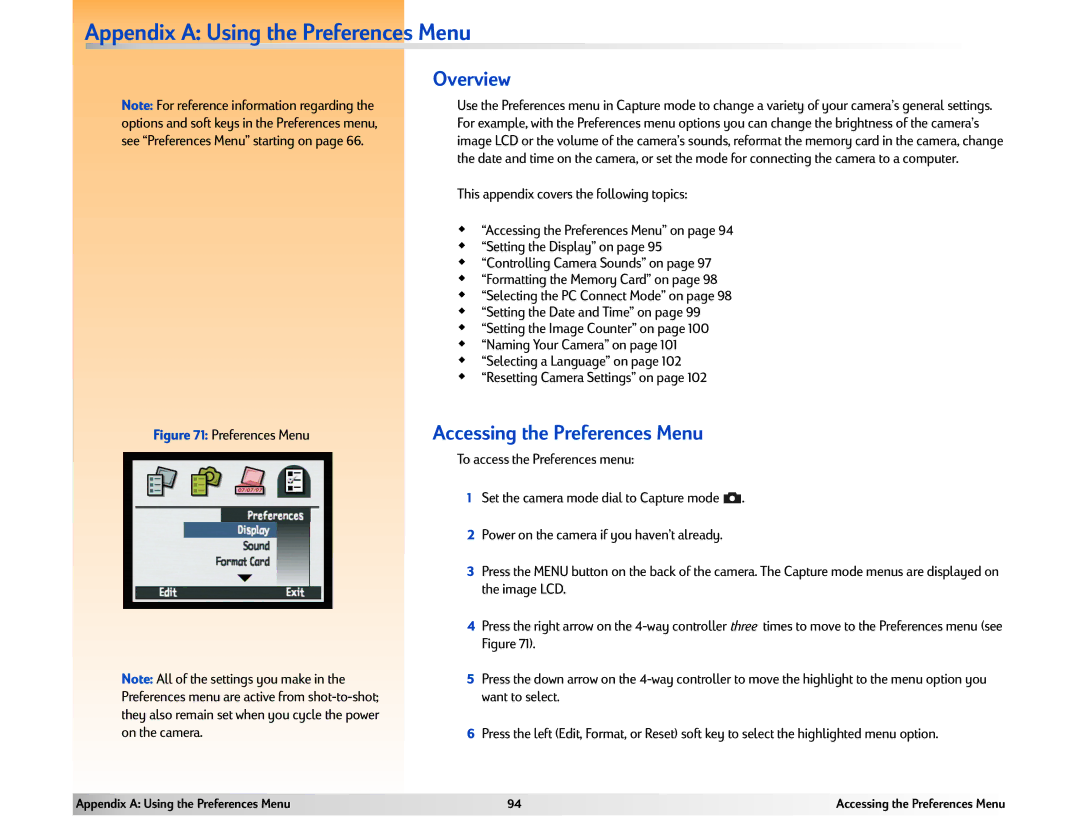
Figure 71: Preferences Menu
Note: All of the settings you make in the Preferences menu are active from
Overview
Use the Preferences menu in Capture mode to change a variety of your camera’s general settings. For example, with the Preferences menu options you can change the brightness of the camera’s image LCD or the volume of the camera’s sounds, reformat the memory card in the camera, change the date and time on the camera, or set the mode for connecting the camera to a computer.
This appendix covers the following topics:
“Accessing the Preferences Menu” on page 94
“Setting the Display” on page 95
“Controlling Camera Sounds” on page 97
“Formatting the Memory Card” on page 98
“Selecting the PC Connect Mode” on page 98
“Setting the Date and Time” on page 99
“Setting the Image Counter” on page 100
“Naming Your Camera” on page 101
“Selecting a Language” on page 102
“Resetting Camera Settings” on page 102
Accessing the Preferences Menu
To access the Preferences menu:
1Set the camera mode dial to Capture mode ![]() .
.
2Power on the camera if you haven’t already.
3Press the MENU button on the back of the camera. The Capture mode menus are displayed on the image LCD.
4Press the right arrow on the
5Press the down arrow on the
6Press the left (Edit, Format, or Reset) soft key to select the highlighted menu option.
Appendix A: Using the Preferences Menu | 94 | Accessing the Preferences Menu |
|
|
|