26 | Installation Guide |
|
|
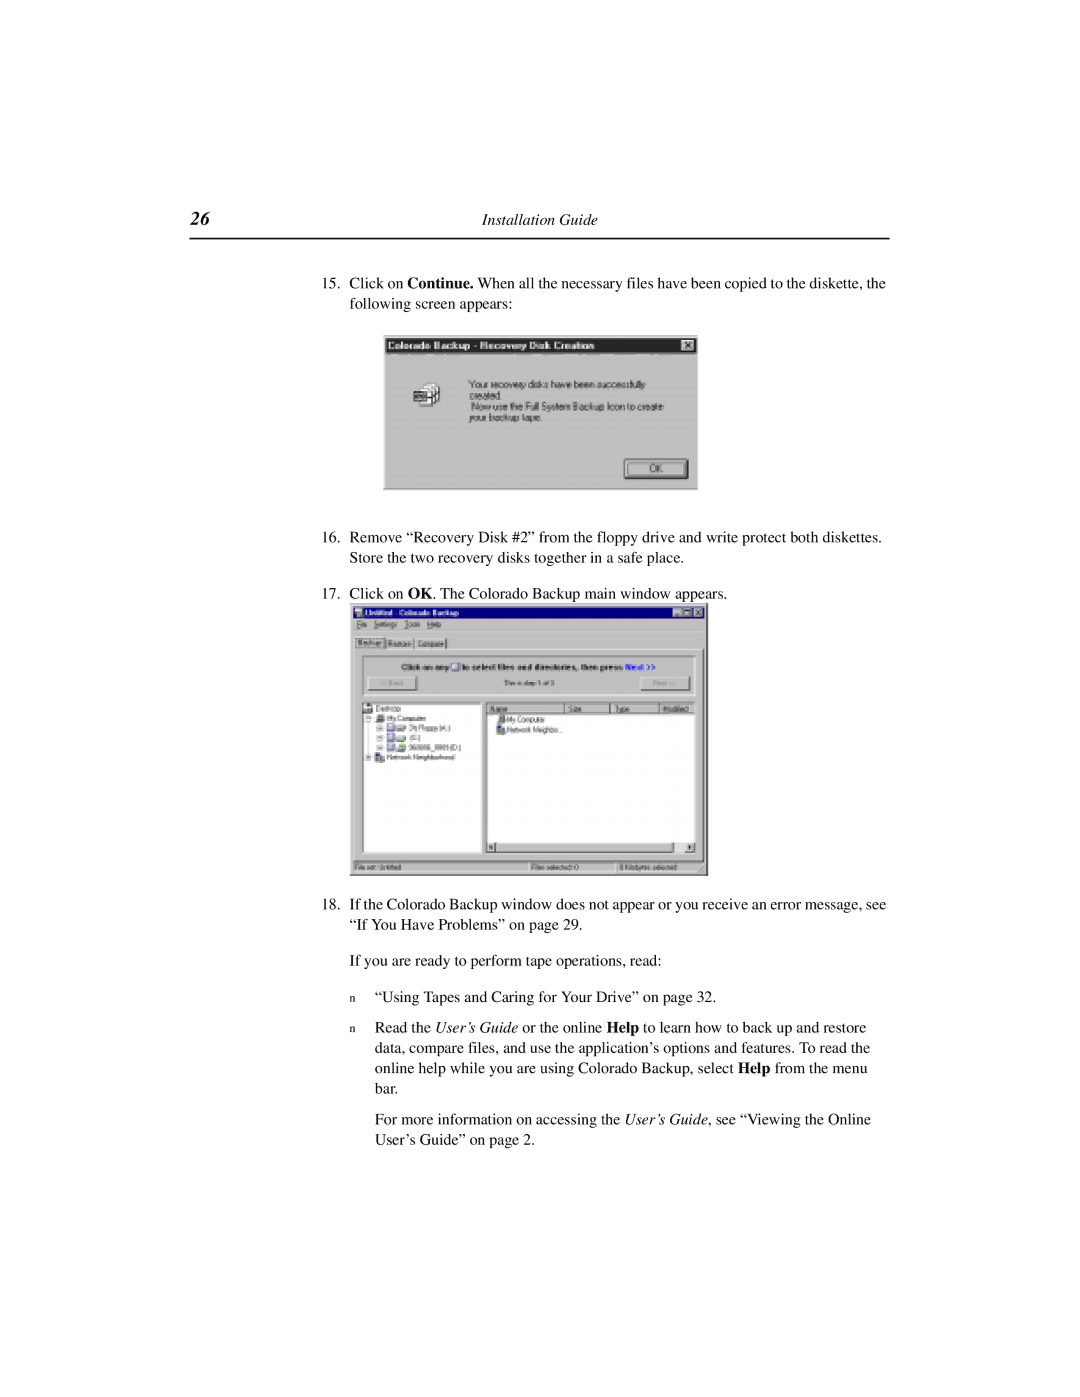
15.Click on Continue. When all the necessary files have been copied to the diskette, the following screen appears:
16.Remove “Recovery Disk #2” from the floppy drive and write protect both diskettes. Store the two recovery disks together in a safe place.
17.Click on OK. The Colorado Backup main window appears.
18.If the Colorado Backup window does not appear or you receive an error message, see “If You Have Problems” on page 29.
If you are ready to perform tape operations, read:
n “Using Tapes and Caring for Your Drive” on page 32.
n Read the User’s Guide or the online Help to learn how to back up and restore data, compare files, and use the application’s options and features. To read the online help while you are using Colorado Backup, select Help from the menu bar.
For more information on accessing the User’s Guide, see “Viewing the Online User’s Guide” on page 2.
