CAUTION Do not use any other screws other than the six that are provided. Use of any longer lengths can cause damage to internal components of the switch. Before tightening screws, make sure that the rails are centered to the overall height of the switch.
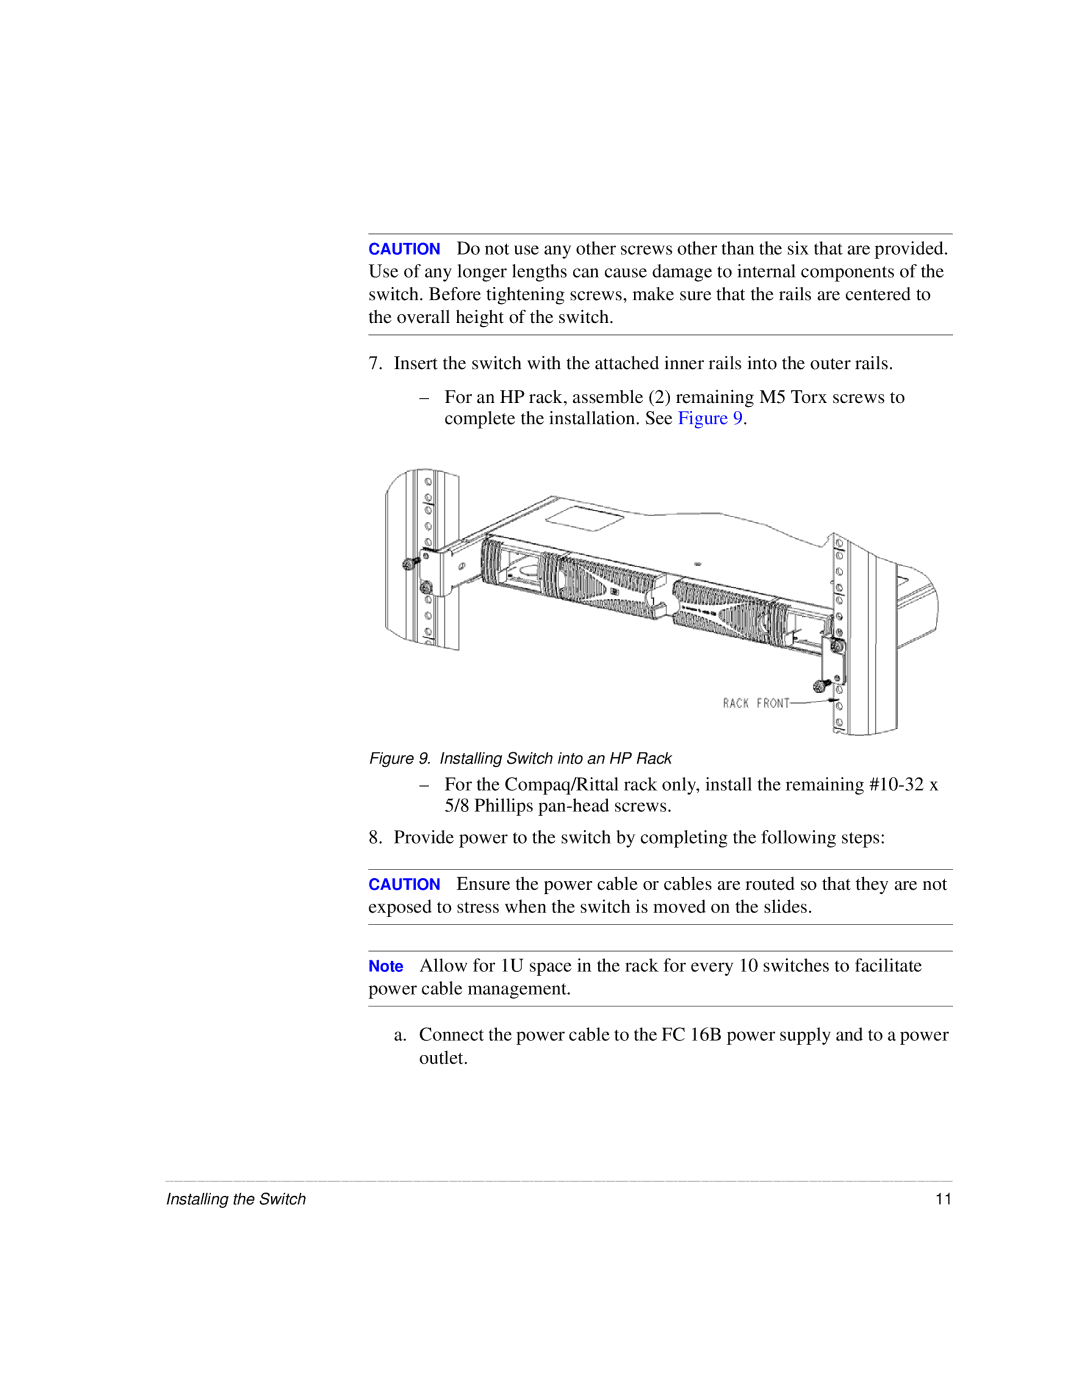
7.Insert the switch with the attached inner rails into the outer rails.
–For an HP rack, assemble (2) remaining M5 Torx screws to complete the installation. See Figure 9.
Figure 9. Installing Switch into an HP Rack
–For the Compaq/Rittal rack only, install the remaining
8.Provide power to the switch by completing the following steps:
CAUTION Ensure the power cable or cables are routed so that they are not exposed to stress when the switch is moved on the slides.
Note Allow for 1U space in the rack for every 10 switches to facilitate power cable management.
a.Connect the power cable to the FC 16B power supply and to a power outlet.
Installing the Switch | 11 |
