Installing HyperFabric
Installing HyperFabric Switches
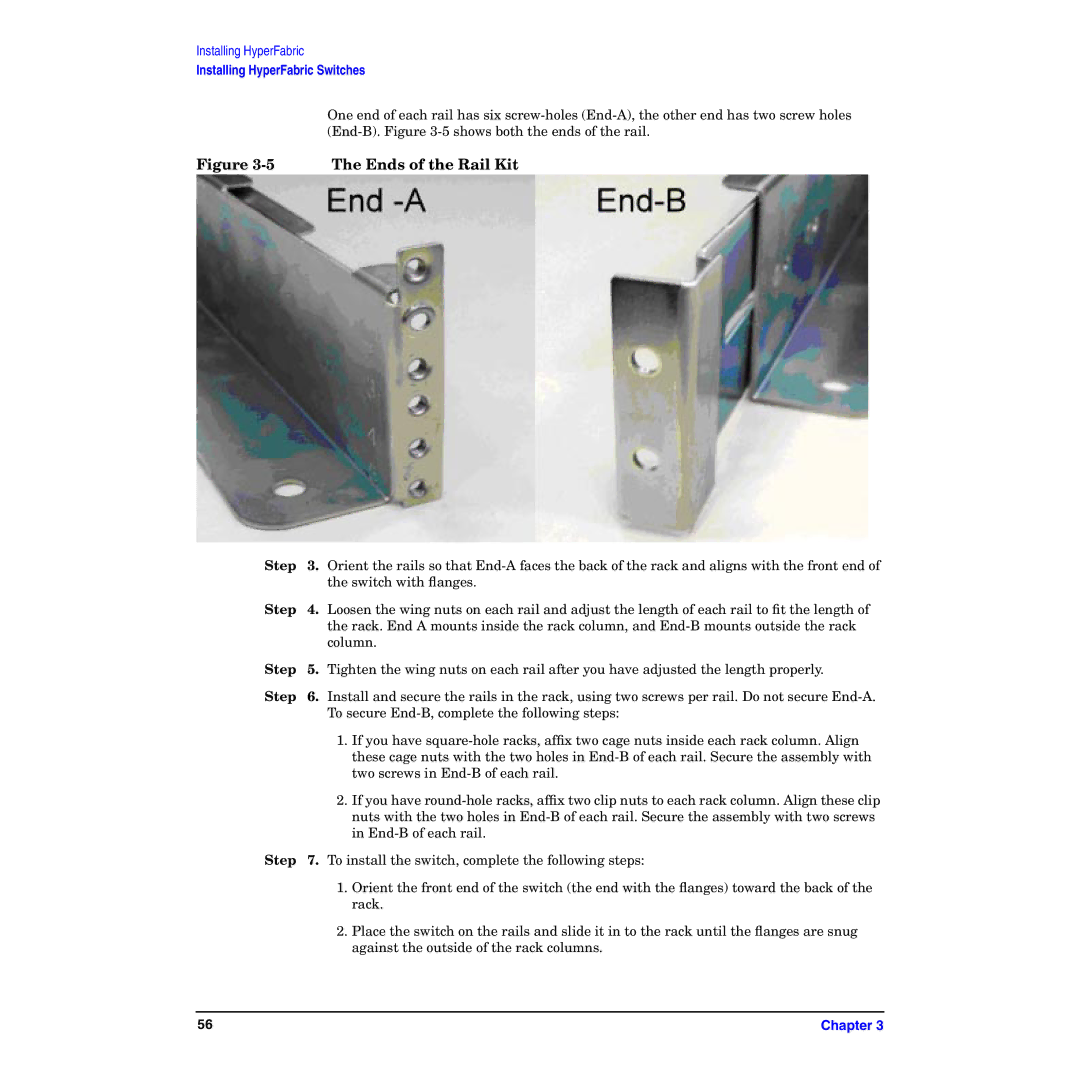
One end of each rail has six
Figure 3-5 The Ends of the Rail Kit
Step | 3. | Orient the rails so that |
|
| the switch with flanges. |
Step | 4. | Loosen the wing nuts on each rail and adjust the length of each rail to fit the length of |
|
| the rack. End A mounts inside the rack column, and |
|
| column. |
Step | 5. | Tighten the wing nuts on each rail after you have adjusted the length properly. |
Step | 6. | Install and secure the rails in the rack, using two screws per rail. Do not secure |
|
| To secure |
1.If you have
2.If you have
Step 7. To install the switch, complete the following steps:
1.Orient the front end of the switch (the end with the flanges) toward the back of the rack.
2.Place the switch on the rails and slide it in to the rack until the flanges are snug against the outside of the rack columns.
56 | Chapter 3 |
