Edition
Manufacturing Part Number J4269-90071 E0207
Legal Notices
Contents
Administering LDAP-UX Client Services
Command and Tool Reference
User Tasks
Tables
Viii
Figures
Figures
Intended Audience
New and Changed Documentation in This Edition
Publishing History
What’s in This document
Xiii
Typographical Conventions
HP Encourages Your Comments
Overview of LDAP-UX Client Services
Chapter
Overview of LDAP-UX Client Services
Simplified NIS Environment
Simplified LDAP-UX Client Services Environment
How LDAP-UX Client Services Works
Traffic from replica updates
Introduction
That use PAM and NSS
Examples of Commands and Subsystems
Commands that use Commands that use PAM
Login, ftpd Ls, who
Overview of LDAP-UX Client Services
Local Start-up File and the Configuration Profile
Overview of LDAP-UX Client Services Chapter
LDAP-UX Client Services
Before You Begin
Summary of Installing and Configuring
Summary of Installing and Configuring
Optionally modify the /etc/opt/ldapux/pamauthz.policy
Plan Your Installation
Plan Your Installation
Still log in to the system
Share user names and passwords with other applications,
Example Directory Structure
Plan Your Installation
Plan Your Installation
Section must be set to yes. If the start option is enabled,
Plan Your Installation
Install LDAP-UX Client Services on a Client
Install LDAP-UX Client Services on a Client
Step
Configure Your Directory
Configure Your Directory
Configure Your Directory
Grant read access of all attributes of the posix schema
Configure Your Directory
Import Name Service Data into Your Directory
Import Name Service Data into Your Directory
Steps to Importing Name Service Data into Your
Directory
Configure the LDAP-UX Client Services
Configure the LDAP-UX Client Services
Configure the LDAP-UX Client Services
Quick Configuration
Required to start the services
Simple Sasl DIGEST-MD5
Configuration Parameter Default Values
Configure the LDAP-UX Client Services
Custom Configuration
Specify up to three directory hosts, to be searched in order
Specify the service you want to map?
Specify the attribute you want to map
You type 0 to exit this menu for the following question
Answer Y instead of the default N For the question
You want to create a custom search descriptor for
Configure the LDAP-UX Client Serivces with SSL Support
Configure the LDAP-UX Client Serivces with SSL Support
Configuring the LDAP-UX Client to Use SSL
Steps to Download the CA Certificate from Mozilla Browser
Mail users, and Trust the CA to identify software developers
Steps to create database files using the certutil utility
Use the rm command to remove the old database files
Configure the LDAP-UX Client Serivces with SSL Support
Configure LDAP-UX Client Services with Publickey Support
Configure LDAP-UX Client Services with Publickey Support
October
Enhanced Publickey-LDAP Software for HP-UX 11i v1 or
June
Configuring an Admin Proxy User Using ldapproxyconfig
Extending the Publickey Schema into Your Directory
Admin Proxy User
Setting ACI for an Admin Proxy User
Setting ACI for Key Management
Password for an Admin Proxy User
An Example
Configuring serviceAuthenticationMethod
Setting ACI for a User
Authentication Methods
Procedures Used to Configure serviceAuthenticationMethod
ServiceAuthenticationMethodkeyservsasl/digest-md5
Configuring Name Service Switch
Configure LDAP-UX Client Services with Publickey Support
AutoFS Patch Requirement
Automount Schemas
AutoFS Support
AutoFS Support
New Automount Schema
Schema
An Example
NisObject Automount Schema
Limitations
Obsolete Automount Schema
Removing The Obsolete Automount Schema
Attribute Mappings
Attribute Mappings
New Automount Attribute NisObject Automount
Environment Variables
AutoFS Migration Scripts
Migration Scripts Description
Examples
General Syntax For Migration Scripts
Migrateautomount.pl Script
Syntax
AutoFS Support
Migratenisautomount.pl Script
Following shows the /tmp/autoindirect.ldif file
Migratenispautofs.pl Script
Following shows the nispautomap.ldif file
Verify the LDAP-UX Client Services
Verify the LDAP-UX Client Services
Making sure the output is as expected
Verify the LDAP-UX Client Services
#cat /etc/nsswitch.conf
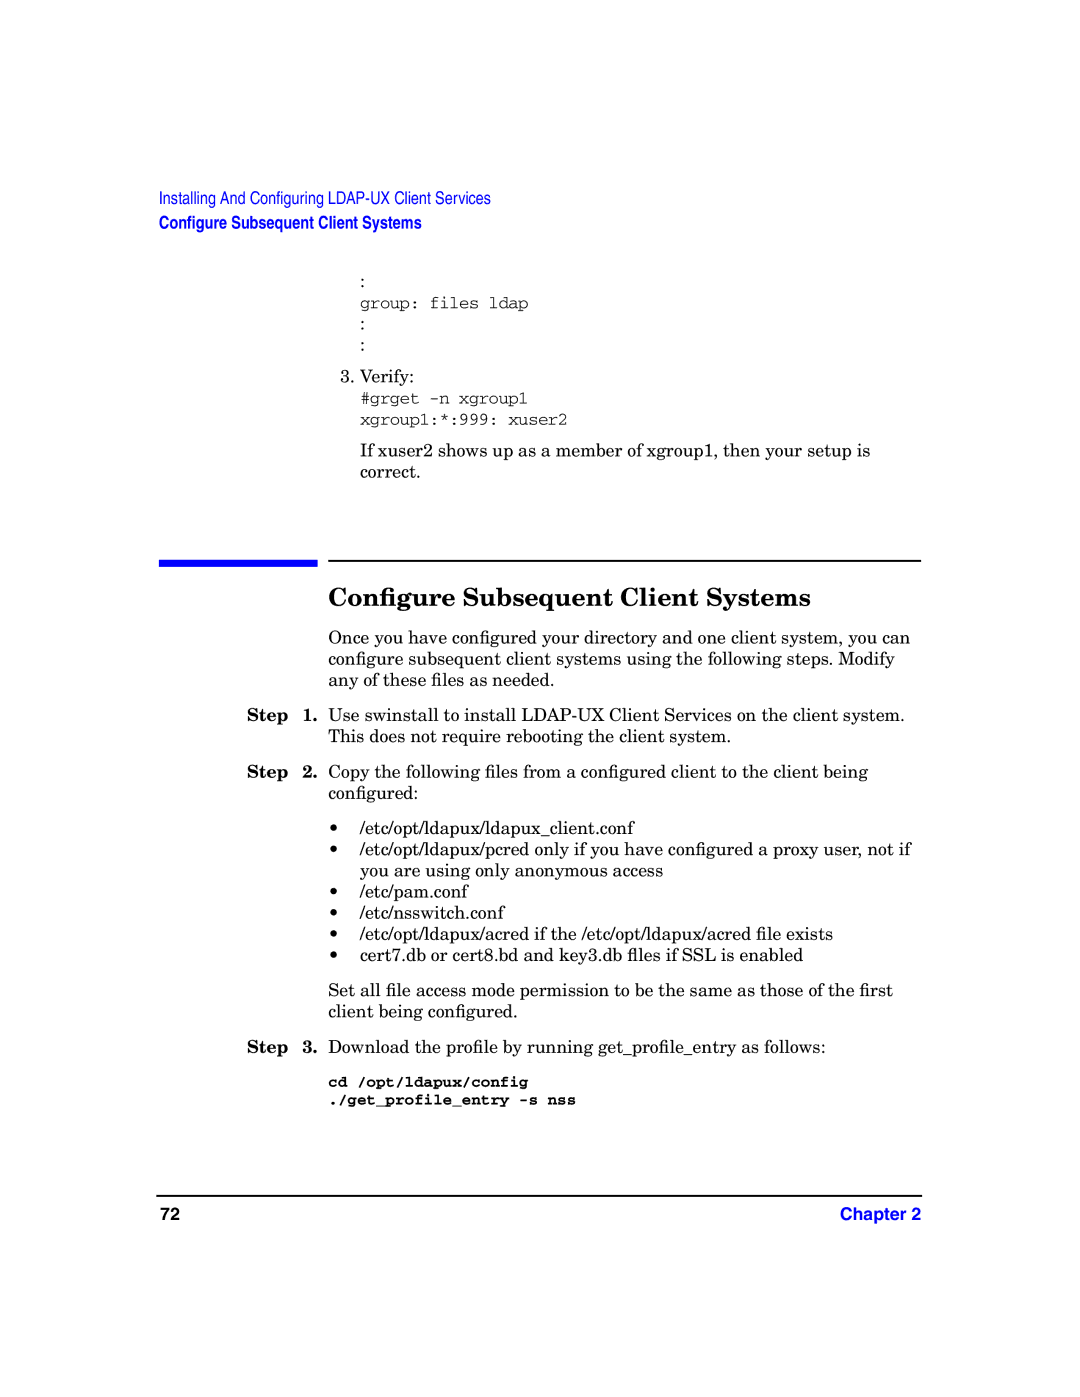
Configure Subsequent Client Systems
Configure Subsequent Client Systems
Change the current configuration
Download the Profile Periodically
Download the Profile Periodically
Crontab crontab.profile
#passwordas =
Use r-command for Pamldap
Use r-command for Pamldap
Password, and turning on the rcommand option for pamldap
Use r-command for Pamldap Chapter
Ldap Printer Configurator
Overview
Overview
Definitions
System
How the Ldap Printer Configurator works
How the Ldap Printer Configurator works
System administrator manually adds or removes printers to
Printer Configurator Architecture
Printer Configuration Parameters
Printer Configuration Parameters
An Example
Printer Schema
Printer Schema
Printer Schema
Example
Managing the LP printer configuration
Managing the LP printer configuration
Managing the LP printer configuration
Managing the LP printer configuration
Limitations of Printer Configurator
Limitations of Printer Configurator
Limitations of Printer Configurator Chapter
Administering LDAP-UX Client
Overview
Using The LDAP-UX Client Daemon
Using The LDAP-UX Client Daemon
Controlling the client
Ldapclientd
Starting the client
Client Daemon performance
Command options
Diagnostics
Configuration file syntax
Missing settings
Ldapclientd.conf
Opt/ldapux/config/setup
Using The LDAP-UX Client Daemon
100
Chapter 101
102
Chapter 103
Configuration File
Integrating with Trusted Mode
Integrating with Trusted Mode
Features and Limitations
Auditing
Password and Account Policies
Chapter 107
PAM Configuration File
Others
Configuration Parameter
Pamauthz Login Authorization Enhancement
Pamauthz Login Authorization Enhancement
Policy And Access Rules
Chapter 109
How Login Authorization Works
Pamauthz Environment
Policy File
Chapter 111
Field Syntax in an Access Rule
Constructing an Access Rule in pamauthz.policy
Fields in an Access Rule
Actiontyperule
Chapter 113
No value is required
Action
Chapter 115
116
Policy Validator
Chapter 117
An Example of /etc/opt/ldapux/pamauthz.policy File
Adding a Directory Replica
Adding a Directory Replica
Chapter 119
Displaying the Proxy User’s DN
Displaying the Proxy User’s DN
Example
Verifying the Proxy User
Creating a New Proxy User
Verifying the Proxy User
Displaying the Current Profile
Displaying the Current Profile
Creating a New Profile
Chapter 121
Modifying a Profile
Changing Which Profile a Client Is Using
Modifying a Profile
Changing from Proxy Access to Anonymous Access
Changing from Anonymous Access to Proxy
Access
Changing from Anonymous Access to Proxy Access
Changing from Proxy Access to Anonymous Access
Performance Considerations
Performance Considerations
Minimizing Enumeration Requests
Chapter 125
Client Daemon Performance
Client Daemon Performance
Ldapclientd Caching
Map Name Benefits Example Side-Effect
Chapter 127
128
Chapter 129
Ldapclientd Persistent Connections
Enabling and Disabling LDAP-UX Logging
Troubleshooting
Troubleshooting
Chapter 131
Enabling and Disabling PAM Logging
TIP
Chapter 133
Netscape Directory Server Log Files
User Cannot Log on to Client System
134
You should get output like the following
Chapter 135
136
Command and Tool Reference
Chapter 137
LDAP-UX Client Services Components Description
LDAP-UX Client Services Components
LDAP-UX Client Services Components
Chapter 139
LDAP-UX Client Services Components
Component Description
LDAP-UX Client Services Libraries on the HP-UX 11.0 or 11i
PA machine Files Description
Chapter 141
LDAP-UX Client Services Libraries on the HP-UX 11i v2 PA
Machine Files Description
LDAP-UX Client Services Libraries on the HP-UX 11i v2 IA
Createprofilecache Tool
Client Management Tools
Createprofileentry Tool
Client Management Tools
Createprofileschema Tool
Displayprofilecache Tool
Getprofileentry Tool
Chapter 145
Ldapproxyconfig Tool
Getprofileentry -s NSS
File
Chapter 147
148
Chapter 149
Beq Search Tool
Beq Search Tool
Syntax
Examples
Chapter 151
152
Uid2dn Tool
Chapter 153
Ldap Directory Tools
Ldap Directory Tools
Getattrmap.pl Tool
Ldapentry
Chapter 155
156
Ldapsearch
Chapter 157
Ldapmodify Ldapdelete Certutil
Chapter 159
Adding One or More Users
Adding One or More Users
Default Naming Context
Name Service Migration Scripts
Name Service Migration Scripts
Naming Context
Chapter 161
Migrating All Your Files
Migrating Individual Files
Migration Scripts Script Name Description
General Syntax for Perl Migration Scripts
Migration Scripts
Script Name Description
Chapter 163
164
Chapter 165
Ldappasswd Command
Ldappasswd Command
Chapter 167
168
To Change Passwords
Chapter 169
To Change Passwords
Cannot Change Passwords on Replica Servers
Chapter 171
172
Chapter 173
To Change Personal Information
To Change Personal Information
174
Mozilla Ldap C SDK
Chapter 175
176
Mozilla Ldap C SDK File Components on the PA machine
Mozilla Ldap C SDK File Components
Mozilla Ldap C SDK File Components
Files Description
Mozilla Ldap C SDK File Components on the IA machine
Chapter 179
Mozilla Ldap C SDK API Header Files
Header Files Description
Chapter 181
182
Table A-1 LDAP-UX Client Services Configuration Worksheet
Appendix a 183
Appendix a
Appendix a 185
186
Classes
Appendix B 187
Appendix B
Profile Attributes
Profile Attributes
Appendix B 189
190
file
Appendix C 191
Sample /etc/pam.ldap.trusted file
Appendix C
Appendix C 193
194
Ldap Data Interchange Format Ldif
PAM Authorization Service Module
Glossary
Glossary 195
Slapd
Glossary
Symbols
Index
NIS, 2, 12, 15
Pwget, 4, 69
200