NET INSTALLATION
21. | 41 |
| |
| 42 |
| 43 |
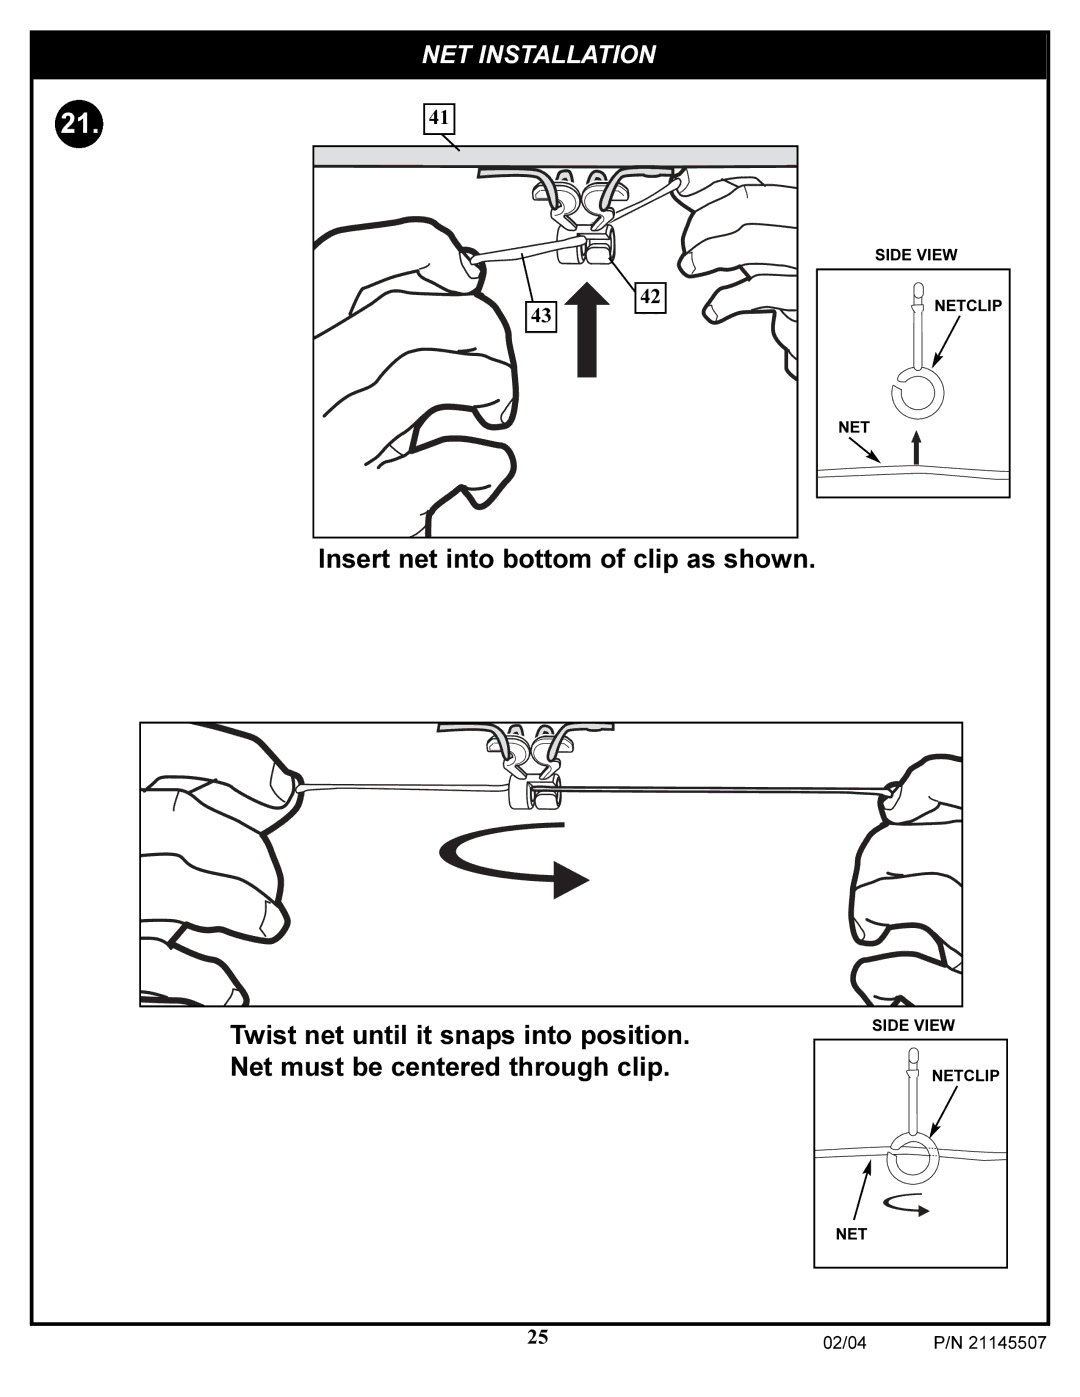
Insert net into bottom of clip as shown.
SIDE VIEW
NETCLIP
NET
Twist net until it snaps into position. Net must be centered through clip.
SIDE VIEW
NETCLIP
NET
25 | 02/04 | P/N 21145507 |
NET INSTALLATION
21. | 41 |
| |
| 42 |
| 43 |
SIDE VIEW
NETCLIP
NET
Twist net until it snaps into position. Net must be centered through clip.
SIDE VIEW
NETCLIP
NET
25 | 02/04 | P/N 21145507 |