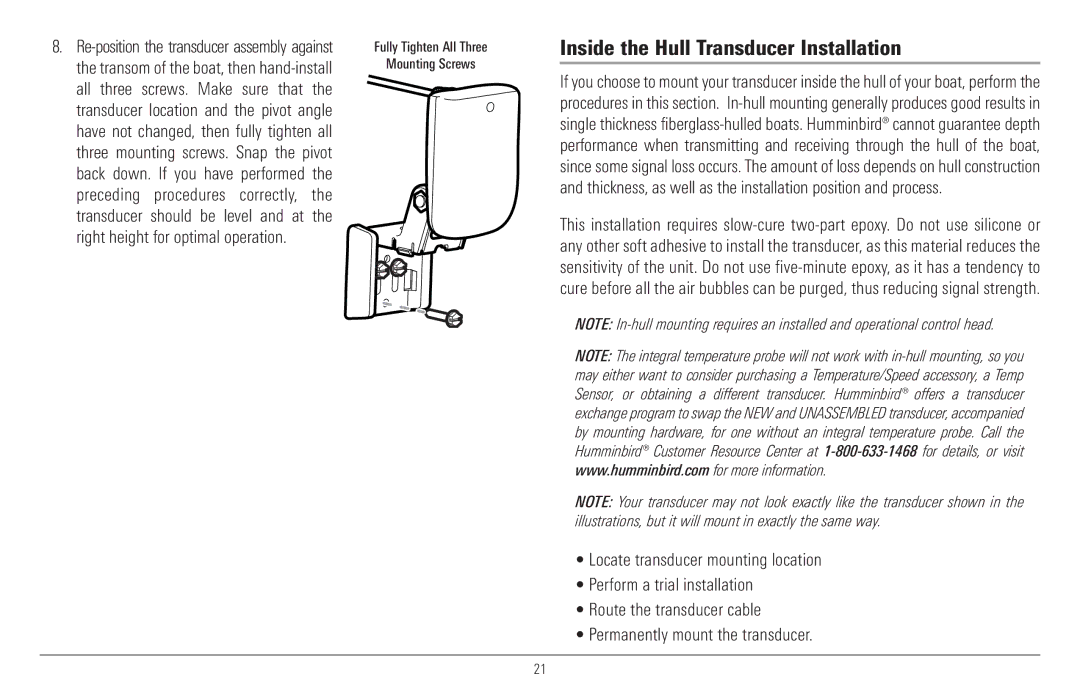
8.
Fully Tighten All Three | Inside the Hull Transducer Installation |
Mounting Screws | If you choose to mount your transducer inside the hull of your boat, perform the |
| |
| procedures in this section. |
| single thickness |
| performance when transmitting and receiving through the hull of the boat, |
| since some signal loss occurs. The amount of loss depends on hull construction |
| and thickness, as well as the installation position and process. |
| This installation requires |
| any other soft adhesive to install the transducer, as this material reduces the |
| sensitivity of the unit. Do not use |
| cure before all the air bubbles can be purged, thus reducing signal strength. |
| NOTE: |
| NOTE: The integral temperature probe will not work with |
| may either want to consider purchasing a Temperature/Speed accessory, a Temp |
| Sensor, or obtaining a different transducer. Humminbird® offers a transducer |
| exchange program to swap the NEW and UNASSEMBLED transducer, accompanied |
| by mounting hardware, for one without an integral temperature probe. Call the |
| Humminbird® Customer Resource Center at |
| www.humminbird.com for more information. |
| NOTE: Your transducer may not look exactly like the transducer shown in the |
| illustrations, but it will mount in exactly the same way. |
| • Locate transducer mounting location |
| • Perform a trial installation |
| • Route the transducer cable |
| • Permanently mount the transducer. |
21