Setting up the remote connection
To configure and manage the BladeCenter unit and blade servers, you must first set up the remote connection through the external Ethernet port on the management module.
Cabling the Ethernet port
Complete the following steps to connect the Ethernet cable to the management module:
1.Connect one end of a Category 5 or higher Ethernet cable to the Ethernet port on the management module. Connect the other end of the Ethernet cable to the network.
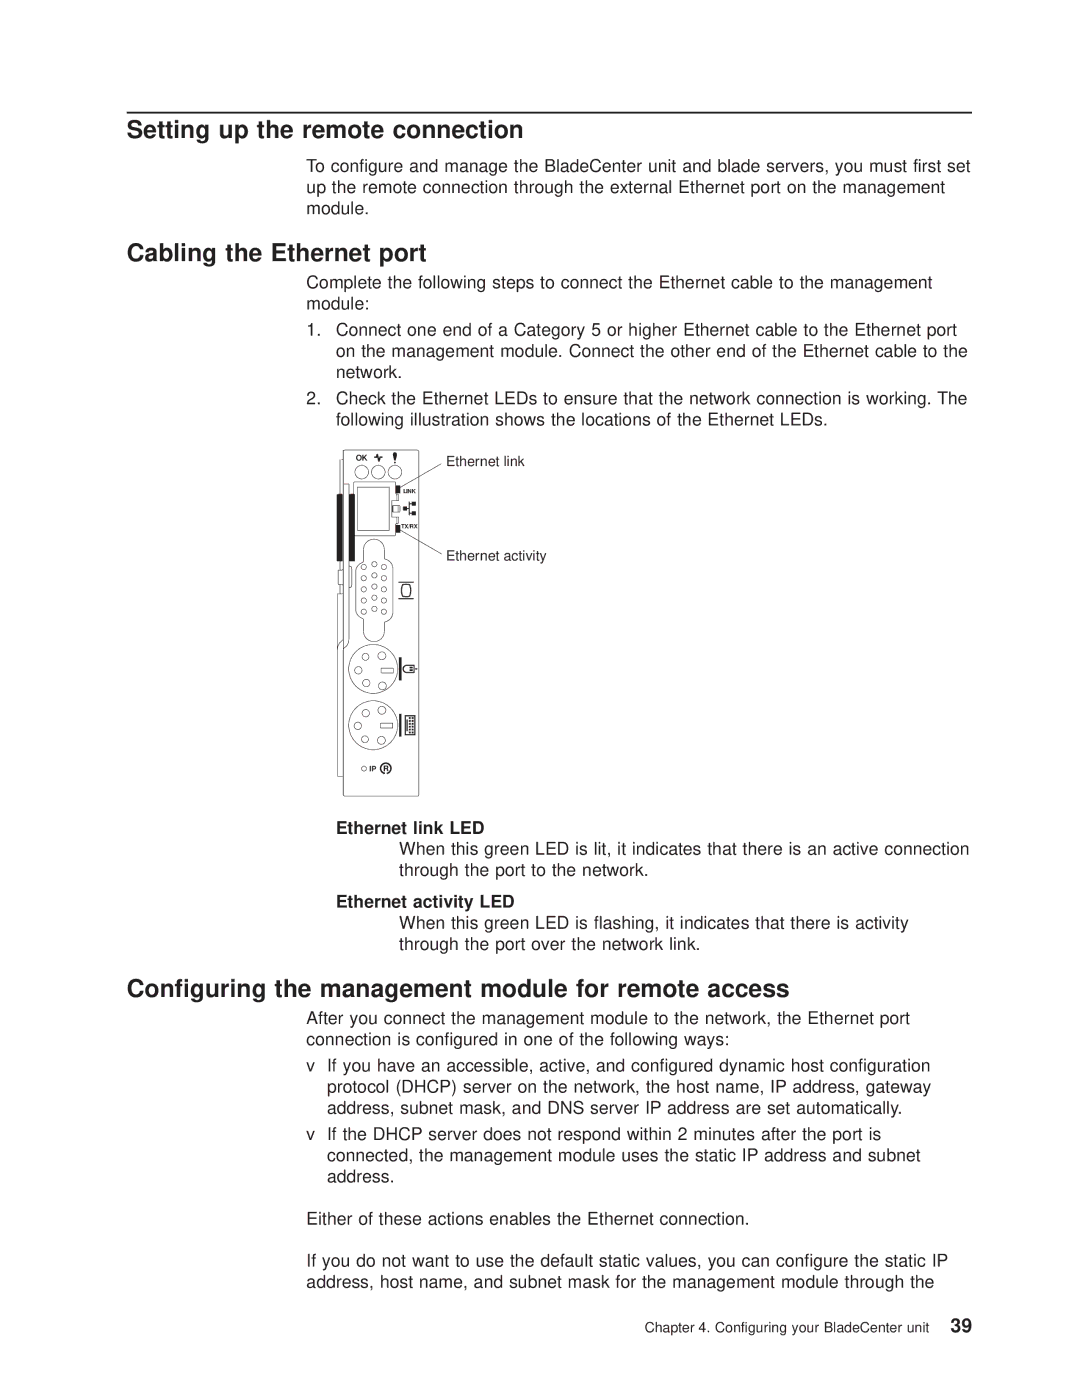
2.Check the Ethernet LEDs to ensure that the network connection is working. The following illustration shows the locations of the Ethernet LEDs.
OK
Ethernet link
LINK
![]()
![]() TX/RX
TX/RX
Ethernet activity
IP
Ethernet link LED
When this green LED is lit, it indicates that there is an active connection through the port to the network.
Ethernet activity LED
When this green LED is flashing, it indicates that there is activity through the port over the network link.
Configuring the management module for remote access
After you connect the management module to the network, the Ethernet port connection is configured in one of the following ways:
vIf you have an accessible, active, and configured dynamic host configuration protocol (DHCP) server on the network, the host name, IP address, gateway address, subnet mask, and DNS server IP address are set automatically.
vIf the DHCP server does not respond within 2 minutes after the port is connected, the management module uses the static IP address and subnet address.
Either of these actions enables the Ethernet connection.
If you do not want to use the default static values, you can configure the static IP address, host name, and subnet mask for the management module through the
Chapter 4. Configuring your BladeCenter unit 39