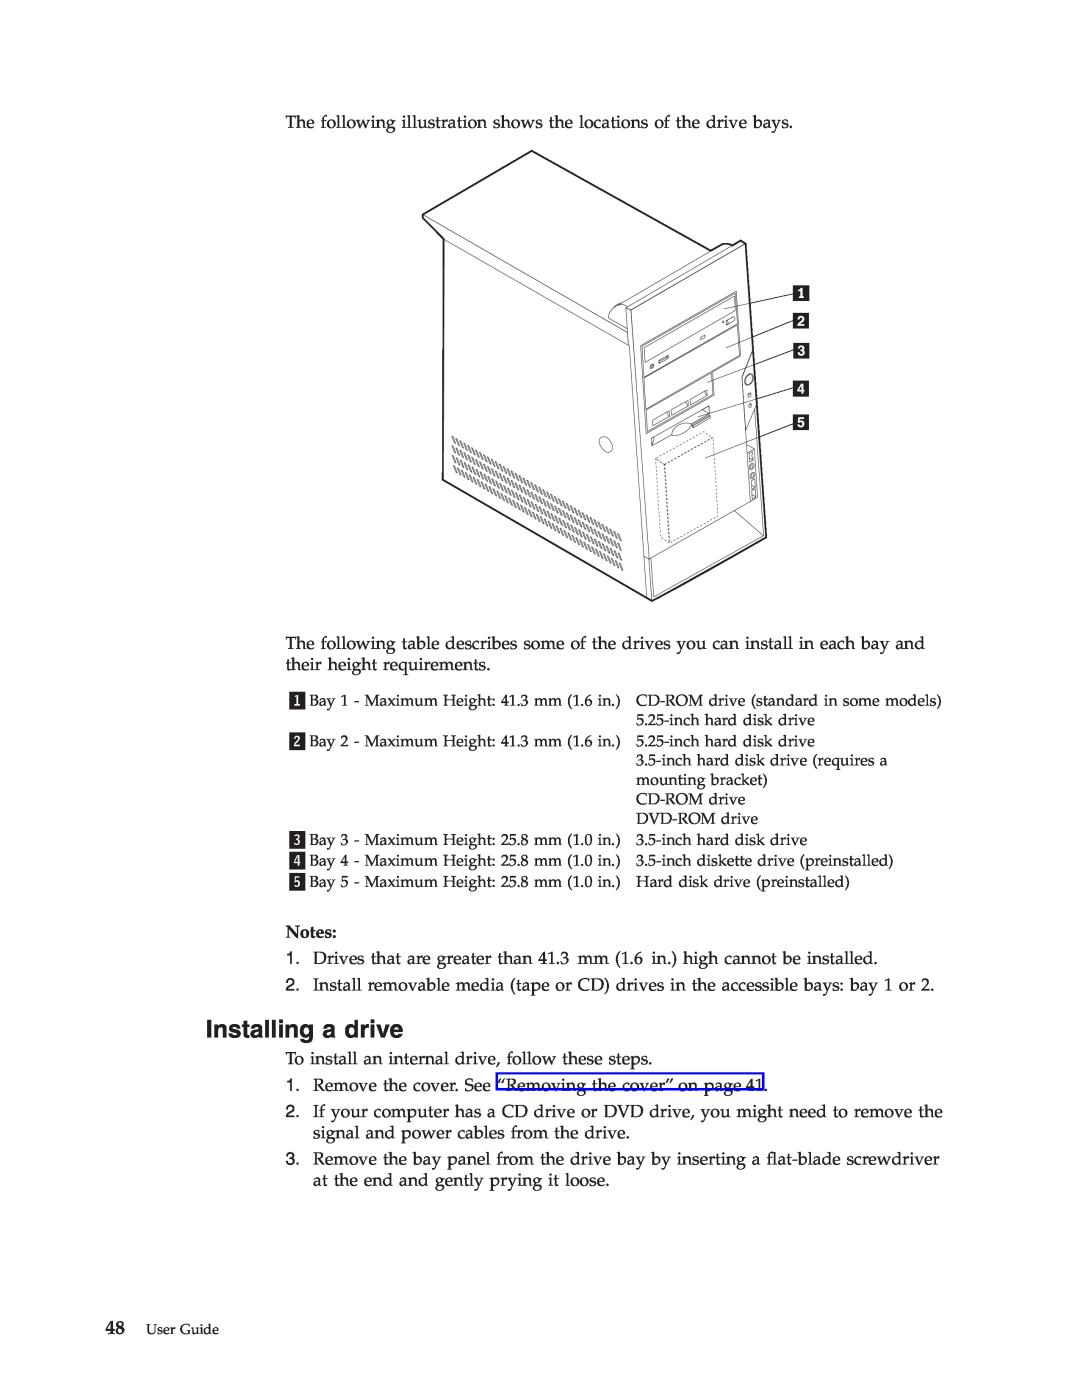
The following illustration shows the locations of the drive bays.
The following table describes some of the drives you can install in each bay and their height requirements.
Bay 1 - Maximum Height: 41.3 mm (1.6 in.)
Bay 2 - Maximum Height: 41.3 mm (1.6 in.)
Bay 3 - Maximum Height: 25.8 mm (1.0 in.)
Bay 4 - Maximum Height: 25.8 mm (1.0 in.)
Bay 5 - Maximum Height: 25.8 mm (1.0 in.)
Notes:
1.Drives that are greater than 41.3 mm (1.6 in.) high cannot be installed.
2.Install removable media (tape or CD) drives in the accessible bays: bay 1 or 2.
Installing a drive
To install an internal drive, follow these steps.
1.Remove the cover. See “Removing the cover” on page 41.
2.If your computer has a CD drive or DVD drive, you might need to remove the signal and power cables from the drive.
3.Remove the bay panel from the drive bay by inserting a