Service and Support section of our website at www.ibm.com/pc/support.
monitor network
computer in | serial control |
The projector can be managed by ProjectorNet networking software through its Network connector.
monitor network
computer in | serial control |
Network ![]()
Displaying a computer image
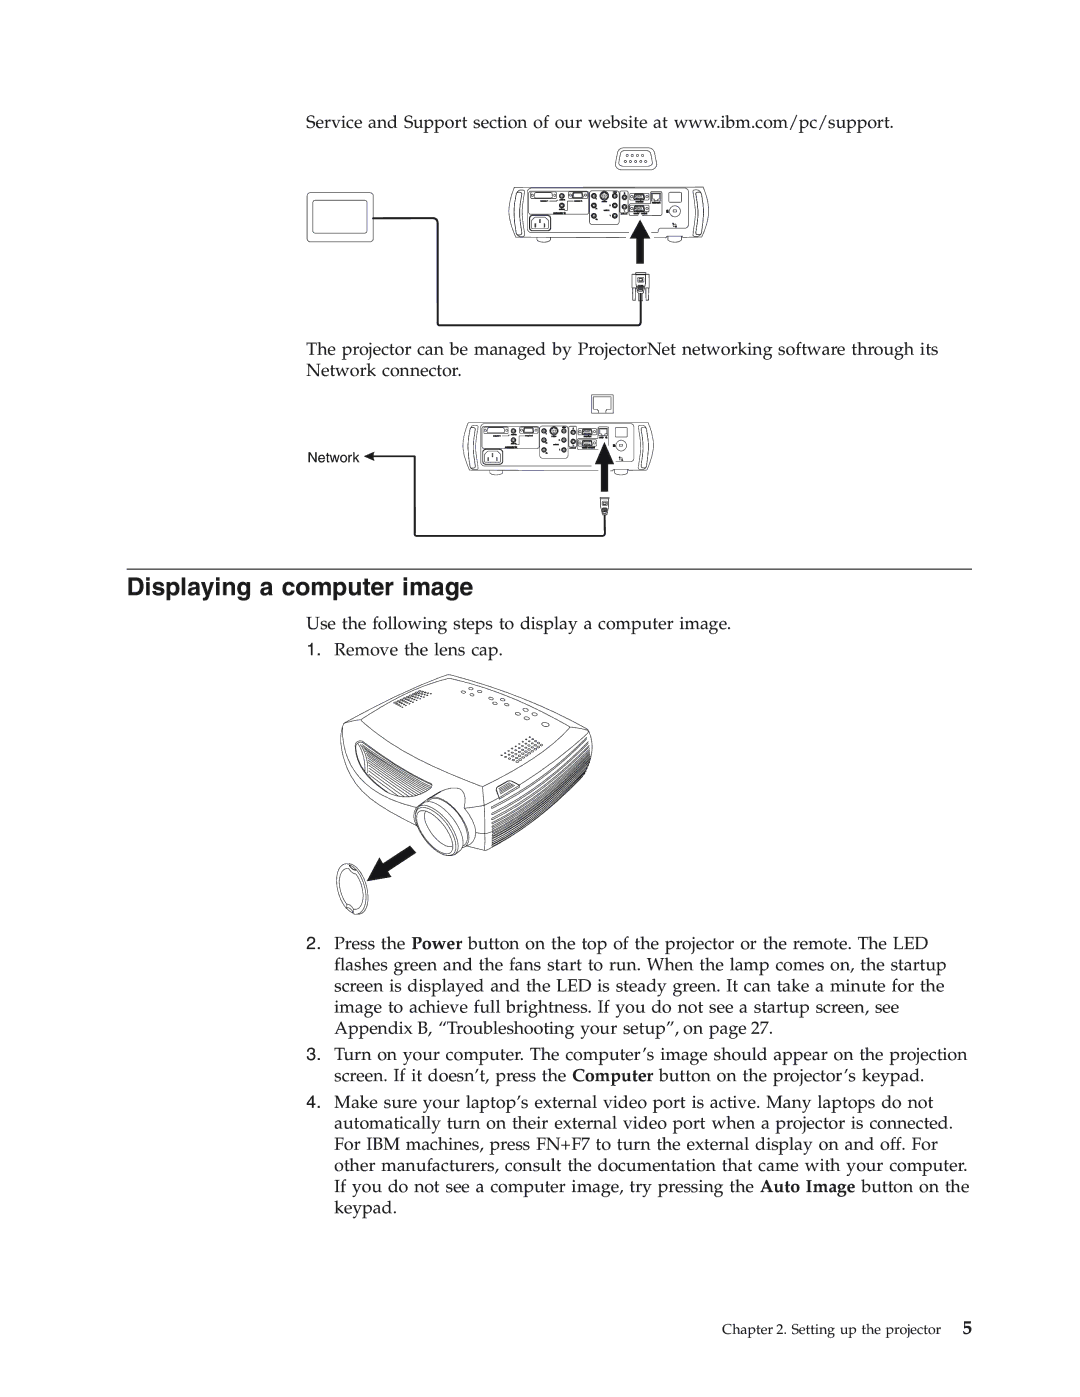
Use the following steps to display a computer image.
1.Remove the lens cap.
2.Press the Power button on the top of the projector or the remote. The LED flashes green and the fans start to run. When the lamp comes on, the startup screen is displayed and the LED is steady green. It can take a minute for the image to achieve full brightness. If you do not see a startup screen, see Appendix B, “Troubleshooting your setup”, on page 27.
3.Turn on your computer. The computer’s image should appear on the projection screen. If it doesn’t, press the Computer button on the projector’s keypad.
4.Make sure your laptop’s external video port is active. Many laptops do not automatically turn on their external video port when a projector is connected. For IBM machines, press FN+F7 to turn the external display on and off. For other manufacturers, consult the documentation that came with your computer. If you do not see a computer image, try pressing the Auto Image button on the keypad.
Chapter 2. Setting up the projector 5