20.At the Xerox DocuColor 12, install the selected image area. (See Xerox DocuColor 12 User’s Guide.)
21.Restart both the client and Imation Matchprint™ Professional Server systems.
22.Add the new printer at the client. (See steps
Note: When adding the printer after changing the image area setting, it may take up to 15 minutes for it to show up on the system.
8 | Macintosh® Client PPD | |
.3 | ||
|
The Macintosh® client PPD is available to download using the Imation Matchprint™ Professional Server
Loading PPD from CD-ROM
1.Determine which mode of Printer Image Area (Normal or Expanded) the Imation Matchprint™ Professional Server is operating.
2.It is recommended that any virus protection software be disabled before you use the
3.Insert the Imation Matchprint™ Professional Server
4.
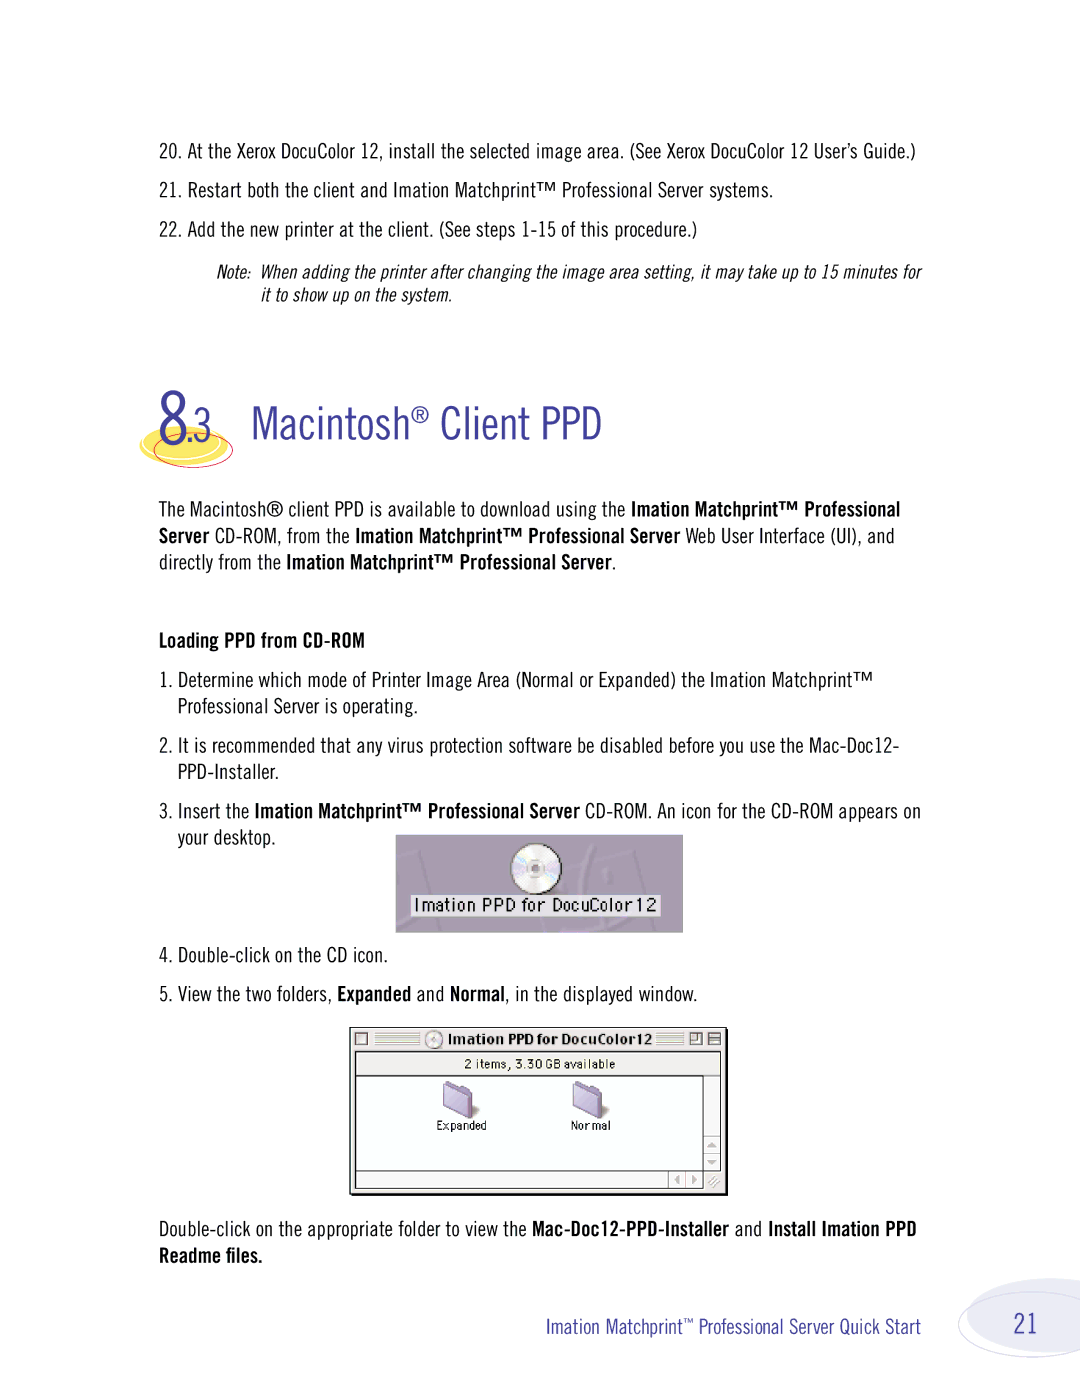
5.View the two folders, Expanded and Normal, in the displayed window.
Readme files.
Imation Matchprint™ Professional Server Quick Start | 21 |