Intel CB60-ZX IDE Hard Disk Interface, Adding a Second IDE Hard Drive, Hardware Installation

Models: CB60-ZX CB60-BX

1 62
Download 62 pages 57.2 Kb
Page 19
Image 19
2.7.5 IDE Hard Disk Interface

Adding a Second IDE Hard DriveManual backgroundManual backgroundManual backgroundManual backgroundManual background Hardware Installation

2.7.5 IDE Hard Disk Interface

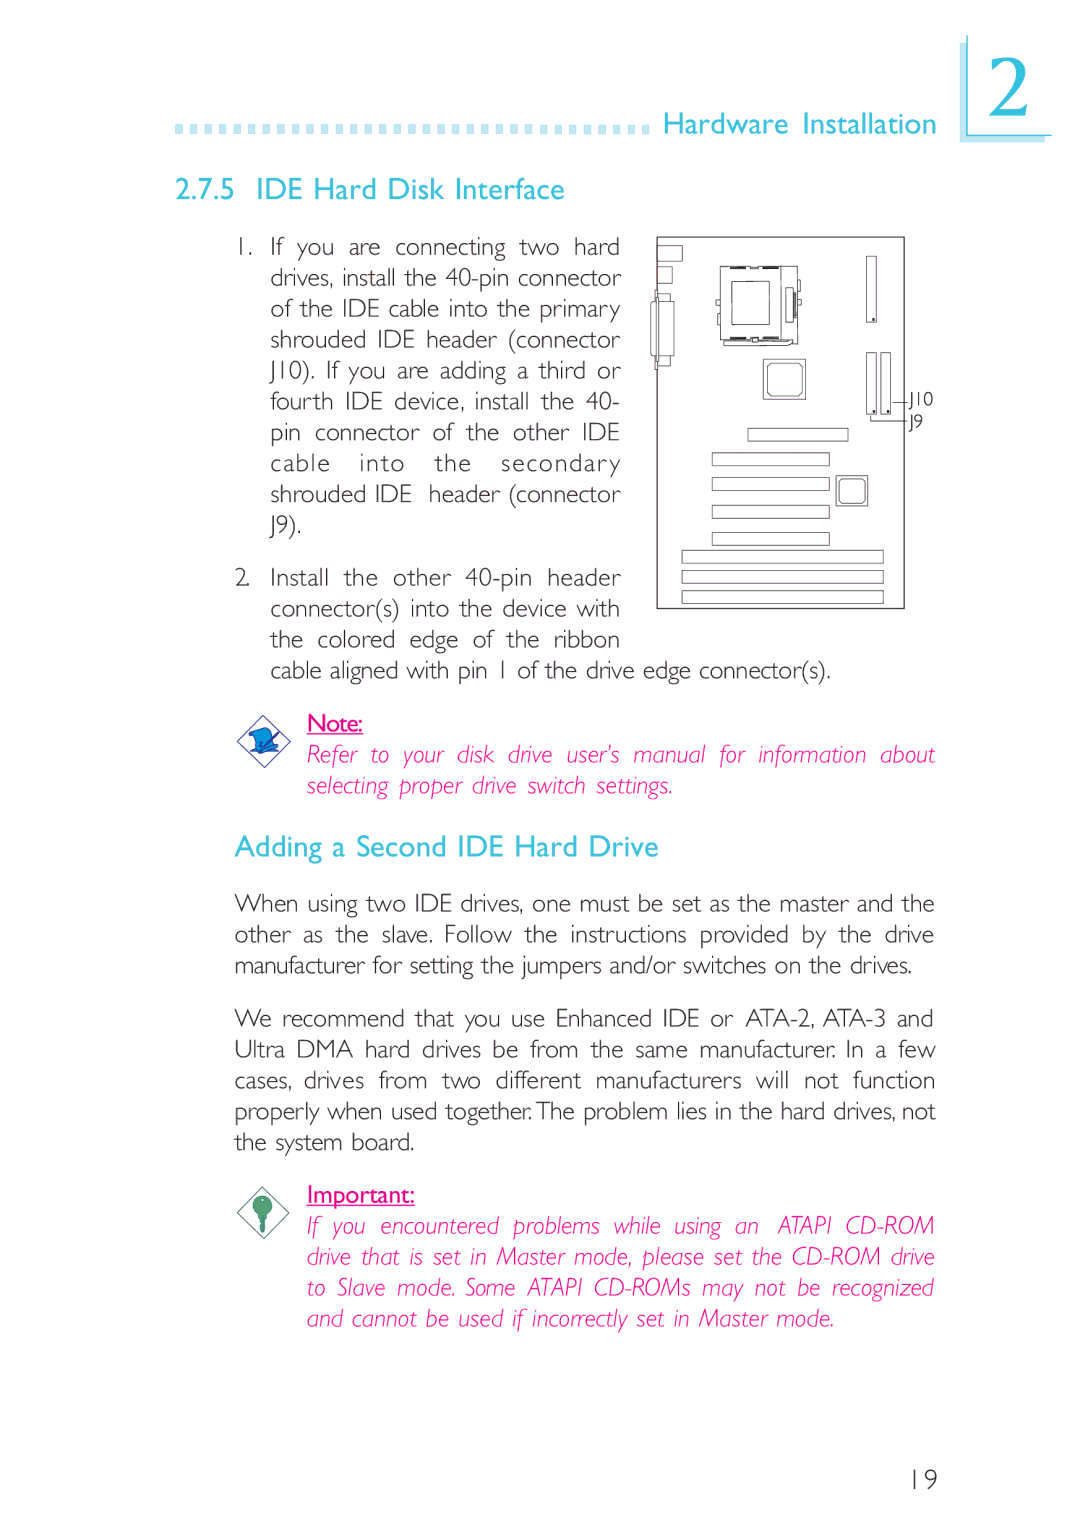
1. If you are connecting two hard drives, install the 40-pin connector of the IDE cable into the primary shrouded IDE header (connector J10). If you are adding a third or fourth IDE device, install the 40- pin connector of the other IDE cable into the secondar y shrouded IDE header (connector J9).

2. Install the other 40-pin header connector(s) into the device with the colored edge of the ribbon

cable aligned with pin 1 of the drive edge connector(s).

Note:

Refer to your disk drive user’s manual for information about selecting proper drive switch settings.

Adding a Second IDE Hard Drive

When using two IDE drives, one must be set as the master and the other as the slave. Follow the instructions provided by the drive manufacturer for setting the jumpers and/or switches on the drives.

We recommend that you use Enhanced IDE or ATA-2, ATA-3 and Ultra DMA hard drives be from the same manufacturer. In a few cases, drives from two different manufacturers will not function properly when used together. The problem lies in the hard drives, not the system board.

Important:

If you encountered problems while using an ATAPI CD-ROM drive that is set in Master mode, please set the CD-ROM drive to Slave mode. Some ATAPI CD-ROMs may not be recognized and cannot be used if incorrectly set in Master mode.

2

19

Page 19
Image 19
Intel CB60-ZX, CB60-BX manual IDE Hard Disk Interface, Adding a Second IDE Hard Drive, Hardware Installation