S5000VSA specifications
The Intel S5000VSA is a server motherboard that has been tailored to meet the needs of businesses requiring a reliable and scalable infrastructure. Designed for Intel's 5000 series of chipsets, this motherboard is notable for its standards in performance, flexibility, and management capabilities.One of the standout features of the Intel S5000VSA is its support for dual Intel Xeon processors. The flexibility to utilize various Xeon chips allows organizations to select the optimal processing power for their specific workloads, whether that be database management, virtualization, or heavy computation tasks. This capability is essential for providing the high levels of performance and responsiveness businesses demand in their server environments.
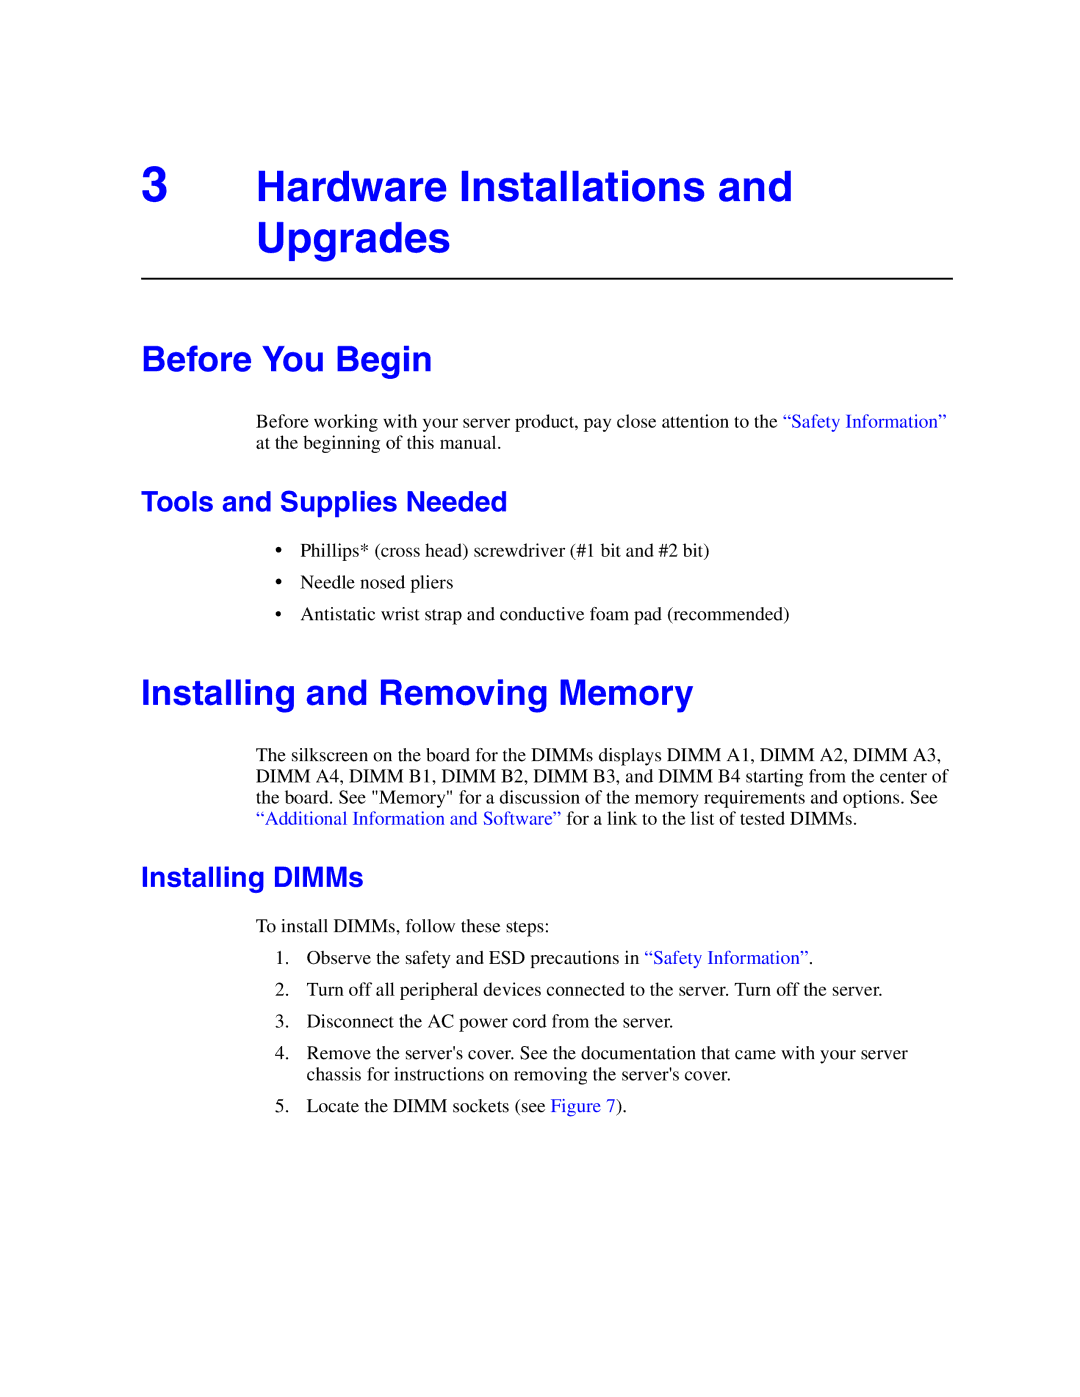
The motherboard supports up to 32GB of memory using DDR2 technology, with eight DIMM slots available for expansion. This memory capacity allows for significant multitasking and resource management, essential in data-heavy server applications. The board supports both ECC (Error-Correcting Code) and non-ECC memory, offering organizations options depending on their fault tolerance needs.
In terms of connectivity, the S5000VSA comes equipped with multiple PCI Express slots, providing ample options for expandability with various I/O cards or additional network interfaces. This is particularly important as businesses grow and require additional capabilities or higher performance networking solutions.
The Intel S5000VSA is also noted for its advanced management features. Integrated Remote Management capabilities enable IT administrators to monitor and manage the system from afar, enhancing both uptime and ease of maintenance. Support for Intel’s Active Management Technology (AMT) allows for greater control over the server and improves security by enabling remote management regardless of the operating system state.
Another important aspect of the S5000VSA is its built-in RAID controller that supports several RAID levels. This feature enhances data reliability and performance, allowing users to configure their storage systems according to their needs, whether they prioritize speed or redundancy.
In summary, the Intel S5000VSA is a robust server motherboard designed with scalability, performance, and management in mind. It supports dual Xeon processors, offers extensive memory options, and provides essential features such as RAID support and remote management. This makes it a suitable choice for data centers and enterprises looking for a competitive edge through advanced technology.