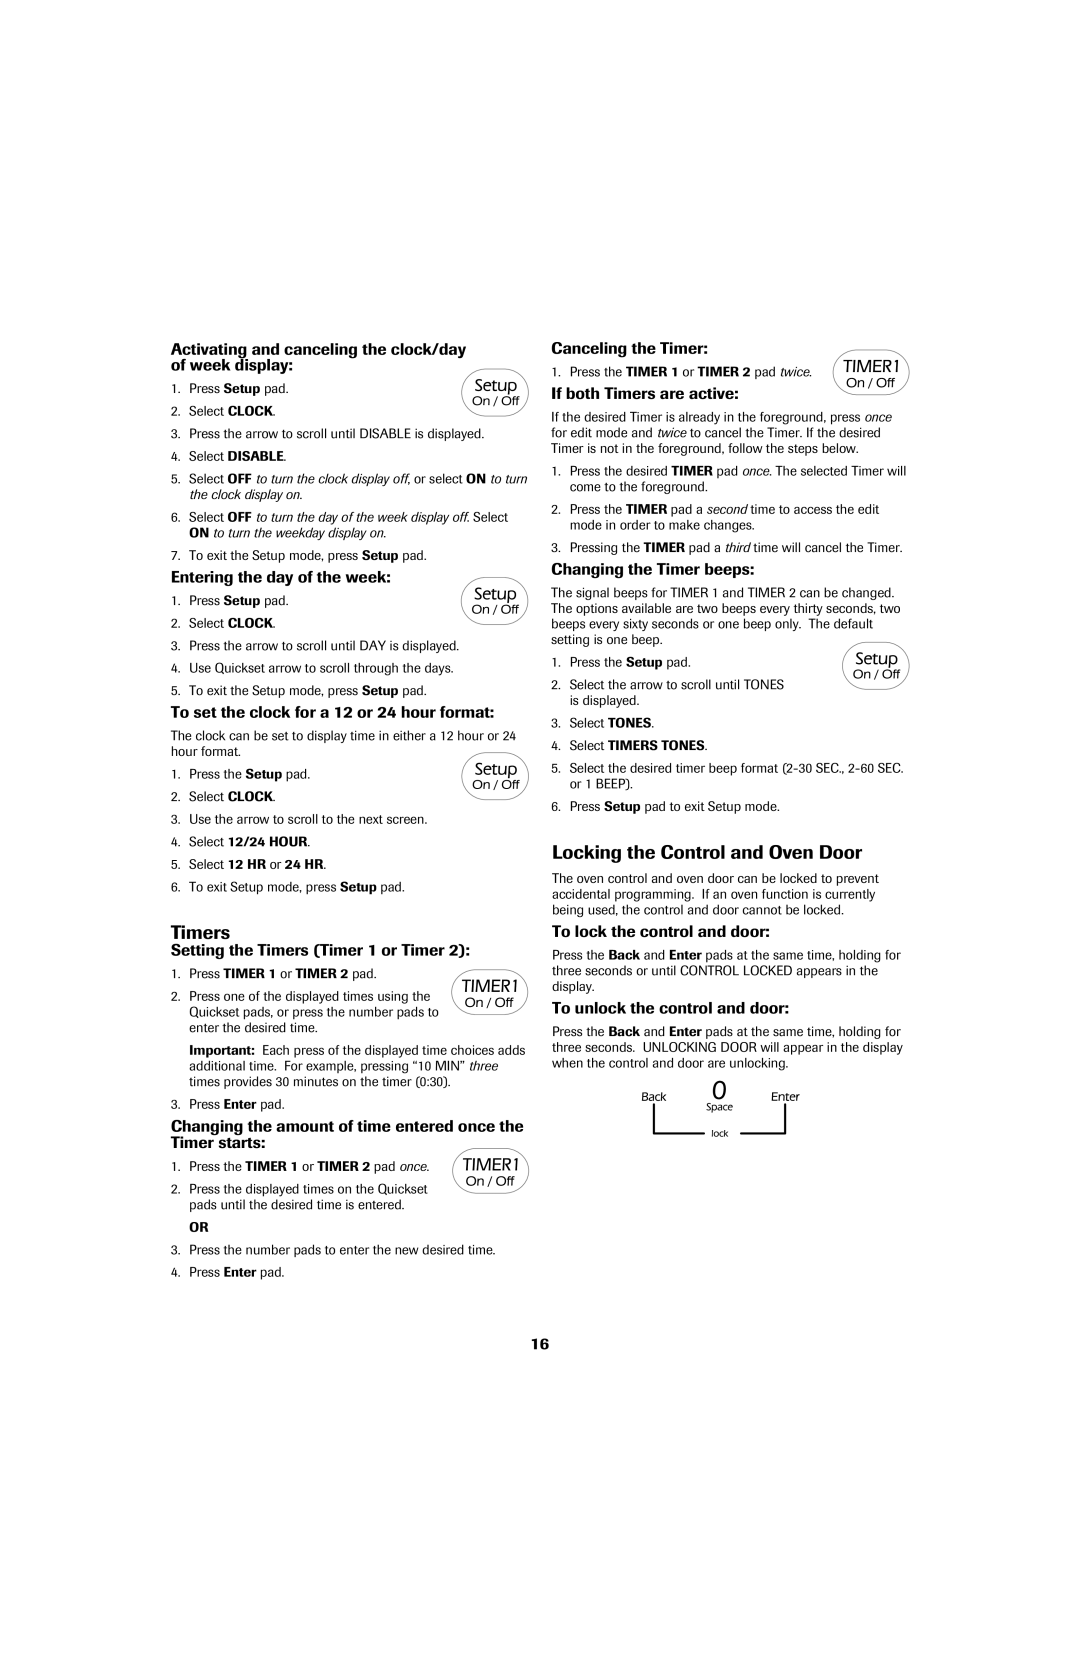
Activating and canceling the clock/day of week display:

1. Press Setup pad.

2.Select CLOCK.

3.Press the arrow to scroll until DISABLE is displayed.

4.Select DISABLE.

5.Select OFF to turn the clock display off, or select ON to turn the clock display on.

6.Select OFF to turn the day of the week display off. Select ON to turn the weekday display on.

7.To exit the Setup mode, press Setup pad.

Entering the day of the week:

1. Press Setup pad.

2.Select CLOCK.

3.Press the arrow to scroll until DAY is displayed.

4.Use Quickset arrow to scroll through the days.

5.To exit the Setup mode, press Setup pad.

To set the clock for a 12 or 24 hour format:

The clock can be set to display time in either a 12 hour or 24 hour format.

1. Press the Setup pad.

2.Select CLOCK.

3.Use the arrow to scroll to the next screen.

4.Select 12/24 HOUR.

5.Select 12 HR or 24 HR.

6.To exit Setup mode, press Setup pad.

Timers

Setting the Timers (Timer 1 or Timer 2):

1.Press TIMER 1 or TIMER 2 pad.

2.Press one of the displayed times using the Quickset pads, or press the number pads to enter the desired time.

Important: Each press of the displayed time choices adds additional time. For example, pressing “10 MIN” three times provides 30 minutes on the timer (0:30).

3.Press Enter pad.

Changing the amount of time entered once the Timer starts:

1. Press the TIMER 1 or TIMER 2 pad once.

2.Press the displayed times on the Quickset pads until the desired time is entered.

OR

3.Press the number pads to enter the new desired time.

4.Press Enter pad.

Canceling the Timer:

1. Press the TIMER 1 or TIMER 2 pad twice.

If both Timers are active:

If the desired Timer is already in the foreground, press once for edit mode and twice to cancel the Timer. If the desired Timer is not in the foreground, follow the steps below.

1.Press the desired TIMER pad once. The selected Timer will come to the foreground.

2.Press the TIMER pad a second time to access the edit mode in order to make changes.

3.Pressing the TIMER pad a third time will cancel the Timer.

Changing the Timer beeps:

The signal beeps for TIMER 1 and TIMER 2 can be changed. The options available are two beeps every thirty seconds, two beeps every sixty seconds or one beep only. The default setting is one beep.

1. Press the Setup pad.

2.Select the arrow to scroll until TONES is displayed.

3.Select TONES.

4.Select TIMERS TONES.

5.Select the desired timer beep format (2-30 SEC., 2-60 SEC. or 1 BEEP).

6.Press Setup pad to exit Setup mode.

Locking the Control and Oven Door

The oven control and oven door can be locked to prevent accidental programming. If an oven function is currently being used, the control and door cannot be locked.

To lock the control and door:

Press the Back and Enter pads at the same time, holding for three seconds or until CONTROL LOCKED appears in the display.

To unlock the control and door:

Press the Back and Enter pads at the same time, holding for three seconds. UNLOCKING DOOR will appear in the display when the control and door are unlocking.

16

Page 17
Image 17
Jenn-Air air filter important safety instructions Timers, Locking the Control and Oven Door

air filter specifications

Jenn-Air air filters are designed to provide superior air quality and enhance the performance of your kitchen ventilation system. These filters play a vital role in removing airborne particles, grease, and odors, ensuring that your cooking environment remains fresh and clean.

One of the main features of Jenn-Air air filters is their high-efficiency filtration system. They utilize advanced materials that capture a larger volume of particles compared to traditional filters. This not only helps in maintaining better air quality but also contributes to more efficient operation of the ventilation system, reducing wear and tear.

The technology used in Jenn-Air air filters includes a multi-layered design that maximizes contaminant capture while minimizing airflow resistance. This ensures that your range hood or ventilation system works efficiently while effectively eliminating cooking odors and smoke. Many of these filters are designed to be easily washable, allowing you to maintain optimal performance without the need for frequent replacements.

In addition to their filtration capabilities, Jenn-Air air filters are engineered for durability. They are constructed from high-quality materials that can withstand the rigors of daily cooking. This long-lasting design means that homeowners can expect reliable performance over time, reducing the hassle of regular filter changes.

Compatibility is another key characteristic of Jenn-Air air filters. They are designed to fit seamlessly into a variety of Jenn-Air appliances, ensuring that you don’t have to compromise on air quality regardless of your kitchen setup. Whether you are using a wall-mounted, island, or under-cabinet hood, there is a Jenn-Air filter to meet your needs.

Furthermore, Jenn-Air emphasizes ease of use in their design. Many filters feature an indicator that notifies users when it’s time for cleaning or replacement, promoting proactive maintenance and ensuring optimal performance.

In conclusion, Jenn-Air air filters offer powerful filtration technology, durable construction, and user-friendly features that collectively enhance indoor air quality. With their commitment to performance and design, Jenn-Air continues to set standards in kitchen ventilation, making them a top choice for discerning homeowners who value a clean and comfortable cooking environment.