4.Touch START to preheat oven.

Place frozen pizza in oven when preheat signal sounds.

OR

5.If a cook time, Keep Warm™ or Delay Start function is desired, touch TIMER NOT SET to enter the Cook Time screen or touch DELAY START from the temperature pad.

Enter a cooking length using the on-screen number keyboard to set a timer to alert when cooking ends. The cook time may not exceed 12:00:00. The oven will turn off when the cook time expires.

Auto Convection Conversion

Convection temperatures and/or times differ from those of standard cooking. The oven can automatically reduce the standard recipe temperature and/or time for convection cooking.

By selecting Auto Convection Conversion, you can select a category then enter a temperature and time according to the recipe or package instructions. The oven will convert the time and/or temperature you entered.

The conversion may not be exact because foods are grouped in general categories.

To Use Auto Convection Conversion:

1.From the Home tab, Touch AUTO CONVECTION CONVERSION.

2.Select an Automatic Convection Recipe Conversion mode:

Convect Bake

Casseroles, cakes, baked goods,


cookies

Convect Roast

Whole chicken/turkey, vegetables,


pork/beef roasts

Convect Pastry

Frozen pie, turnovers, cream puffs,


puff pastry

Manual

View all manual modes to skip the


recipe update process

3.Enter standard cooking temperature. Use the slider to enter a desired cooking temperature or touch the buttons -5ºF (-1ºC) or +5ºF (+1ºC).

4.Touch SET TIMER.

5.If Set Timer is chosen, enter standard cooking time using the on-screen number keyboard.

6.Touch NEXT or SKIP TIMER.

7.Touch ON or OFF on Reminder button. It reminds you to check food when 20% of the timer remains.

8.If Skip Timer is chosen, you will review your converted settings and be able to set Reminder and Delay Start.

9.The Cook Timer value will show “Not Set.”

10.Touch START to begin preheating oven or DELAY START to use the converted setting when the delay time expires. See “Delay Start” section for additional information.

11.Place food in oven when preheat signal sounds. Screen will also prompt you when to insert food.

12.When the cook timer ends, you can start the Keep Warm™ cycle if not preset, Add More Time or Cancel the timer.

13.Touch CANCEL (CANCEL LEFT or CANCEL RIGHT on 48" [121.9 cm] models) to turn off the oven.

Proof

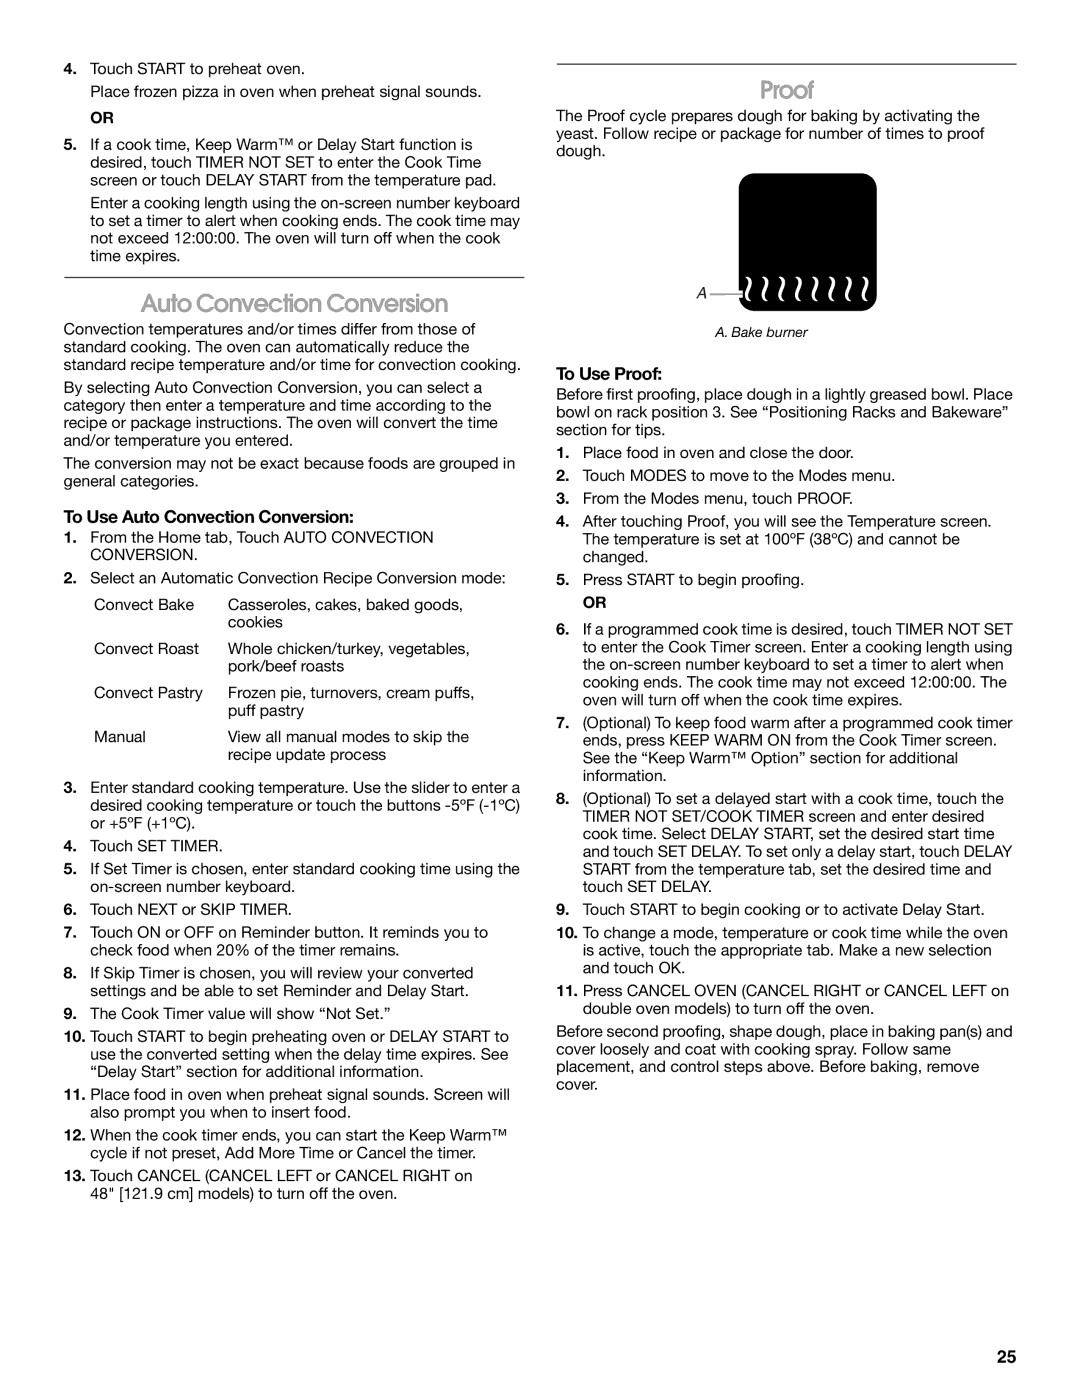
The Proof cycle prepares dough for baking by activating the yeast. Follow recipe or package for number of times to proof dough.

A

A. Bake burner

To Use Proof:

Before first proofing, place dough in a lightly greased bowl. Place bowl on rack position 3. See “Positioning Racks and Bakeware” section for tips.

1.Place food in oven and close the door.

2.Touch MODES to move to the Modes menu.

3.From the Modes menu, touch PROOF.

4.After touching Proof, you will see the Temperature screen. The temperature is set at 100ºF (38ºC) and cannot be changed.

5.Press START to begin proofing.

OR

6.If a programmed cook time is desired, touch TIMER NOT SET to enter the Cook Timer screen. Enter a cooking length using the on-screen number keyboard to set a timer to alert when cooking ends. The cook time may not exceed 12:00:00. The oven will turn off when the cook time expires.

7.(Optional) To keep food warm after a programmed cook timer ends, press KEEP WARM ON from the Cook Timer screen. See the “Keep Warm™ Option” section for additional information.

8.(Optional) To set a delayed start with a cook time, touch the TIMER NOT SET/COOK TIMER screen and enter desired cook time. Select DELAY START, set the desired start time and touch SET DELAY. To set only a delay start, touch DELAY START from the temperature tab, set the desired time and touch SET DELAY.

9.Touch START to begin cooking or to activate Delay Start.

10.To change a mode, temperature or cook time while the oven is active, touch the appropriate tab. Make a new selection and touch OK.

11.Press CANCEL OVEN (CANCEL RIGHT or CANCEL LEFT on double oven models) to turn off the oven.

Before second proofing, shape dough, place in baking pan(s) and cover loosely and coat with cooking spray. Follow same placement, and control steps above. Before baking, remove cover.

25

Page 25
Image 25
Jenn-Air JGRP430, JGRP548, JGRP536, JGRP436 manual To Use Auto Convection Conversion, To Use Proof

JGRP436, JGRP536, JGRP430, JGRP548 specifications

Jenn-Air is renowned for its premium kitchen appliances, and the JGRP series of gas ranges exemplifies this commitment to quality and innovation. Among the standout models in this collection are the JGRP436, JGRP430, JGRP536, and JGRP548, each offering distinctive features and technologies to elevate the culinary experience.

The Jenn-Air JGRP436 is a 36-inch professional-style range featuring four burners and a griddle, providing ample cooking space and versatility. One of its key technologies is the dual-ring burner, which allows for both high-power simmering and gentle cooking, ensuring precision in heat control. Additionally, this model includes the Even-Heat True Convection system, promoting even baking and roasting by circulating heat throughout the oven cavity.

Similarly, the JGRP430 model presents a more compact 30-inch option without compromising on performance. With four sealed burners, this range delivers powerful heat and a sleek design. The Continuous Cast Iron Grates offer stability and ease while moving pots and pans, making it ideal for multitasking in the kitchen. This model also incorporates a self-cleaning oven, reducing maintenance time and effort for the busy home cook.

On the larger scale, the JGRP536 offers a remarkable six-burner configuration, perfect for chefs who entertain frequently or cook complex meals. With features like the Pro-Style Design and a powerful 20,000 BTU burner, this range ensures that you can handle multiple dishes simultaneously without losing the quality of heat. The addition of temperature probe technology enables precise cooking, ensuring meats and casseroles are cooked to perfection every time.

Lastly, the JGRP548 model stands out with its impressive eight-burner layout, making it a favorite for serious culinary enthusiasts. This range introduces a unique steam-assisted oven, which helps achieve professional-grade results for baking bread and delicate pastries. The high-performance burners are complemented by a sophisticated control interface, allowing users to monitor and adjust temperatures with precision.

Overall, the Jenn-Air JGRP series caters to diverse cooking styles and preferences, combining style, efficiency, and advanced technology. Whether you’re a home cook or a culinary expert, these ranges offer exceptional performance and features to inspire creativity in the kitchen. Each model reflects Jenn-Air's dedication to quality and user-friendly design, ensuring a seamless cooking experience.