Connections (continued)
Do not turn on the power until you complete the connection.
For the locations of the remote control buttons, refer to page 11.
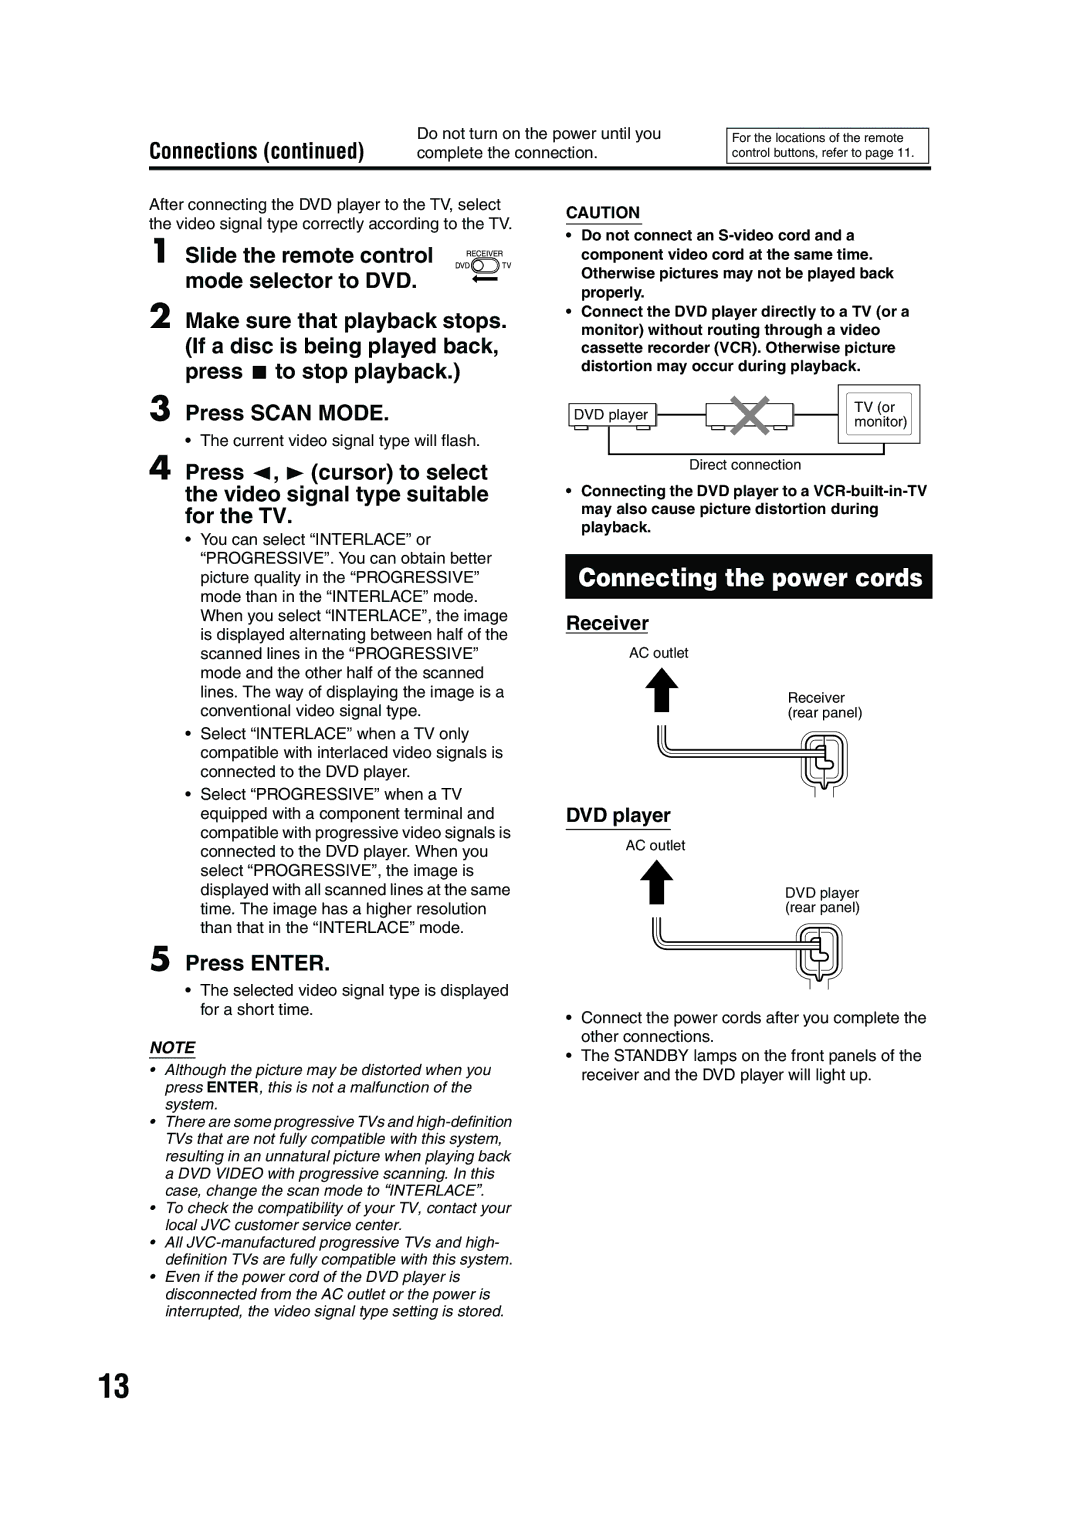
After connecting the DVD player to the TV, select the video signal type correctly according to the TV.
1 Slide the remote control mode selector to DVD.
2 Make sure that playback stops. (If a disc is being played back, press 7 to stop playback.)
3 Press SCAN MODE.
• The current video signal type will flash.
4 Press 2, 3 (cursor) to select the video signal type suitable for the TV.
•You can select “INTERLACE” or “PROGRESSIVE”. You can obtain better picture quality in the “PROGRESSIVE” mode than in the “INTERLACE” mode. When you select “INTERLACE”, the image is displayed alternating between half of the scanned lines in the “PROGRESSIVE” mode and the other half of the scanned lines. The way of displaying the image is a conventional video signal type.
•Select “INTERLACE” when a TV only compatible with interlaced video signals is connected to the DVD player.
•Select “PROGRESSIVE” when a TV equipped with a component terminal and compatible with progressive video signals is connected to the DVD player. When you select “PROGRESSIVE”, the image is displayed with all scanned lines at the same time. The image has a higher resolution than that in the “INTERLACE” mode.
5 Press ENTER.
•The selected video signal type is displayed for a short time.
NOTE
•Although the picture may be distorted when you press ENTER, this is not a malfunction of the system.
•There are some progressive TVs and
•To check the compatibility of your TV, contact your local JVC customer service center.
•All
•Even if the power cord of the DVD player is disconnected from the AC outlet or the power is interrupted, the video signal type setting is stored.
CAUTION
•Do not connect an
•Connect the DVD player directly to a TV (or a monitor) without routing through a video cassette recorder (VCR). Otherwise picture distortion may occur during playback.
|
|
|
|
|
|
|
|
|
|
|
|
|
|
|
|
|
|
|
|
| TV (or | |
DVD player |
|
|
|
|
|
|
|
|
|
|
| |||||||||||
|
|
|
|
|
|
|
|
|
|
| monitor) | |||||||||||
|
|
|
|
|
|
|
|
|
|
|
|
|
|
|
|
|
|
|
|
| ||
|
|
|
|
|
|
|
|
|
|
|
|
|
|
|
|
|
|
|
|
|
|
|
|
|
|
|
|
|
|
|
|
|
|
|
|
|
|
|
|
|
|
|
|
|
|
Direct connection
•Connecting the DVD player to a
Connecting the power cords
Receiver
AC outlet
Receiver (rear panel)
DVD player
AC outlet
DVD player (rear panel)
•Connect the power cords after you complete the other connections.
•The STANDBY lamps on the front panels of the receiver and the DVD player will light up.
13
