28
 EN
EN


 RECORDING

Advanced
 Features
 (cont.)

White Balance Adjustment
A term that refers to the correctness of colour reproduction under various lighting. If the white balance is correct, all other colours will be accu- rately reproduced.
The white balance is usually adjusted automatically. However, more advanced camcorder operators control this function manually to achieve a more professional colour/tint reproduction.
1 Set the Power Switch to “ ![]() ”.
”.
2 Press MENU/BRIGHT. The Recording Menu appears.
3
4 The Recording Menu disappears. “W.BAL.” appears in the upper left corner and the currently selected mode indication is also displayed.
5 Rotate MENU/BRIGHT to display the desired setting.
“AUTO” – White balance is adjusted automati- cally (factory preset).
“![]() ” – White balance is set manually. “
” – White balance is set manually. “![]() ” – Outdoors on a sunny day.
” – Outdoors on a sunny day.
“ ![]() ” – Outdoors on a cloudy day.
” – Outdoors on a cloudy day.
“ ![]() ” – A video light or similar type of lighting is used.
” – A video light or similar type of lighting is used.
6 Press MENU/BRIGHT again. Selection is complete. The indication “W.BAL.” changes to “MANUAL”.
To Return To Automatic White Balance . . .
.... select “AUTO” in step 5. Or, set the Power
Switch to “![]() ”.
”.
NOTE:
White balance cannot be used when Sepia or Monotone (☞ pg. 24) is activated.
Manual White Balance Operation
Perform Manual White Balance when shooting under various types of lighting.
1 Follow steps 1 through 5 of the white balance adjustment, and select “![]() MAN.”.
MAN.”.
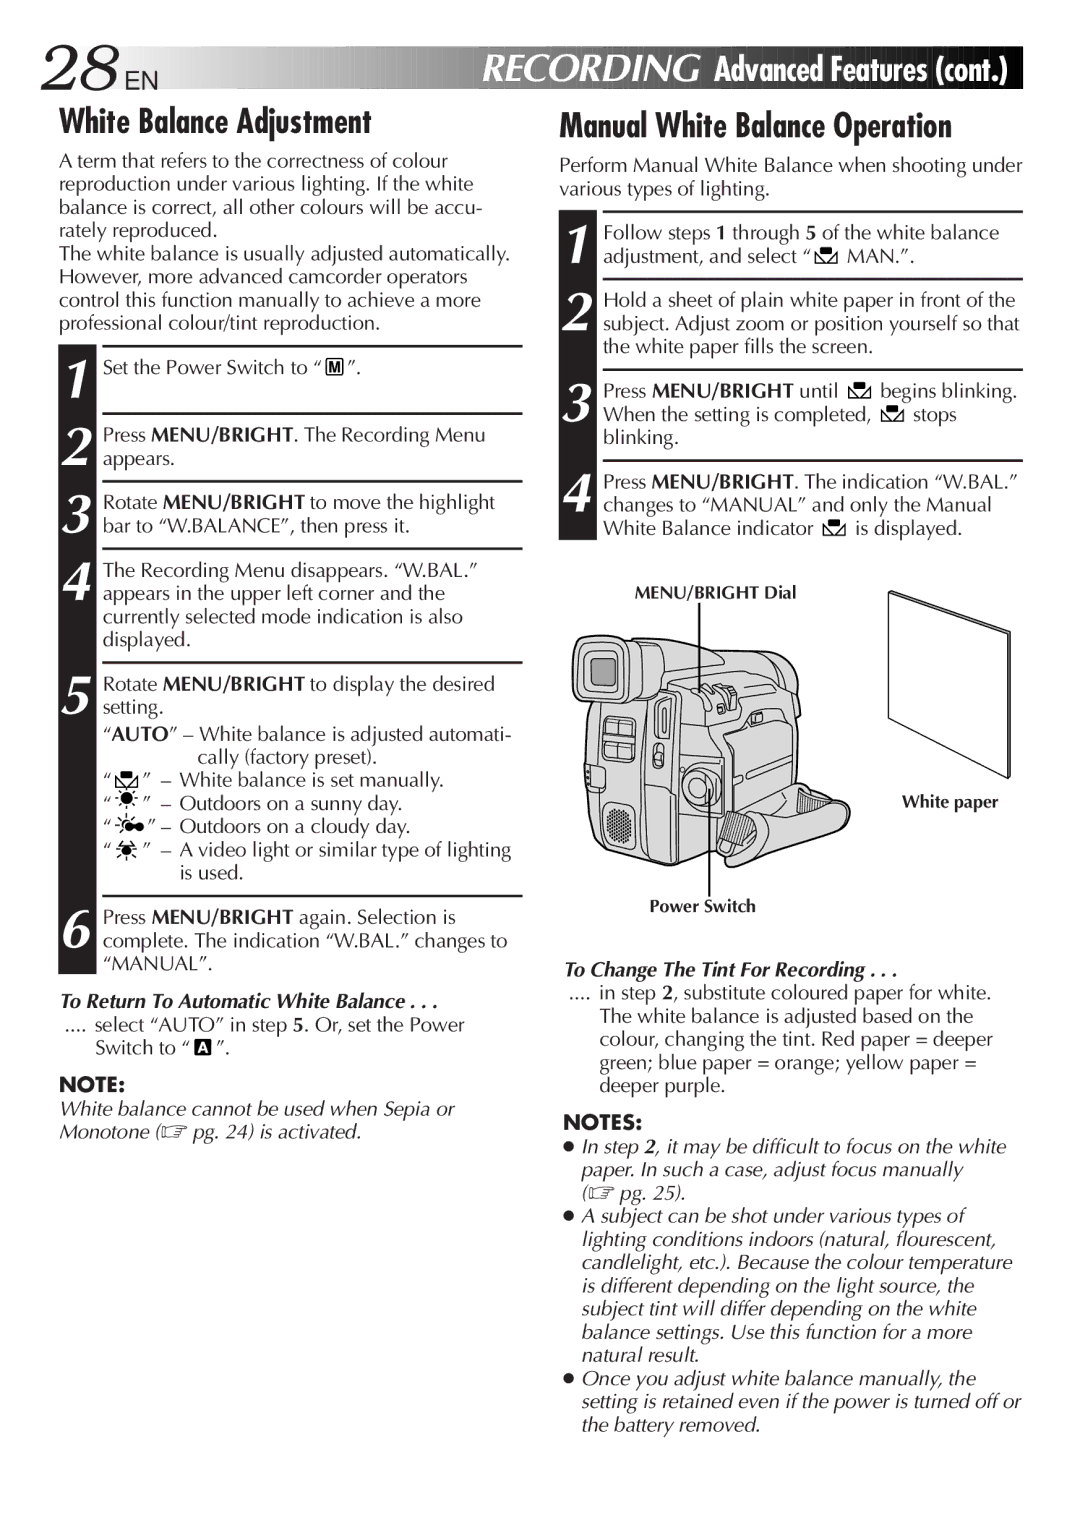
2 Hold a sheet of plain white paper in front of the subject. Adjust zoom or position yourself so that the white paper fills the screen.
3 Press MENU/BRIGHT until ![]() begins blinking.
begins blinking.
When the setting is completed, ![]() stops blinking.
stops blinking.
4 Press MENU/BRIGHT. The indication “W.BAL.” changes to “MANUAL” and only the Manual
White Balance indicator ![]() is displayed.
is displayed.
MENU/BRIGHT Dial
White paper
Power Switch
To Change The Tint For Recording . . .
.... in step 2, substitute coloured paper for white.
The white balance is adjusted based on the colour, changing the tint. Red paper = deeper green; blue paper = orange; yellow paper = deeper purple.
NOTES:
●In step 2, it may be difficult to focus on the white
paper. In such a case, adjust focus manually (☞ pg. 25).
●A subject can be shot under various types of lighting conditions indoors (natural, flourescent, candlelight, etc.). Because the colour temperature is different depending on the light source, the subject tint will differ depending on the white balance settings. Use this function for a more natural result.
●Once you adjust white balance manually, the setting is retained even if the power is turned off or the battery removed.