38![]()
![]()
![]() EN
EN![]()
![]()
![]()
![]()
![]()
![]()
![]()
![]()
![]()
![]()
![]()
![]()
![]()
![]()
![]()
![]()
![]()
![]()
![]()
![]()
![]()
![]()
![]()
![]()
![]()
![]()
![]()
![]()
![]()
![]()
![]()
![]()
![]()
![]()
![]()
![]()
![]()
![]()
![]()
![]()
![]()
![]()
![]()
![]()
![]()
![]()
![]()
![]()
![]()
![]()
![]()
![]()
![]()
![]()
![]()
![]()
![]()
![]()
![]()
![]()
![]()
![]()
![]()
![]()
![]()
![]()
![]()
![]()
![]()
![]()
![]()
![]() EDITING
EDITING![]() (cont.)
(cont.)![]()
![]()
![]()
Edit To Or
From Another
Video
Recorder
1 | 2 | 3 |
|
| 2 |
4 | 5 | 6 |
7 | 8 | 9 |
NUMBER "0" | 0 | 4 |
|
| |
|
| TV PROG |
1 |
|
|
OK
MENU
You can use your video recorder as the source player or as the recording deck.
MAKE CONNECTIONS
1 Connect the player’s
AWhen Using Your Video Recorder As The Source Player ...
... connect its AV1 IN/OUT connector to the recording deck.
BWhen Using Your Video Recorder As The Recording Deck ...
... connect its AV2 IN/DECODER or AV1 IN/OUT connector to the source player.
|
| SET RECORDING DECK’S |
2 |
| INPUT MODE |
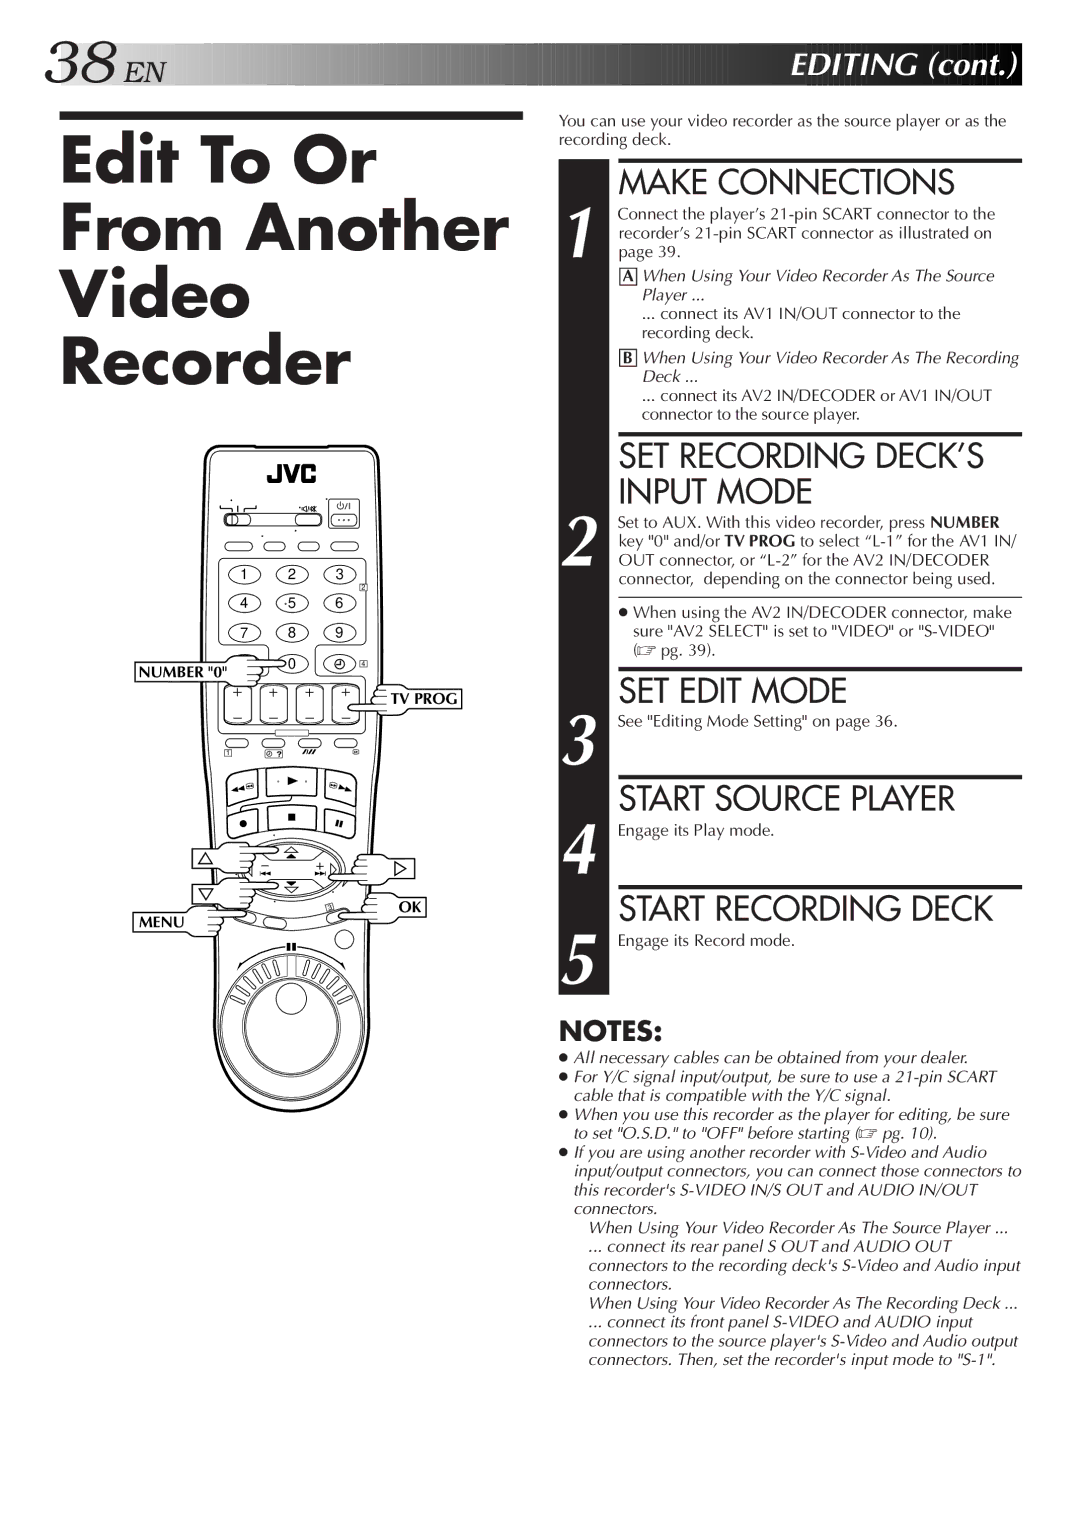
Set to AUX. With this video recorder, press NUMBER | ||
| key "0" and/or TV PROG to select | |
| OUT connector, or | |
|
| connector, depending on the connector being used. |
|
|
|
|
| ● When using the AV2 IN/DECODER connector, make |
|
| sure "AV2 SELECT" is set to "VIDEO" or |
|
| (☞ pg. 39). |
|
|
|
3 |
| SET EDIT MODE |
See "Editing Mode Setting" on page 36. | ||
4 |
| START SOURCE PLAYER |
Engage its Play mode. | ||
5 |
| START RECORDING DECK |
Engage its Record mode. | ||
NOTES:
●All necessary cables can be obtained from your dealer.
●For Y/C signal input/output, be sure to use a
●When you use this recorder as the player for editing, be sure to set "O.S.D." to "OFF" before starting (☞ pg. 10).
●If you are using another recorder with
When Using Your Video Recorder As The Source Player ...
... connect its rear panel S OUT and AUDIO OUT connectors to the recording deck's
When Using Your Video Recorder As The Recording Deck ...
... connect its front panel
