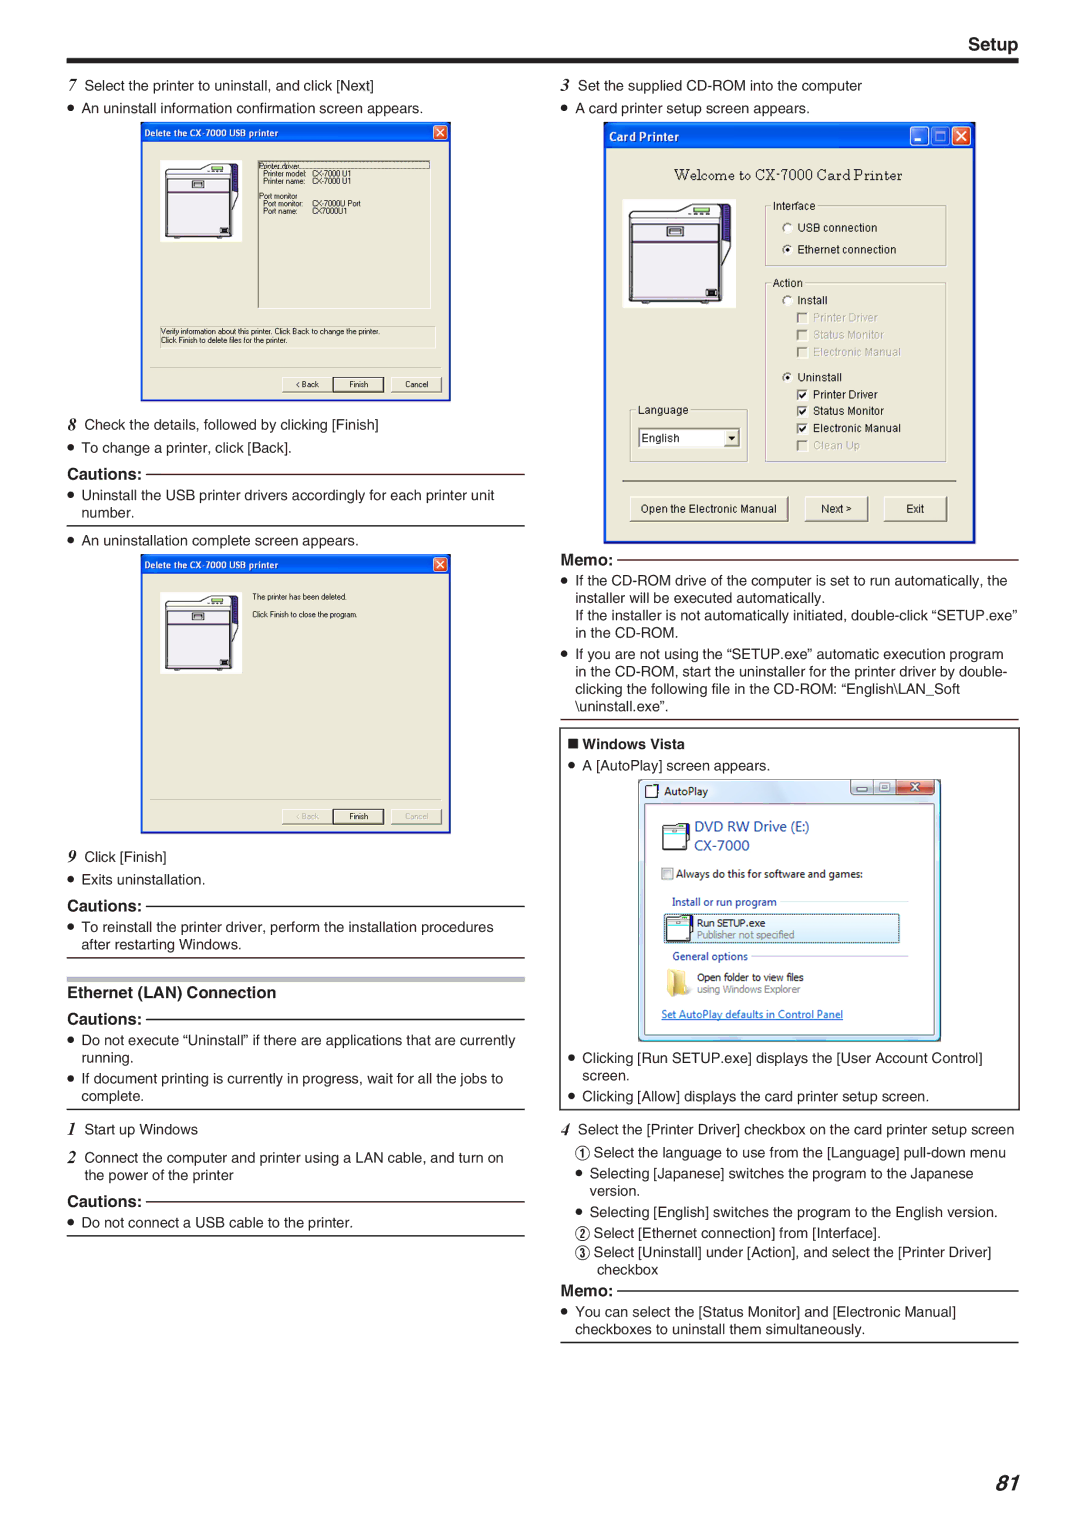
LST1006-002A, CX-7000 Series specifications
The JVC CX-7000 Series, specifically the LST1006-002A model, represents a pinnacle of innovation in the realm of audiovisual technology. This series is known for its high-definition performance and cutting-edge features, making it a popular choice for both consumers and professional users alike.One of the standout features of the CX-7000 Series is its 4K Ultra HD resolution, delivering images that are incredibly crisp and vibrant. With a resolution of 3840x2160 pixels, the LST1006-002A ensures that every detail is visible, whether you're watching movies, sports, or playing video games. This clarity is complemented by advanced upscaling technology that enhances lower-resolution content to near-4K quality.
Sound quality is equally impressive in the CX-7000 Series. The LST1006-002A includes a high-fidelity sound system, featuring Dolby Atmos support. This technology creates an immersive audio experience by allowing sound to flow all around the viewer, placing them right in the center of the action. Additionally, the model is equipped with a built-in soundbar, providing rich, full-range audio without the need for external speakers.
Another significant characteristic of the JVC CX-7000 Series is its smart TV capabilities. The LST1006-002A is powered by an intuitive operating system that offers access to a myriad of streaming services and apps. With integrated Wi-Fi and Bluetooth connectivity, users can easily connect their devices, stream content, and share media seamlessly. The inclusion of voice control options enhances the user experience, allowing for effortless navigation and control of the television.
The design of the CX-7000 Series is also worth noting. The sleek, modern aesthetics of the LST1006-002A are designed to complement any living space, featuring ultra-thin bezels and a robust stand for stability.
In terms of connectivity, the JVC CX-7000 Series comes with multiple HDMI and USB ports, ensuring compatibility with a wide range of devices, from gaming consoles to Blu-ray players.
Overall, the JVC CX-7000 Series LST1006-002A combines state-of-the-art display and audio technologies with user-friendly features. This makes it an excellent choice for anyone seeking a comprehensive home entertainment solution that doesn't compromise on quality or convenience. Its blend of high performance and smart technology sets a new standard for televisions in today's market.

