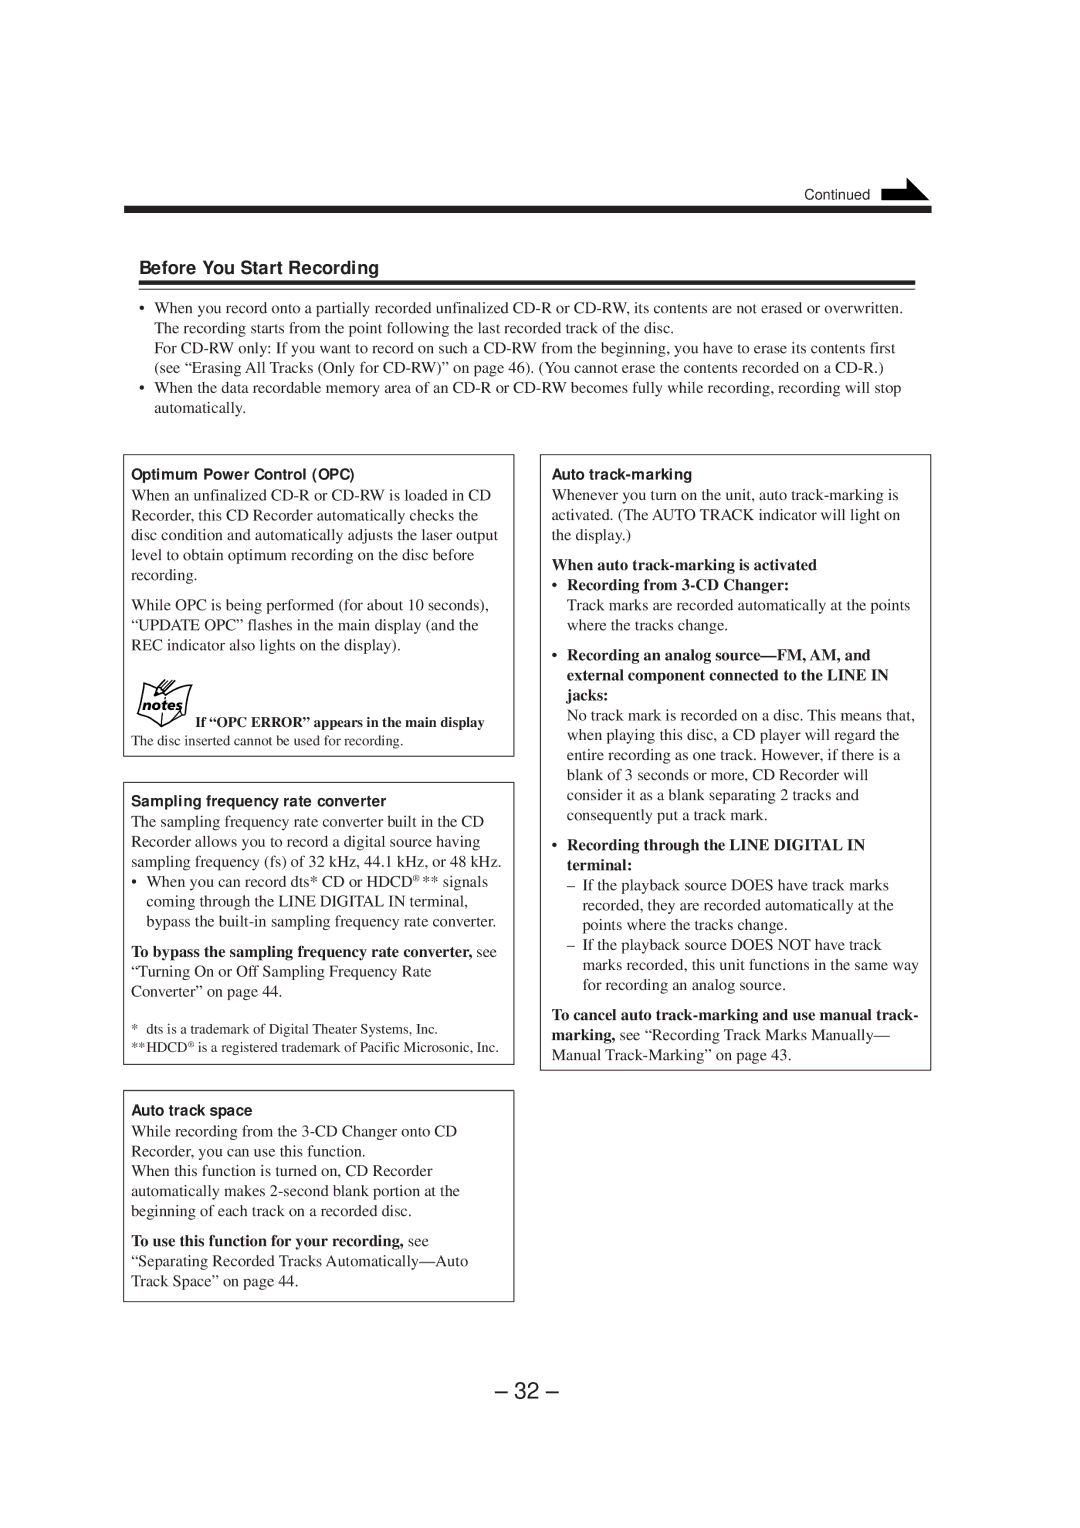
CA-NXCDR7R, LVT0749-003A specifications
The JVC LVT0749-003A CA-NXCDR7R is a versatile audio playback device that offers exceptional sound quality and a host of features specifically designed for music enthusiasts. This compact stereo system combines a sleek design with cutting-edge technology, making it a suitable addition to any home or office environment.One of the standout features of the CA-NXCDR7R is its CD player that supports various formats, including CD-Rs and CD-RWs. This functionality allows users to enjoy their favorite music, whether it's stored on commercially released CDs or custom-made discs filled with personal playlists. Additionally, the system supports MP3 playback, which means users can listen to audio files that have been compressed to conserve storage space, all while maintaining impressive sound quality.
Equipped with an FM/AM tuner, the JVC CA-NXCDR7R provides access to a wide range of radio stations. The tuner is designed for easy channel scanning, ensuring that users can quickly find their preferred radio broadcasts. The system also features a built-in digital clock with a sleep timer, perfect for individuals who enjoy falling asleep to music.
The JVC CA-NXCDR7R incorporates an auxiliary input, allowing users to connect external devices such as smartphones, tablets, or laptops seamlessly. This expands playback options, enabling users to listen to their favorite streaming services, podcasts, or audio files from various sources. The system also has speaker output terminals, which allow for the connection of external speakers for those who desire improved audio performance.
Another innovative feature of the CA-NXCDR7R is its remote control, offering convenience and ease of use. Users can adjust volume levels, switch tracks, and change settings from a distance, making it a user-friendly option for anyone who wants to enjoy music without having to constantly get up.
Overall, the JVC LVT0749-003A CA-NXCDR7R is a modern audio system that combines high-quality sound with practical features. Its student-friendly design and multiple playback options cater to a wide audience, reinforcing JVC's commitment to delivering exceptional audio experiences in an accessible package.

