Selecting the video input setting
Select the proper video input setting according to the connection method on pages 11 to 15.
From the remote control ONLY:
Press VIDEO INPUT to select the video input setting.
•Each time you press the button, the input setting changes as follows. This setting is memorized for each source.
AUTO SURR
DIGITAL AUTO | L C | R |
DIGITAL | S.WFR | LFE |
LS | RS |
HDMI  CMPNT (component)
S ![]() C (composite)
C (composite) ![]()
(Back to the beginning)
NOTES
•For “VCR” and “DBS,” you can select “HDMI” and “CMPNT” for the source you assigned in “HDMI SELECT” and “CMPNT SELECT” (see page 32).
•When the video input setting and the audio input setting are both set to “HDMI,” changing the video input setting changes the audio input setting to the appropriate setting.
Selecting the audio input setting
Select the proper audio input setting according to the connection method (analog or digital) on pages 10 to 16.
•In case of digital connection using the terminals on the rear of the receiver, you also need to select the correct digital input terminal. (See “Setting the digital input (DIGITAL IN) terminals— DIGITAL IN 1/2/3” on page 31.)
From the remote control ONLY:
Press AUDIO INPUT to select the audio input setting.
•Each time you press the button, the audio input setting changes as follows. This setting is memorized for each source.
AUTO SURR
DIGITAL AUTO | L C | R |
DIGITAL | S.WFR | LFE |
LS | RS |
HDMI  DIGITAL
  ANALOG
A MULTI ![]() (Back to the beginning)
(Back to the beginning)
HDMI (for “DVR/DVD,” “VCR” and “DBS”):
Select for the source with HDMI connection. The receiver automatically detects the incoming signal format, then the digital signal format
indicator (LINEAR PCM, ![]()
![]()
![]()
![]()
![]() ,
, ![]() , or
, or
![]() 96/24) for the detected signal lights up, and the HDMI lamp on the front panel lights up.
96/24) for the detected signal lights up, and the HDMI lamp on the front panel lights up.
DIGITAL*: Select for the digital input setting. The receiver automatically detects the incoming signal format, then the digital signal format indicator
(LINEAR PCM, ![]()
![]()
![]()
![]()
![]()
![]() ,
, ![]() , or
, or ![]() 96/24) for the detected signal lights up.
96/24) for the detected signal lights up.
ANALOG*: Select for the analog input setting. The ANALOG
indicator lights up on the display.
A MULTI (Only for “DVR/DVD”):
Select when connecting a DVD recorder or DVD player to DVD MULTI IN jacks (see page 12). The ANALOG indicator lights up on the display.
*When “TV” is selected as the source, only “DIGITAL” or “ANALOG” appears on the display as the audio input setting.
NOTES
•“HDMI” is available only for the source with “HDMI” selected in the video input setting (see the left column).
•“DIGITAL” is available for the source assigned for “DIGITAL IN 1,” “DIGITAL IN 2,” or “DIGITAL IN 3.” See page 31 for details.
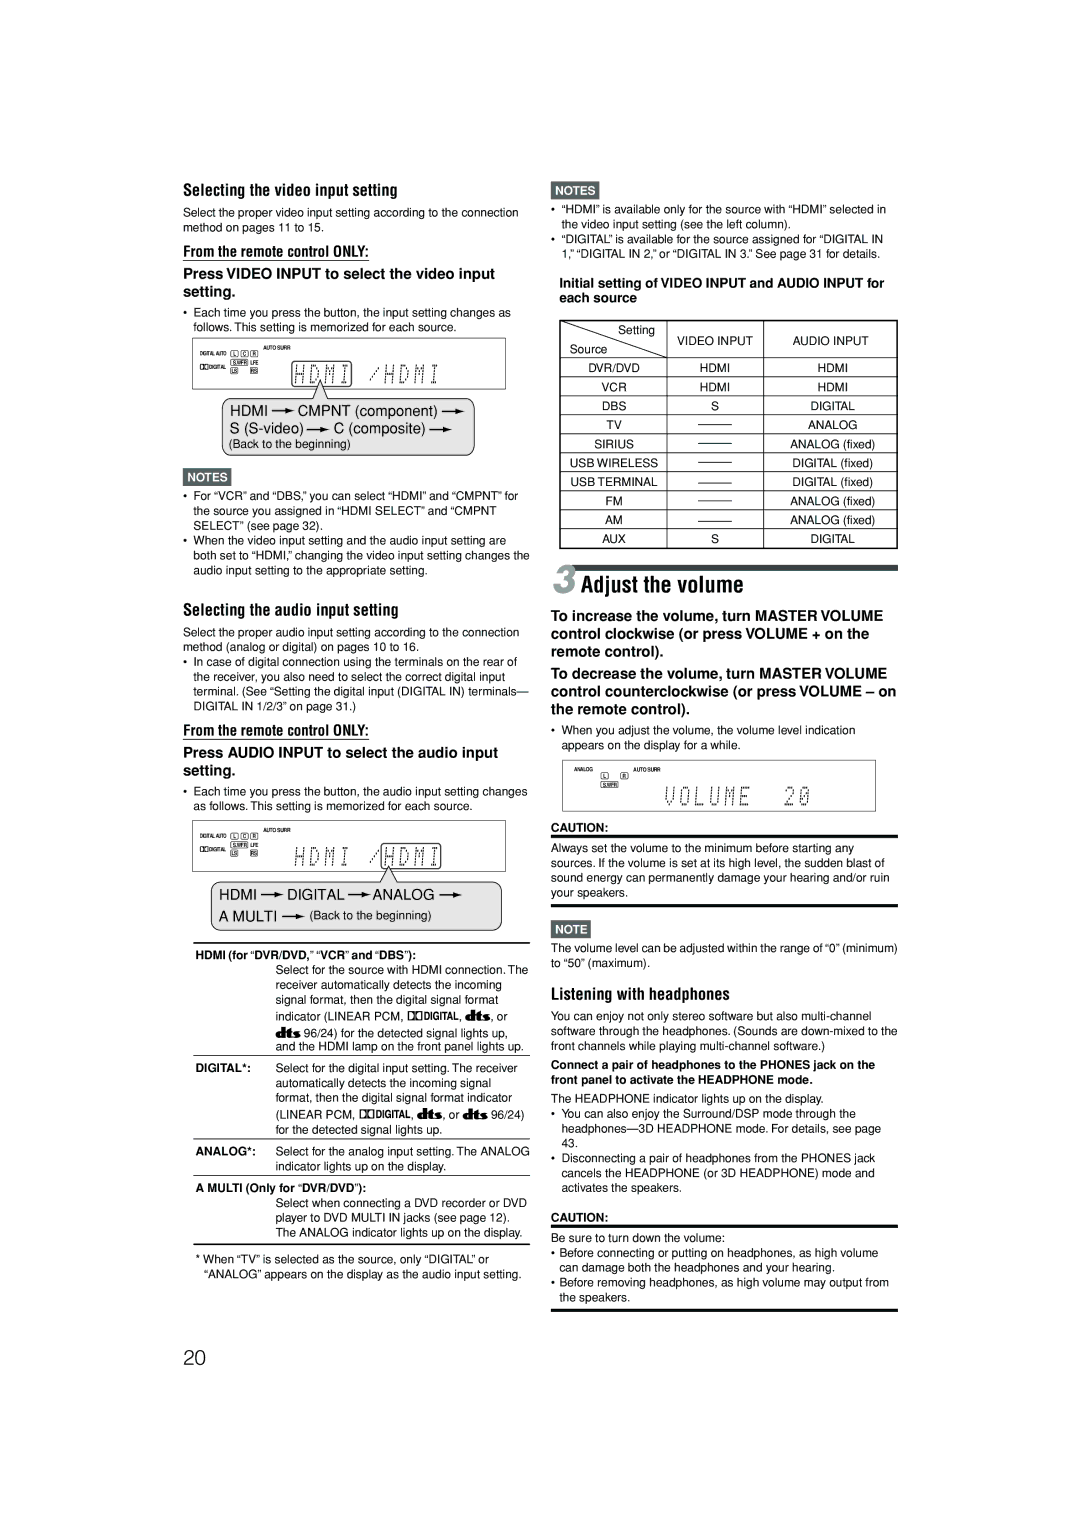
Initial setting of VIDEO INPUT and AUDIO INPUT for each source
Setting | VIDEO INPUT | AUDIO INPUT | |||
Source | |||||
|
|
|
| ||
|
|
|
|
| |
DVR/DVD |
| HDMI | HDMI | ||
VCR |
| HDMI | HDMI | ||
DBS |
| S | DIGITAL | ||
TV |
|
|
| ANALOG | |
|
|
| |||
SIRIUS |
|
|
| ANALOG (fixed) | |
|
|
| |||
USB WIRELESS |
|
|
| DIGITAL (fixed) | |
|
|
| |||
USB TERMINAL |
|
|
| DIGITAL (fixed) | |
|
|
| |||
|
|
|
|
| |
FM |
|
|
| ANALOG (fixed) | |
|
|
| |||
|
|
|
|
| |
AM |
|
|
| ANALOG (fixed) | |
|
|
| |||
|
|
|
|
| |
AUX |
| S | DIGITAL | ||
|
|
|
|
| |
3 Adjust the volume
To increase the volume, turn MASTER VOLUME control clockwise (or press VOLUME + on the remote control).
To decrease the volume, turn MASTER VOLUME control counterclockwise (or press VOLUME – on the remote control).
•When you adjust the volume, the volume level indication appears on the display for a while.
ANALOG | AUTO SURR |
LR
S.WFR
CAUTION:
Always set the volume to the minimum before starting any sources. If the volume is set at its high level, the sudden blast of sound energy can permanently damage your hearing and/or ruin your speakers.
NOTE
The volume level can be adjusted within the range of “0” (minimum) to “50” (maximum).
Listening with headphones
You can enjoy not only stereo software but also
Connect a pair of headphones to the PHONES jack on the front panel to activate the HEADPHONE mode.
The HEADPHONE indicator lights up on the display.
•You can also enjoy the Surround/DSP mode through the
•Disconnecting a pair of headphones from the PHONES jack cancels the HEADPHONE (or 3D HEADPHONE) mode and activates the speakers.
CAUTION:
Be sure to turn down the volume:
•Before connecting or putting on headphones, as high volume can damage both the headphones and your hearing.
•Before removing headphones, as high volume may output from the speakers.
20