Connecting video components
Do not connect the AC power plug to the wall outlet until all connections are completed.
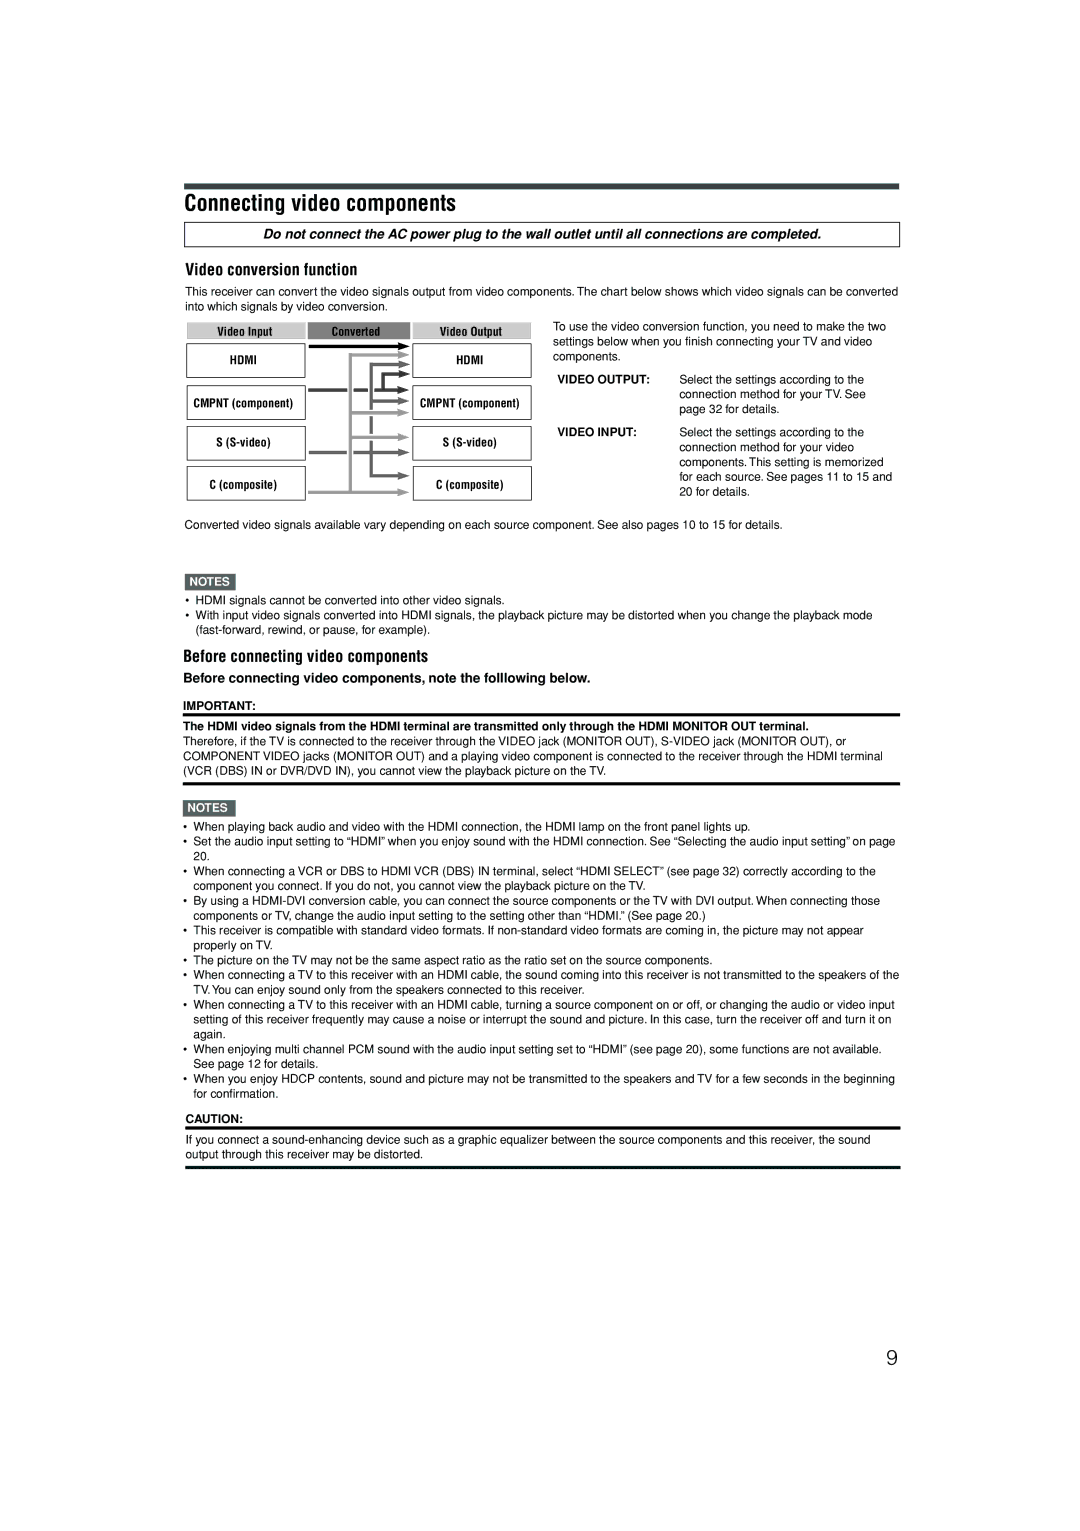
Video conversion function
This receiver can convert the video signals output from video components. The chart below shows which video signals can be converted into which signals by video conversion.
Video Input | Converted |
HDMI
CMPNT (component)
S
C (composite)
Video Output
HDMI
CMPNT (component)
S(S-video)
C (composite)
To use the video conversion function, you need to make the two settings below when you finish connecting your TV and video components.
VIDEO OUTPUT: Select the settings according to the connection method for your TV. See page 32 for details.
VIDEO INPUT: Select the settings according to the connection method for your video components. This setting is memorized for each source. See pages 11 to 15 and 20 for details.
Converted video signals available vary depending on each source component. See also pages 10 to 15 for details.
NOTES
•HDMI signals cannot be converted into other video signals.
•With input video signals converted into HDMI signals, the playback picture may be distorted when you change the playback mode
Before connecting video components
Before connecting video components, note the folllowing below.
IMPORTANT:
The HDMI video signals from the HDMI terminal are transmitted only through the HDMI MONITOR OUT terminal.
Therefore, if the TV is connected to the receiver through the VIDEO jack (MONITOR OUT),
NOTES
•When playing back audio and video with the HDMI connection, the HDMI lamp on the front panel lights up.
•Set the audio input setting to “HDMI” when you enjoy sound with the HDMI connection. See “Selecting the audio input setting” on page 20.
•When connecting a VCR or DBS to HDMI VCR (DBS) IN terminal, select “HDMI SELECT” (see page 32) correctly according to the component you connect. If you do not, you cannot view the playback picture on the TV.
•By using a
•This receiver is compatible with standard video formats. If
•The picture on the TV may not be the same aspect ratio as the ratio set on the source components.
•When connecting a TV to this receiver with an HDMI cable, the sound coming into this receiver is not transmitted to the speakers of the TV. You can enjoy sound only from the speakers connected to this receiver.
•When connecting a TV to this receiver with an HDMI cable, turning a source component on or off, or changing the audio or video input setting of this receiver frequently may cause a noise or interrupt the sound and picture. In this case, turn the receiver off and turn it on again.
•When enjoying multi channel PCM sound with the audio input setting set to “HDMI” (see page 20), some functions are not available. See page 12 for details.
•When you enjoy HDCP contents, sound and picture may not be transmitted to the speakers and TV for a few seconds in the beginning for confirmation.
CAUTION:
If you connect a
9