Attenuating the Input Signal
When the input level of the analog source is too high, the sounds will be distorted. If this happens, you need to attenuate the input signal level to prevent the sound distortion.
•You have to make this adjustment for each analog source.
| INPUT |
On the front panel ONLY | ANALOG/DIGITAL |
| |
| INPUT ATT. |
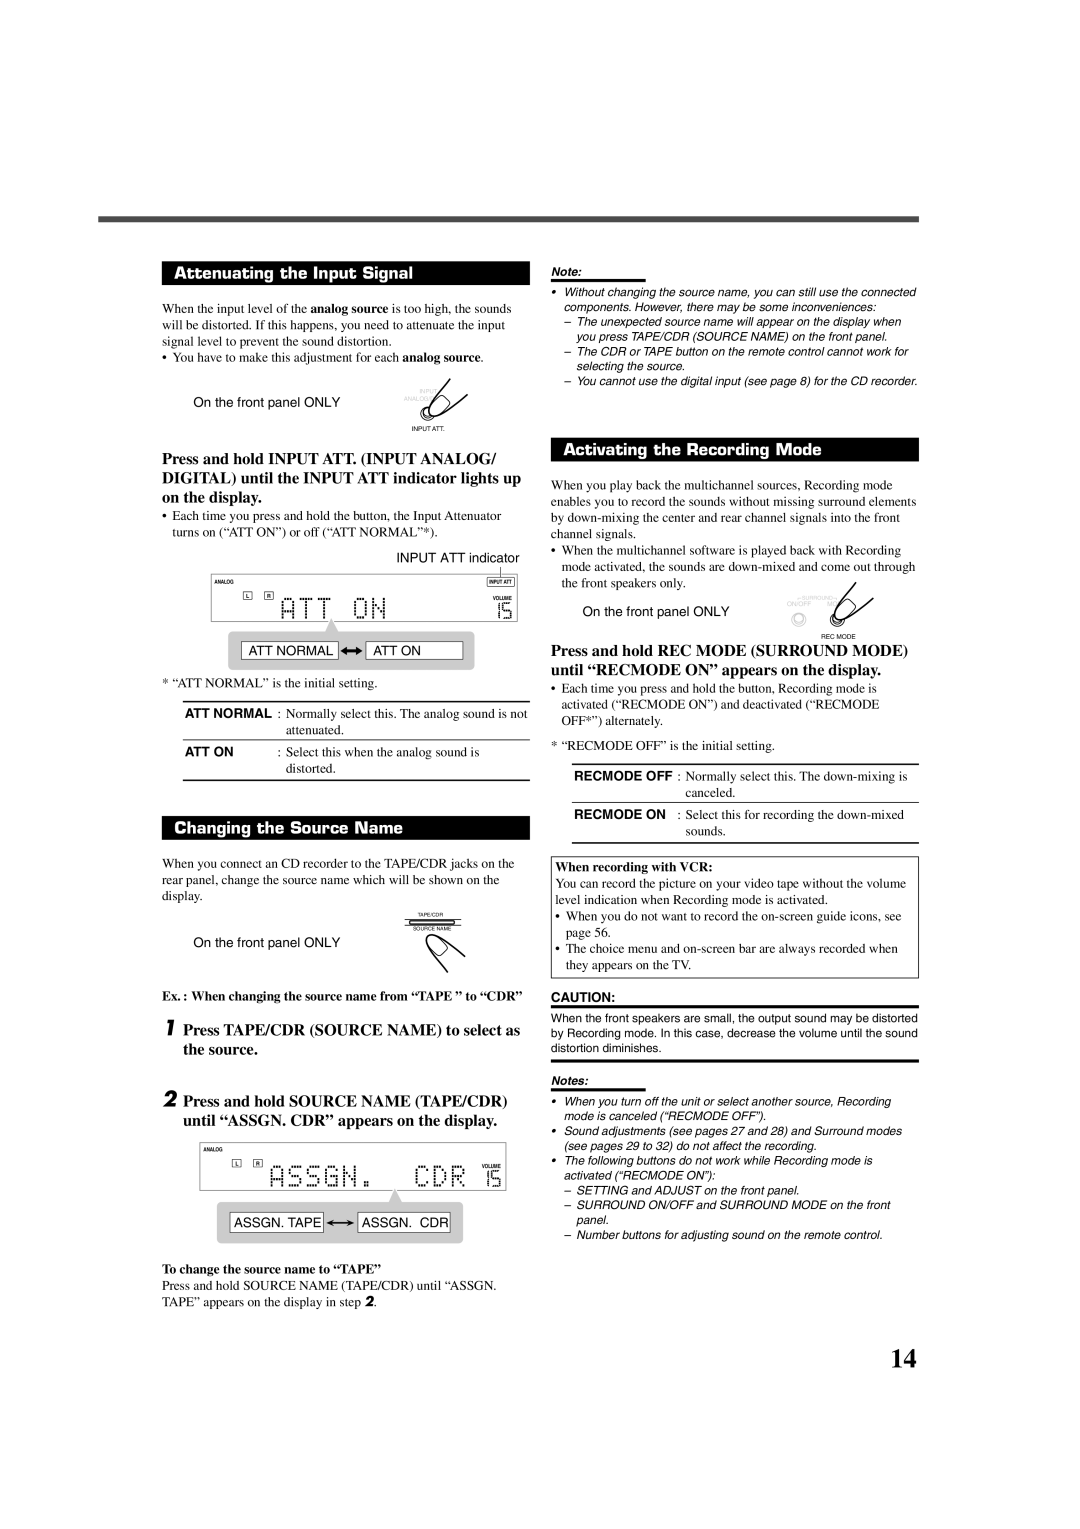
Press and hold INPUT ATT. (INPUT ANALOG/ DIGITAL) until the INPUT ATT indicator lights up on the display.
•Each time you press and hold the button, the Input Attenuator turns on (“ATT ON”) or off (“ATT NORMAL”*).
|
| INPUT ATT indicator |
|
|
|
ANALOG |
| INPUT ATT |
L | R | VOLUME |
|
| |
|
|
|
ATT NORMAL 

 ATT ON
* “ATT NORMAL” is the initial setting.
ATT NORMAL : Normally select this. The analog sound is not attenuated.
ATT ON : Select this when the analog sound is distorted.
Changing the Source Name
When you connect an CD recorder to the TAPE/CDR jacks on the rear panel, change the source name which will be shown on the display.
TAPE/CDR
SOURCE NAME
On the front panel ONLY
Ex. : When changing the source name from “TAPE ” to “CDR”
1Press TAPE/CDR (SOURCE NAME) to select as the source.
2Press and hold SOURCE NAME (TAPE/CDR) until “ASSGN. CDR” appears on the display.
ANALOG
L | R | VOLUME |
ASSGN. TAPE ![]()
![]()
![]()
![]() ASSGN. CDR
ASSGN. CDR
To change the source name to “TAPE”
Press and hold SOURCE NAME (TAPE/CDR) until “ASSGN. TAPE” appears on the display in step 2.
Note:
•Without changing the source name, you can still use the connected components. However, there may be some inconveniences:
–The unexpected source name will appear on the display when you press TAPE/CDR (SOURCE NAME) on the front panel.
–The CDR or TAPE button on the remote control cannot work for selecting the source.
–You cannot use the digital input (see page 8) for the CD recorder.
Activating the Recording Mode
When you play back the multichannel sources, Recording mode enables you to record the sounds without missing surround elements by
•When the multichannel software is played back with Recording mode activated, the sounds are
![]() SURROUND
SURROUND![]()
ON/OFF MODE
On the front panel ONLY
REC MODE
Press and hold REC MODE (SURROUND MODE) until “RECMODE ON” appears on the display.
•Each time you press and hold the button, Recording mode is activated (“RECMODE ON”) and deactivated (“RECMODE OFF*”) alternately.
* “RECMODE OFF” is the initial setting.
RECMODE OFF : Normally select this. The
RECMODE ON : Select this for recording the
When recording with VCR:
You can record the picture on your video tape without the volume level indication when Recording mode is activated.
•When you do not want to record the
•The choice menu and
CAUTION:
When the front speakers are small, the output sound may be distorted by Recording mode. In this case, decrease the volume until the sound distortion diminishes.
Notes:
•When you turn off the unit or select another source, Recording mode is canceled (“RECMODE OFF”).
•Sound adjustments (see pages 27 and 28) and Surround modes (see pages 29 to 32) do not affect the recording.
•The following buttons do not work while Recording mode is activated (“RECMODE ON”):
–SETTING and ADJUST on the front panel.
–SURROUND ON/OFF and SURROUND MODE on the front panel.
–Number buttons for adjusting sound on the remote control.
14