4.4.2 Alarm list Search
Take the following steps to proceed with the
(1)Press the Search button ![]() to enter the search mode.
to enter the search mode.
(2)Select the ALARM LIST and press the Enter button ![]() to access the complete list of
to access the complete list of
(3)Highlight the specific recorded video of your requirement and press the Enter button![]() to display the selected video.
to display the selected video.
(Key Operation: Press the ![]() “^” and
“^” and ![]() “v” buttons, to select a video; press the
“v” buttons, to select a video; press the ![]() “<” and
“<” and ![]() “>” buttons, to flip over a page.)
“>” buttons, to flip over a page.)
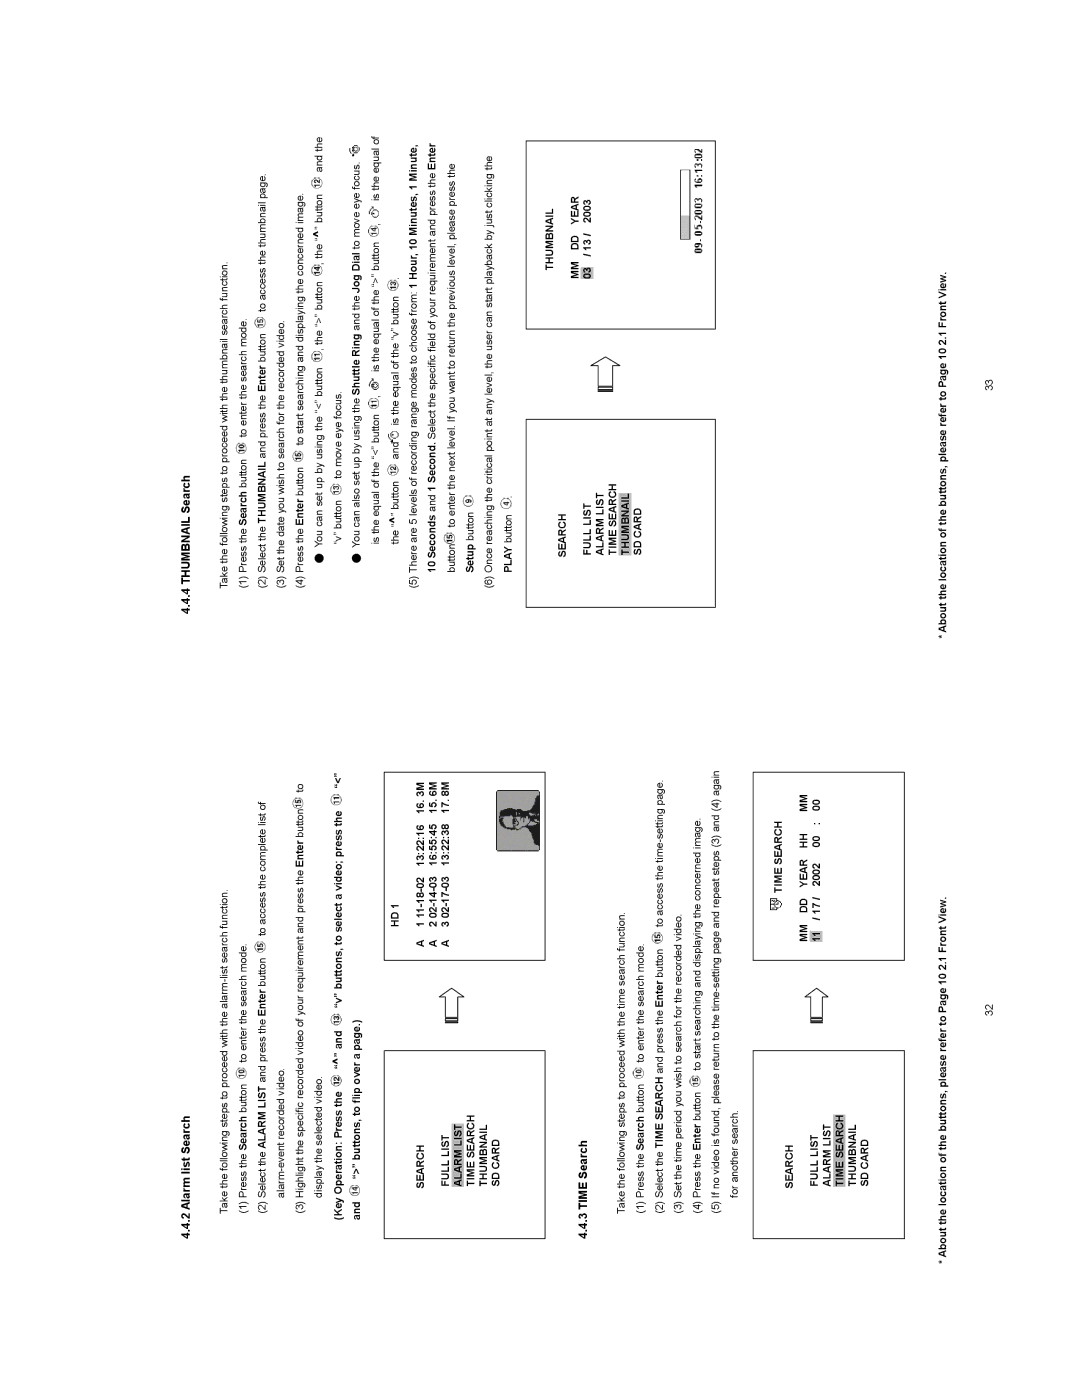
4.4.4 THUMBNAIL Search
Take the following steps to proceed with the thumbnail search function.
(1)Press the Search button ![]() to enter the search mode.
to enter the search mode.
(2)Select the THUMBNAIL and press the Enter button ![]() to access the thumbnail page.
to access the thumbnail page.
(3)Set the date you wish to search for the recorded video.
(4)Press the Enter button ![]() to start searching and displaying the concerned image.
to start searching and displaying the concerned image.
You can set up by using the “<” button , the “>” button , the “^” button | and the | |||
“v” button | to move eye focus. |
|
|
|
You can also set up by using the Shuttle Ring and the Jog Dial to move eye focus. | ||||
is the equal of the “<” button , | is the equal of the “>” button , | is the equal of | ||
SEARCH
FULL LIST
ALARM LIST TIME SEARCH THUMBNAIL SD CARDʳ
HD 1
A 1
A2
the “^” button | and is the equal of the “v” button . |
(5)There are 5 levels of recording range modes to choose from: 1 Hour, 10 Minutes, 1 Minute, 10 Seconds and 1 Second. Select the specific field of your requirement and press the Enter button![]() to enter the next level. If you want to return the previous level, please press the Setup button
to enter the next level. If you want to return the previous level, please press the Setup button ![]()
(6)Once reaching the critical point at any level, the user can start playback by just clicking the PLAY button ![]() .
.
4.4.3 TIME Search
Take the following steps to proceed with the time search function.
(1)Press the Search button ![]() to enter the search mode.
to enter the search mode.
(2)Select the TIME SEARCH and press the Enter button ![]() to access the
to access the
(3)Set the time period you wish to search for the recorded video.
(4)Press the Enter button ![]() to start searching and displaying the concerned image.
to start searching and displaying the concerned image.
(5)If no video is found, please return to the
SEARCH |
|
| THUMBNAIL | |||||
| MM | DD | YEAR | |||||
| FULL LIST |
| ||||||
|
|
| 03 |
| / 13 / | 2003 | ||
| ALARM LIST |
|
|
|
|
|
| |
| TIME SEARCH |
|
|
|
|
|
| |
| THUMBNAIL |
|
|
|
|
|
|
|
| SD CARDʳ |
|
|
|
|
|
|
|
|
|
|
|
|
|
|
|
|
SEARCH
FULL LIST
ALARM LIST TIME SEARCH THUMBNAIL SD CARDʳ
|
|
| TIME SEARCH |
| |
MM | DD | YEAR | HH | MM | |
|
| / 17 / | 2002 | 00 : | 00 |
11 | |||||
* About the location of the buttons, please refer to Page 10 2.1 Front View.
* About the location of the buttons, please refer to Page 10 2.1 Front View.
32 | 33 |