Viewing images
View all the connected devices
Once the connection has been established, click OK to enter the
View single device
Follow any one of the instructions below to get into the single device mode.
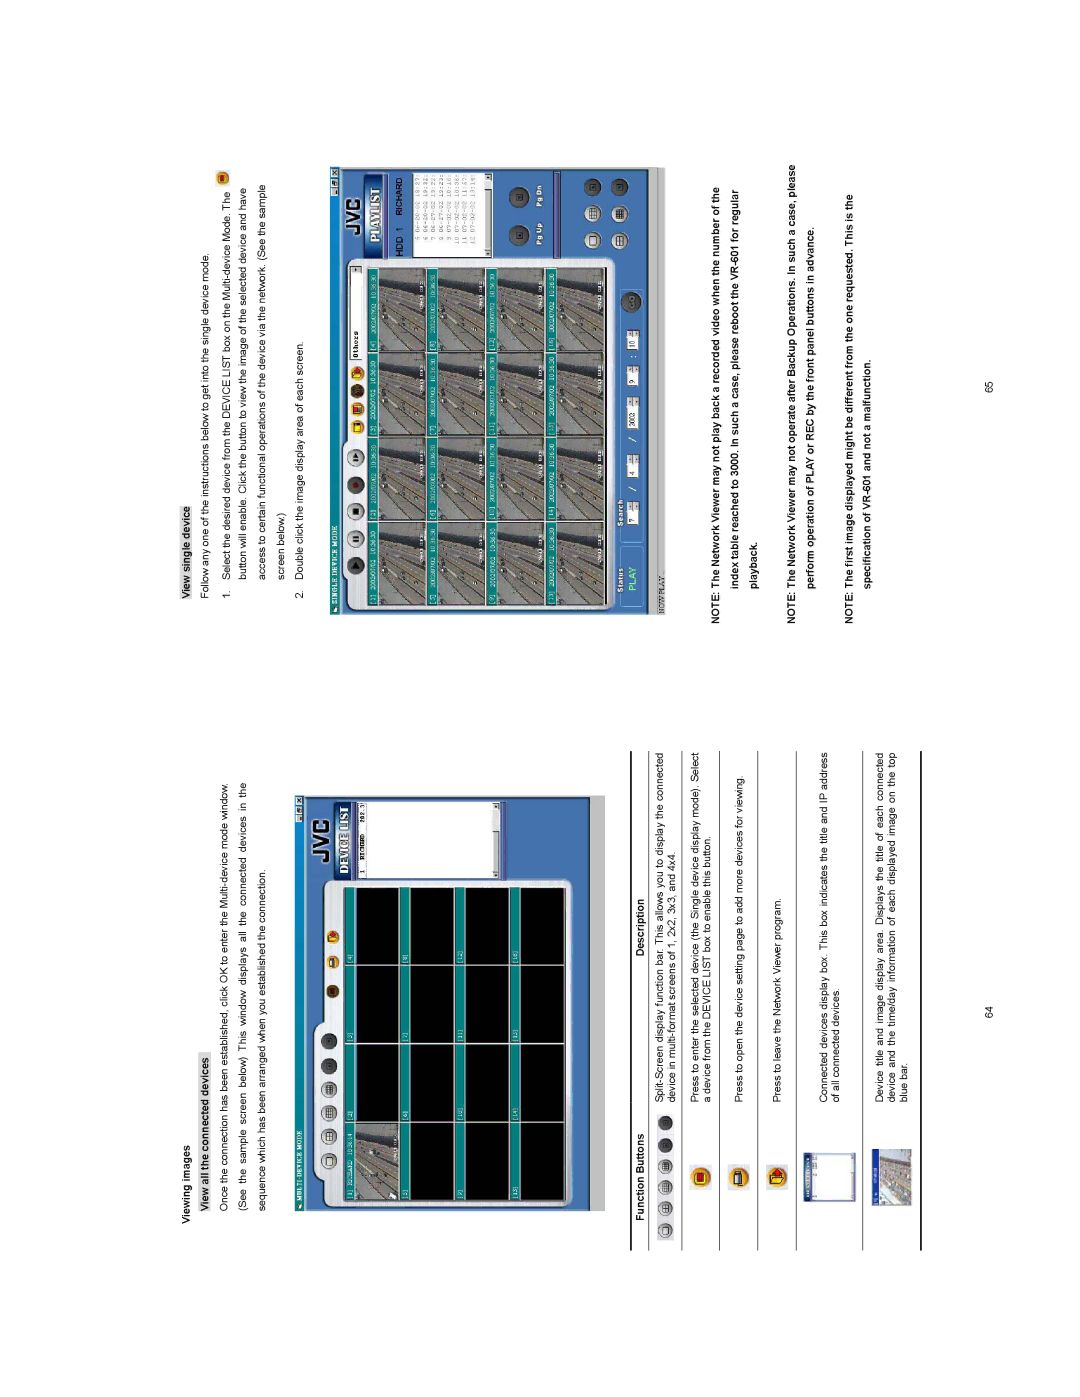
1.Select the desired device from the DEVICE LIST box on the ![]() button will enable. Click the button to view the image of the selected device and have access to certain functional operations of the device via the network. (See the sample screen below.)
button will enable. Click the button to view the image of the selected device and have access to certain functional operations of the device via the network. (See the sample screen below.)
2.Double click the image display area of each screen.
Function Buttons | Description |
Press to enter the selected device (the Single device display mode). Select a device from the DEVICE LIST box to enable this button.
Press to open the device setting page to add more devices for viewing.
Press to leave the Network Viewer program.
Connected devices display box. This box indicates the title and IP address of all connected devices.
Device title and image display area. Displays the title of each connected device and the time/day information of each displayed image on the top blue bar.
NOTE: The Network Viewer may not play back a recorded video when the number of the index table reached to 3000. In such a case, please reboot the
NOTE: The Network Viewer may not operate after Backup Operations. In such a case, please perform operation of PLAY or REC by the front panel buttons in advance.
NOTE: The first image displayed might be different from the one requested. This is the specification of
64 | 65 |
