Kenwood TK-260G, TK-270G Realignment, Checksum, PC Mode, Firmware Programming Mode, Preface, Fig

Models: TK-270G

1 50
Download 50 pages 29.94 Kb
Page 9
Image 9
REALIGNMENT

TK-260G/270G

REALIGNMENT

4. Checksum

Executing this function, "TUNING" appears on the display of TK-270G while calculating the checksum .

When the calculation is completed, the display returns to normal and PC displays the checksum of the radio.

5.PC Mode

5-1. Preface

The TK-260G/270G transceiver is programmed using a personal computer, a programming interface (KPG-22) and programming software (KPG-56D).

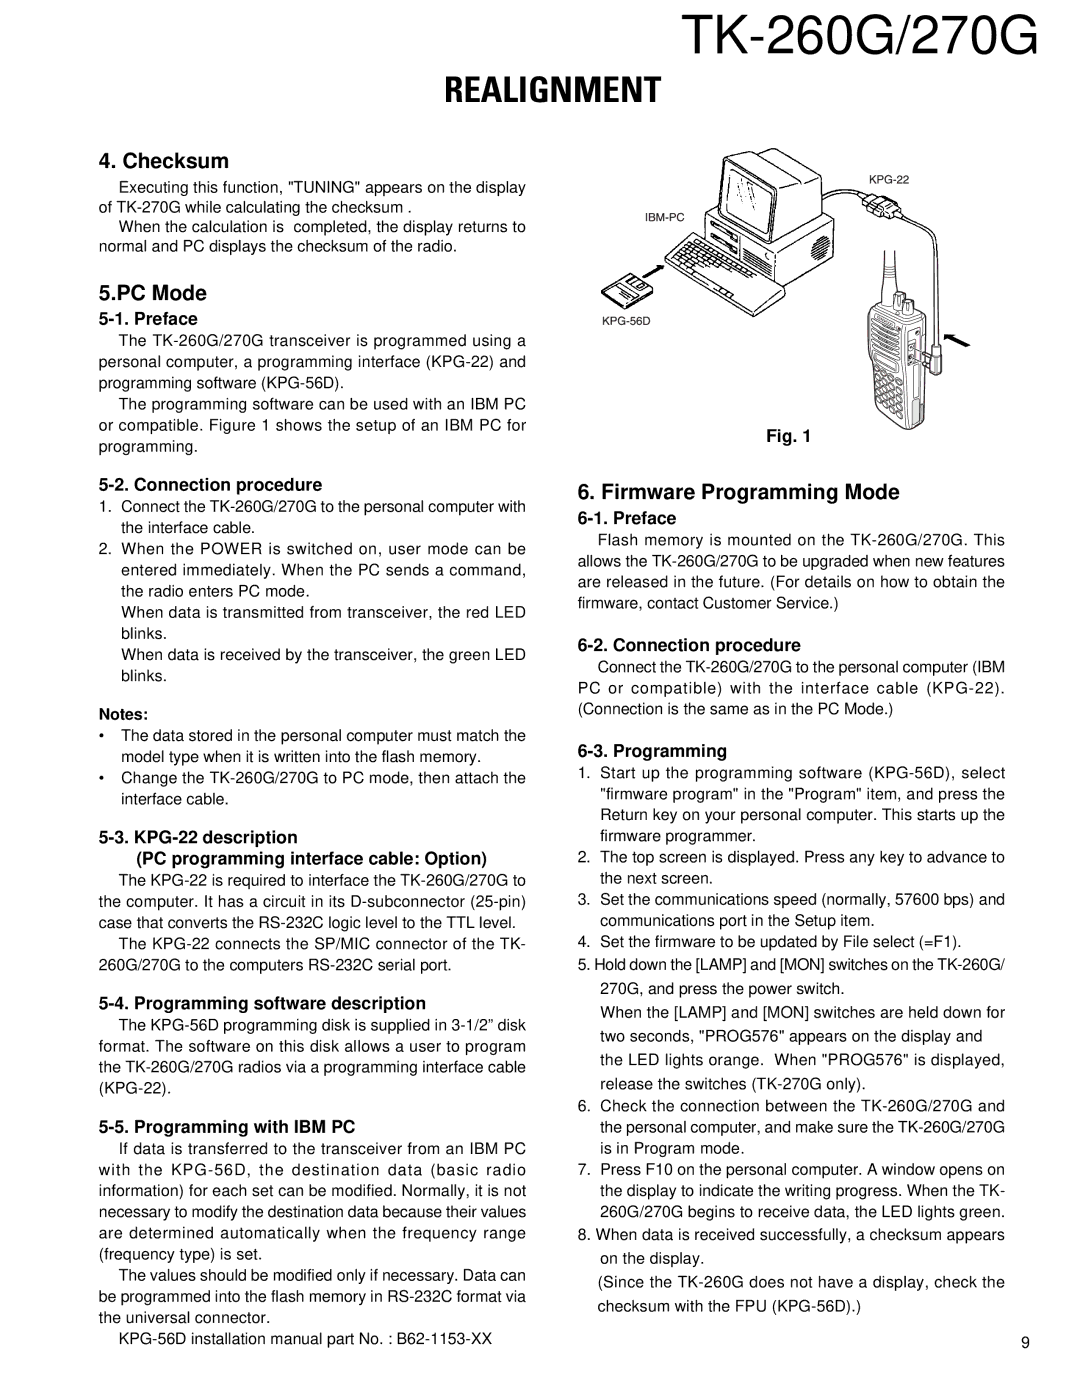
The programming software can be used with an IBM PC or compatible. Figure 1 shows the setup of an IBM PC for programming.

5-2. Connection procedure

1.Connect the TK-260G/270G to the personal computer with the interface cable.

2.When the POWER is switched on, user mode can be entered immediately. When the PC sends a command, the radio enters PC mode.

When data is transmitted from transceiver, the red LED blinks.

When data is received by the transceiver, the green LED blinks.

Notes:

The data stored in the personal computer must match the model type when it is written into the flash memory.

Change the TK-260G/270G to PC mode, then attach the interface cable.

5-3. KPG-22 description

(PC programming interface cable: Option)

The KPG-22 is required to interface the TK-260G/270G to the computer. It has a circuit in its D-subconnector (25-pin) case that converts the RS-232C logic level to the TTL level.

The KPG-22 connects the SP/MIC connector of the TK- 260G/270G to the computers RS-232C serial port.

5-4. Programming software description

The KPG-56D programming disk is supplied in 3-1/2” disk format. The software on this disk allows a user to program the TK-260G/270G radios via a programming interface cable (KPG-22).

5-5. Programming with IBM PC

If data is transferred to the transceiver from an IBM PC with the KPG-56D, the destination data (basic radio information) for each set can be modified. Normally, it is not necessary to modify the destination data because their values are determined automatically when the frequency range (frequency type) is set.

The values should be modified only if necessary. Data can be programmed into the flash memory in RS-232C format via the universal connector.

KPG-56D installation manual part No. : B62-1153-XX

Fig. 1

6. Firmware Programming Mode

6-1. Preface

Flash memory is mounted on the TK-260G/270G. This allows the TK-260G/270G to be upgraded when new features are released in the future. (For details on how to obtain the firmware, contact Customer Service.)

6-2. Connection procedure

Connect the TK-260G/270G to the personal computer (IBM PC or compatible) with the interface cable (KPG-22). (Connection is the same as in the PC Mode.)

6-3. Programming

1.Start up the programming software (KPG-56D), select "firmware program" in the "Program" item, and press the Return key on your personal computer. This starts up the firmware programmer.

2.The top screen is displayed. Press any key to advance to the next screen.

3.Set the communications speed (normally, 57600 bps) and communications port in the Setup item.

4.Set the firmware to be updated by File select (=F1).

5.Hold down the [LAMP] and [MON] switches on the TK-260G/ 270G, and press the power switch.

When the [LAMP] and [MON] switches are held down for two seconds, "PROG576" appears on the display and the LED lights orange. When "PROG576" is displayed, release the switches (TK-270G only).

6.Check the connection between the TK-260G/270G and the personal computer, and make sure the TK-260G/270G is in Program mode.

7.Press F10 on the personal computer. A window opens on the display to indicate the writing progress. When the TK- 260G/270G begins to receive data, the LED lights green.

8.When data is received successfully, a checksum appears on the display.

(Since the TK-260G does not have a display, check the checksum with the FPU (KPG-56D).)

9

Page 9
Image 9
Kenwood TK-260G, TK-270G Realignment, Checksum, PC Mode, Firmware Programming Mode, Preface, Connection procedure, Fig