Replacing the projection lamp
Carrier Glass (option)
NOTE: Before cleaning the carrier glass, remove the projection lens from the scanner. Refere to Chapter 3, “Installing the projection lens” for procedures.
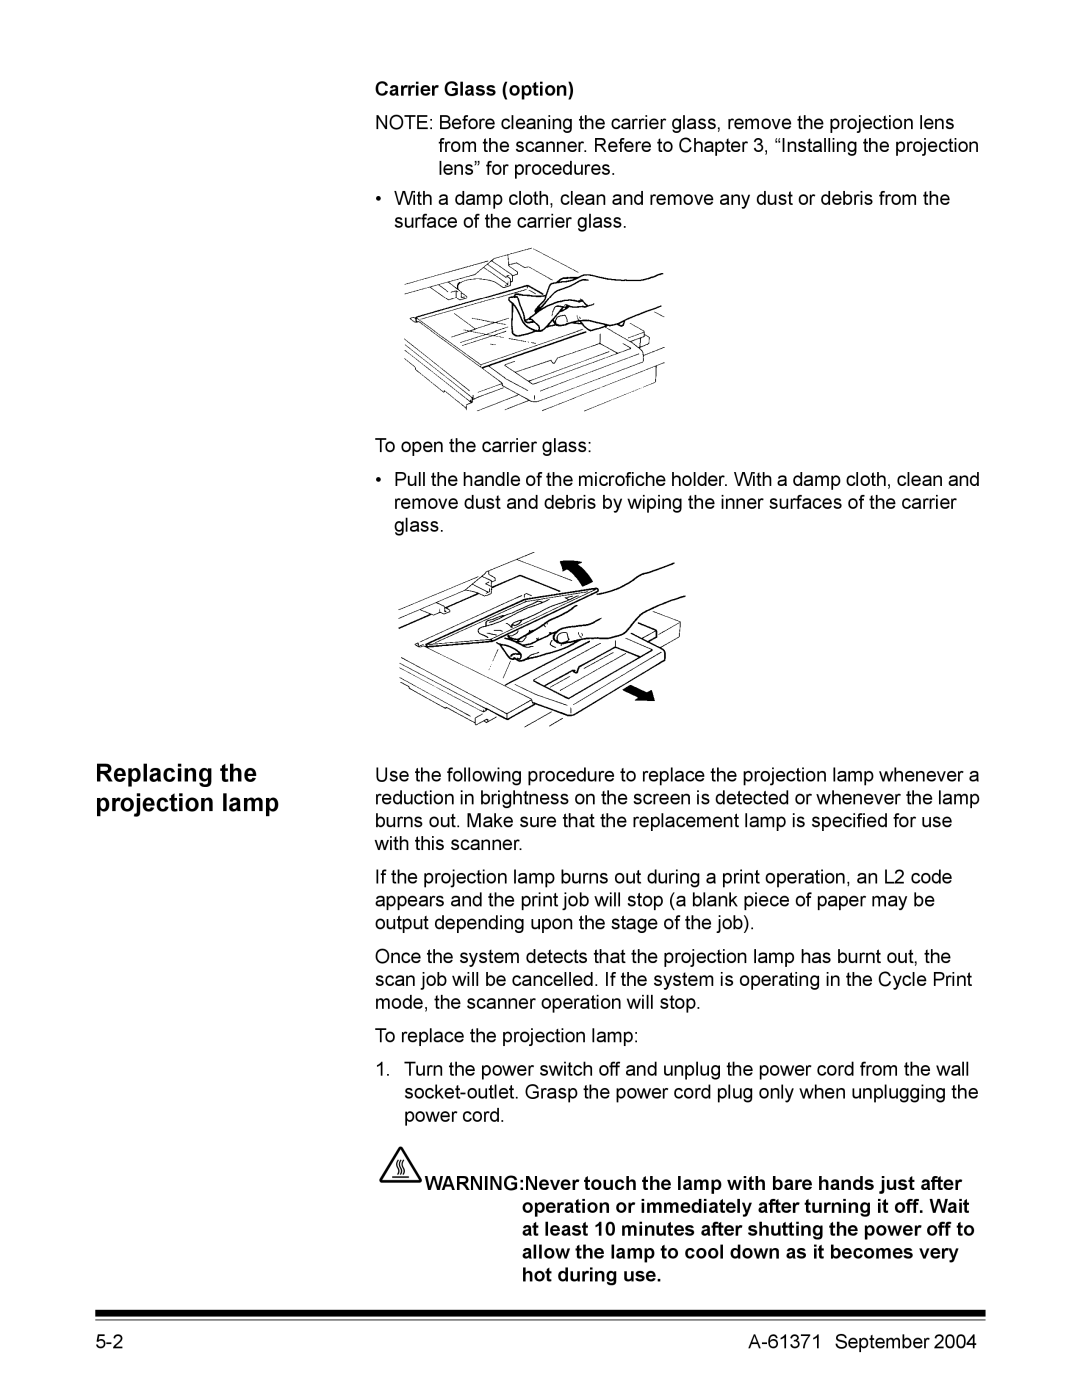
•With a damp cloth, clean and remove any dust or debris from the surface of the carrier glass.
To open the carrier glass:
•Pull the handle of the microfiche holder. With a damp cloth, clean and remove dust and debris by wiping the inner surfaces of the carrier glass.
Use the following procedure to replace the projection lamp whenever a reduction in brightness on the screen is detected or whenever the lamp burns out. Make sure that the replacement lamp is specified for use with this scanner.
If the projection lamp burns out during a print operation, an L2 code appears and the print job will stop (a blank piece of paper may be output depending upon the stage of the job).
Once the system detects that the projection lamp has burnt out, the scan job will be cancelled. If the system is operating in the Cycle Print mode, the scanner operation will stop.
To replace the projection lamp:
1.Turn the power switch off and unplug the power cord from the wall
![]() WARNING:Never touch the lamp with bare hands just after operation or immediately after turning it off. Wait at least 10 minutes after shutting the power off to allow the lamp to cool down as it becomes very hot during use.
WARNING:Never touch the lamp with bare hands just after operation or immediately after turning it off. Wait at least 10 minutes after shutting the power off to allow the lamp to cool down as it becomes very hot during use.