Changing settings with the User mode
User mode allows the default values of various functions to be set or changed as necessary. Most of these functions are
Setting these default values according to your needs saves time and allows you to work more efficiency. The following modes can be set:
|
| Display |
| Function | Description |
|
|
|
|
|
|
|
| U2 |
| Image Distortion | Corrects any slight image distortion that |
|
|
|
|
| can occur during scanning. |
|
| U6 |
| Year, Month, Date Set Mode | Used to set the print pattern for the Date |
|
|
|
|
| Print function. |
|
|
|
|
|
|
|
| U7 |
| Imprint Mode | Used to correct the time of day for the |
|
|
|
|
| Date Print function when it is incorrect. |
|
|
|
|
| |
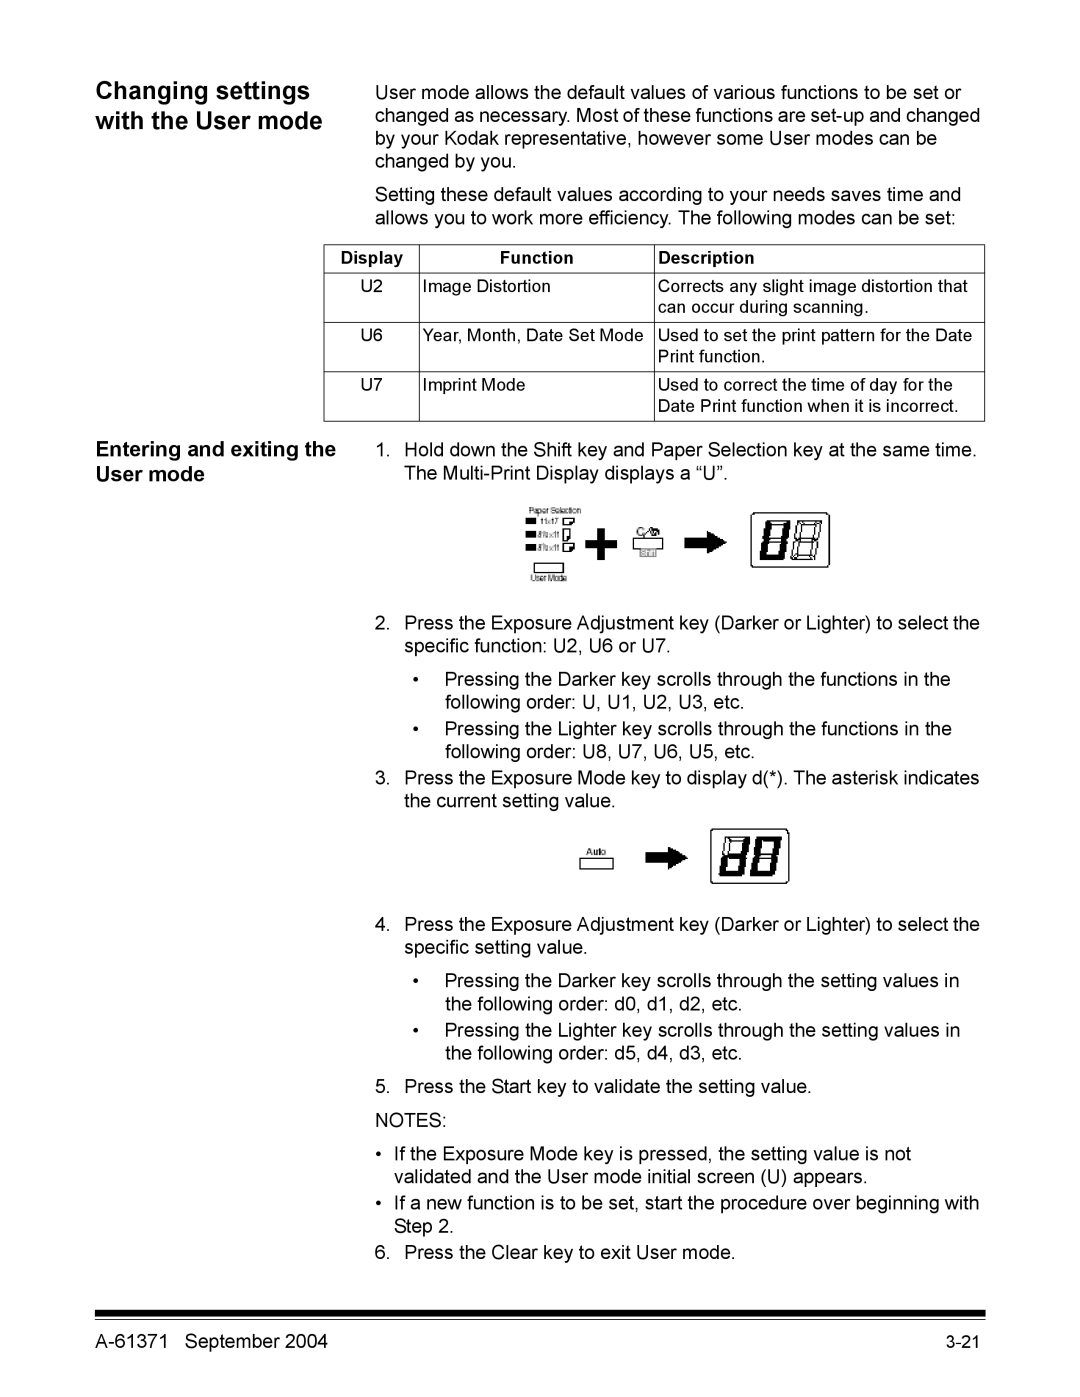
Entering and exiting the | 1. Hold down the Shift key and Paper Selection key at the same time. | ||||
User mode |
| The | |||
2.Press the Exposure Adjustment key (Darker or Lighter) to select the specific function: U2, U6 or U7.
•Pressing the Darker key scrolls through the functions in the following order: U, U1, U2, U3, etc.
•Pressing the Lighter key scrolls through the functions in the following order: U8, U7, U6, U5, etc.
3.Press the Exposure Mode key to display d(*). The asterisk indicates the current setting value.
4.Press the Exposure Adjustment key (Darker or Lighter) to select the specific setting value.
•Pressing the Darker key scrolls through the setting values in the following order: d0, d1, d2, etc.
•Pressing the Lighter key scrolls through the setting values in the following order: d5, d4, d3, etc.
5.Press the Start key to validate the setting value.
NOTES:
•If the Exposure Mode key is pressed, the setting value is not validated and the User mode initial screen (U) appears.
•If a new function is to be set, start the procedure over beginning with Step 2.
6. Press the Clear key to exit User mode.
