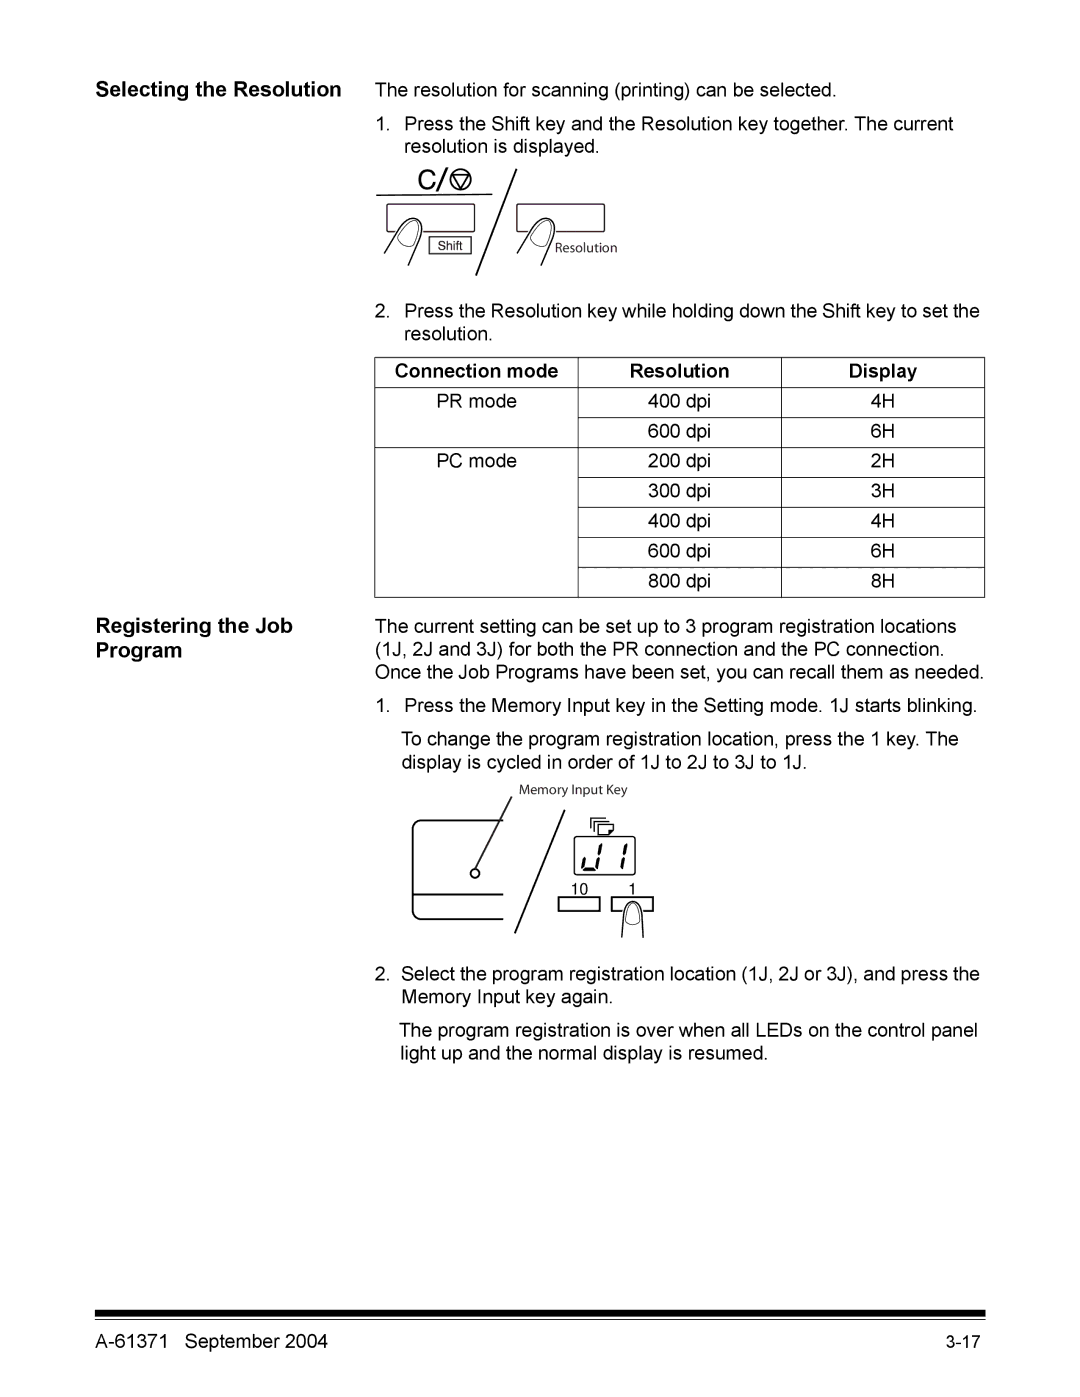
Selecting the Resolution The resolution for scanning (printing) can be selected.
1.Press the Shift key and the Resolution key together. The current resolution is displayed.
Registering the Job Program
Resolution
2.Press the Resolution key while holding down the Shift key to set the resolution.
Connection mode | Resolution | Display |
PR mode | 400 dpi | 4H |
|
|
|
| 600 dpi | 6H |
|
|
|
PC mode | 200 dpi | 2H |
|
|
|
| 300 dpi | 3H |
|
|
|
| 400 dpi | 4H |
|
|
|
| 600 dpi | 6H |
|
|
|
| 800 dpi | 8H |
|
|
|
The current setting can be set up to 3 program registration locations (1J, 2J and 3J) for both the PR connection and the PC connection. Once the Job Programs have been set, you can recall them as needed.
1. Press the Memory Input key in the Setting mode. 1J starts blinking.
To change the program registration location, press the 1 key. The display is cycled in order of 1J to 2J to 3J to 1J.
Memory Input Key
101
2.Select the program registration location (1J, 2J or 3J), and press the Memory Input key again.
The program registration is over when all LEDs on the control panel light up and the normal display is resumed.
