USER PREFERENCES
A C
B
Video quality setup
Sharpness | Mid |
| High |
Brightness | 00 |
| Medium |
Contrast | 00 |
| Low |
Gamma | None |
| |
Hue | 00 |
|
|
Saturation | 00 |
|
|
Luma delay | 0 T |
| |
Set the picture sharpness
Video quality
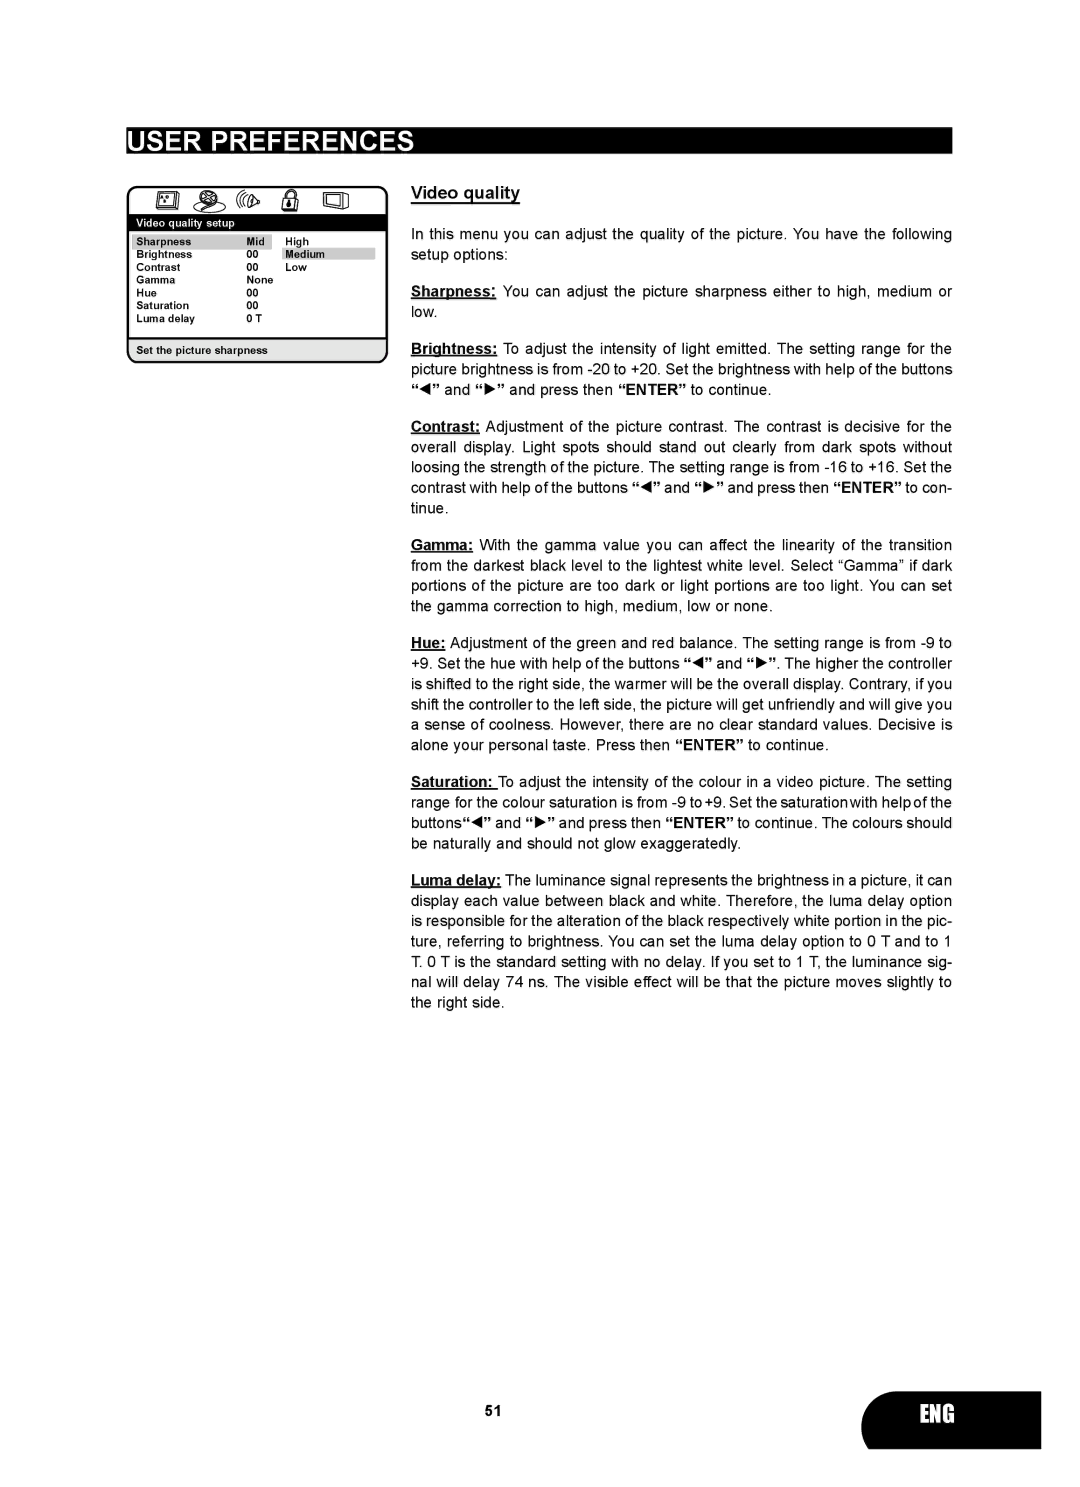
In this menu you can adjust the quality of the picture. You have the following setup options:
Sharpness: You can adjust the picture sharpness either to high, medium or low.
Brightness: To adjust the intensity of light emitted. The setting range for the picture brightness is from
Contrast: Adjustment of the picture contrast. The contrast is decisive for the overall display. Light spots should stand out clearly from dark spots without loosing the strength of the picture. The setting range is from
Gamma: With the gamma value you can affect the linearity of the transition from the darkest black level to the lightest white level. Select “Gamma” if dark portions of the picture are too dark or light portions are too light. You can set the gamma correction to high, medium, low or none.
Hue: Adjustment of the green and red balance. The setting range is from
Saturation: To adjust the intensity of the colour in a video picture. The setting range for the colour saturation is from
Luma delay: The luminance signal represents the brightness in a picture, it can display each value between black and white. Therefore, the luma delay option is responsible for the alteration of the black respectively white portion in the pic- ture, referring to brightness. You can set the luma delay option to 0 T and to 1 T. 0 T is the standard setting with no delay. If you set to 1 T, the luminance sig- nal will delay 74 ns. The visible effect will be that the picture moves slightly to the right side.
51 | ENG |
