Operating the Seamless Switcher / Scaler
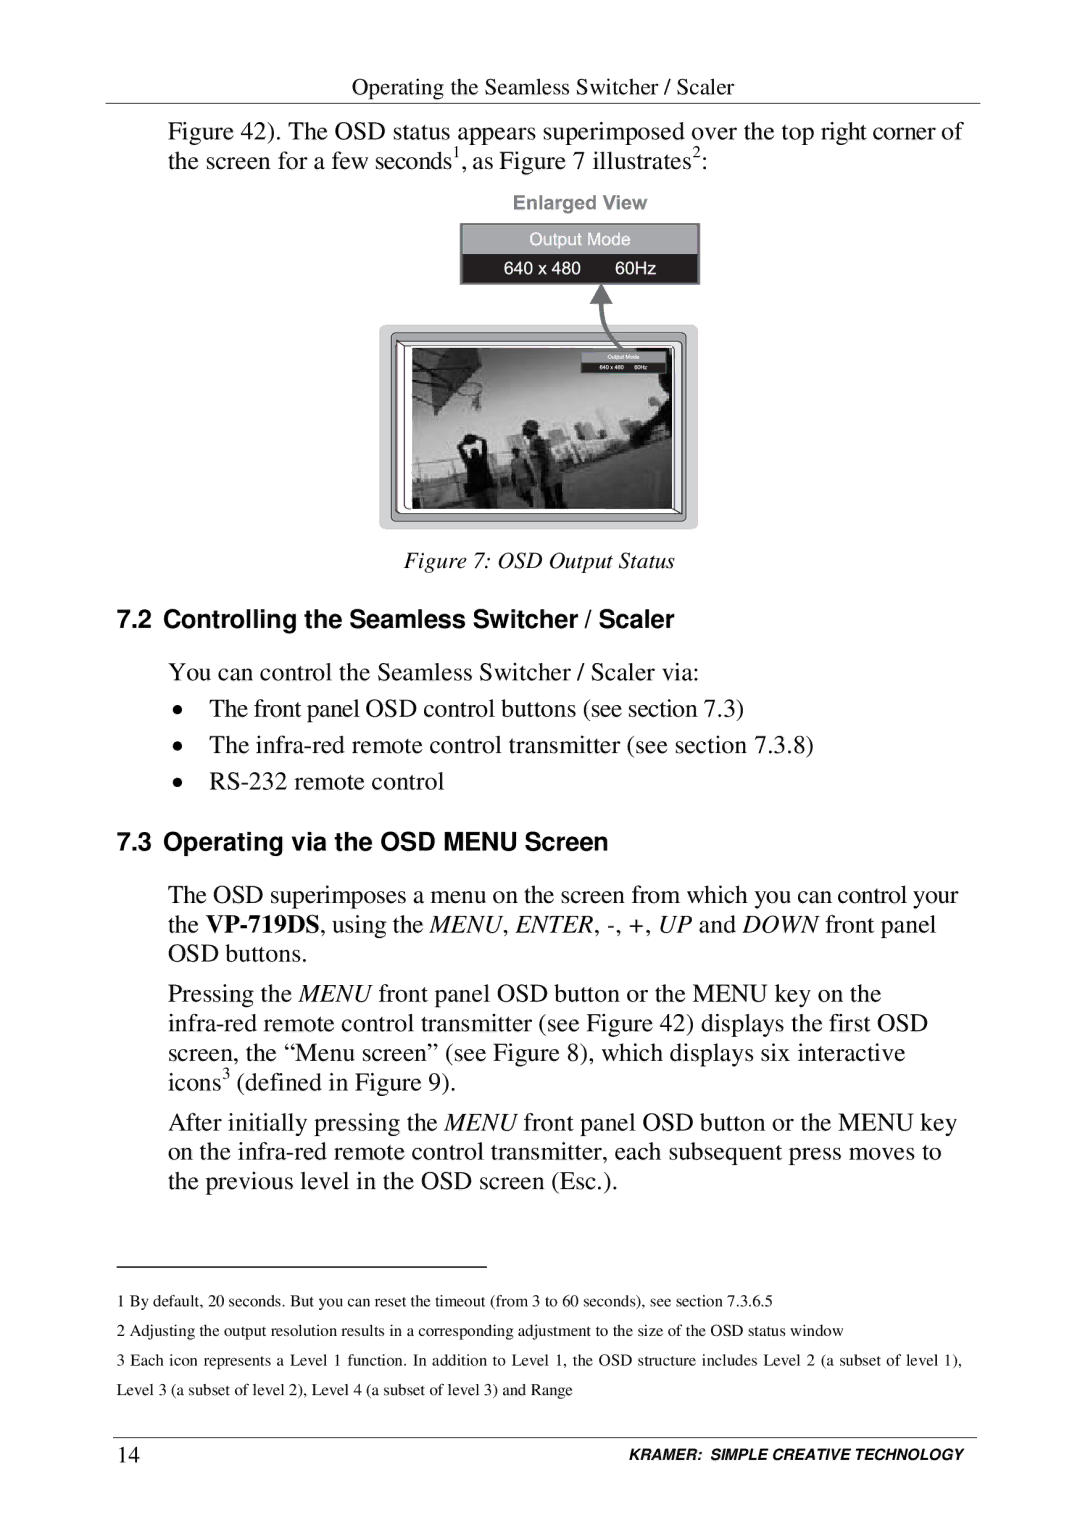
Figure 42). The OSD status appears superimposed over the top right corner of the screen for a few seconds1, as Figure 7 illustrates2:
Figure 7: OSD Output Status
7.2 Controlling the Seamless Switcher / Scaler
You can control the Seamless Switcher / Scaler via:
•The front panel OSD control buttons (see section 7.3)
•The
•
7.3Operating via the OSD MENU Screen
The OSD superimposes a menu on the screen from which you can control your the
Pressing the MENU front panel OSD button or the MENU key on the
After initially pressing the MENU front panel OSD button or the MENU key on the
1 By default, 20 seconds. But you can reset the timeout (from 3 to 60 seconds), see section 7.3.6.5
2 Adjusting the output resolution results in a corresponding adjustment to the size of the OSD status window
3 Each icon represents a Level 1 function. In addition to Level 1, the OSD structure includes Level 2 (a subset of level 1), Level 3 (a subset of level 2), Level 4 (a subset of level 3) and Range
14 | KRAMER: SIMPLE CREATIVE TECHNOLOGY |