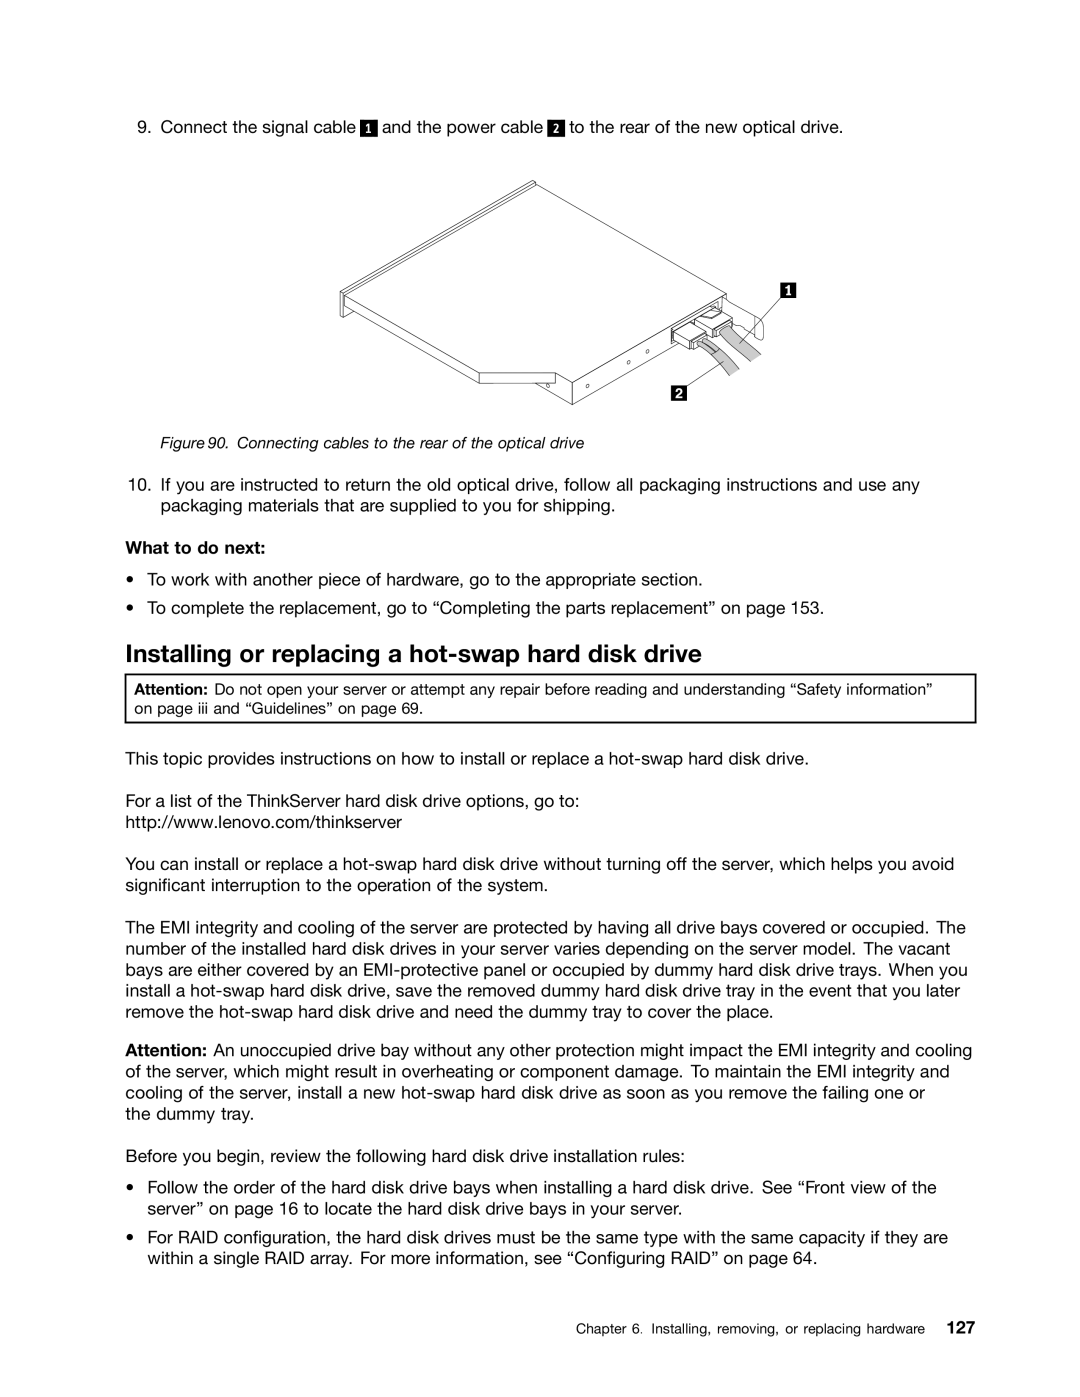
9. Connect the signal cable
1
and the power cable
2
to the rear of the new optical drive.
Figure 90. Connecting cables to the rear of the optical drive
10.If you are instructed to return the old optical drive, follow all packaging instructions and use any packaging materials that are supplied to you for shipping.
What to do next:
•To work with another piece of hardware, go to the appropriate section.
•To complete the replacement, go to “Completing the parts replacement” on page 153.
Installing or replacing a hot-swap hard disk drive
Attention: Do not open your server or attempt any repair before reading and understanding “Safety information” on page iii and “Guidelines” on page 69.
This topic provides instructions on how to install or replace a
For a list of the ThinkServer hard disk drive options, go to:
http://www.lenovo.com/thinkserver
You can install or replace a
The EMI integrity and cooling of the server are protected by having all drive bays covered or occupied. The number of the installed hard disk drives in your server varies depending on the server model. The vacant bays are either covered by an
Attention: An unoccupied drive bay without any other protection might impact the EMI integrity and cooling of the server, which might result in overheating or component damage. To maintain the EMI integrity and cooling of the server, install a new
the dummy tray.
Before you begin, review the following hard disk drive installation rules:
•Follow the order of the hard disk drive bays when installing a hard disk drive. See “Front view of the server” on page 16 to locate the hard disk drive bays in your server.
•For RAID configuration, the hard disk drives must be the same type with the same capacity if they are within a single RAID array. For more information, see “Configuring RAID” on page 64.