![]()
![]()
![]() 3
3![]()
![]() IINSTALLATIONNSTALLATIONAND COMMISSIONINGAND COMMISSIONING
IINSTALLATIONNSTALLATIONAND COMMISSIONINGAND COMMISSIONING![]()
![]()
![]()
![]()
3.1 | PREPARATIONS |
| – Serial communication cable |
|
Check the supplied items | – RMS |
| ||
|
| |||
|
| – Power cable | (RJ11 connector to |
|
|
| (for the country in question) | D socket) |
|
|
| – User‘s Manual | – 10 cable links, stripped | 11 |
|
| – 6 plug connectors | – |
|
| Transport Damage | If the device has visible transport damage, it must not be |
| taken into operation as its safety is no longer guaranteed. | |
|
| |
| Danger | • Immediately report transport damage to the carrier and the |
| manufacturer. | |
|
| |
3.1.2 | Necessary Accessories | • Only use original accessories. |
| Note | If other sensors are used , pay attention to the specification of the |
|
| inouts and outputs (> 3.3.1) ! |
3.1.3 | Necessary Tools |
|
|
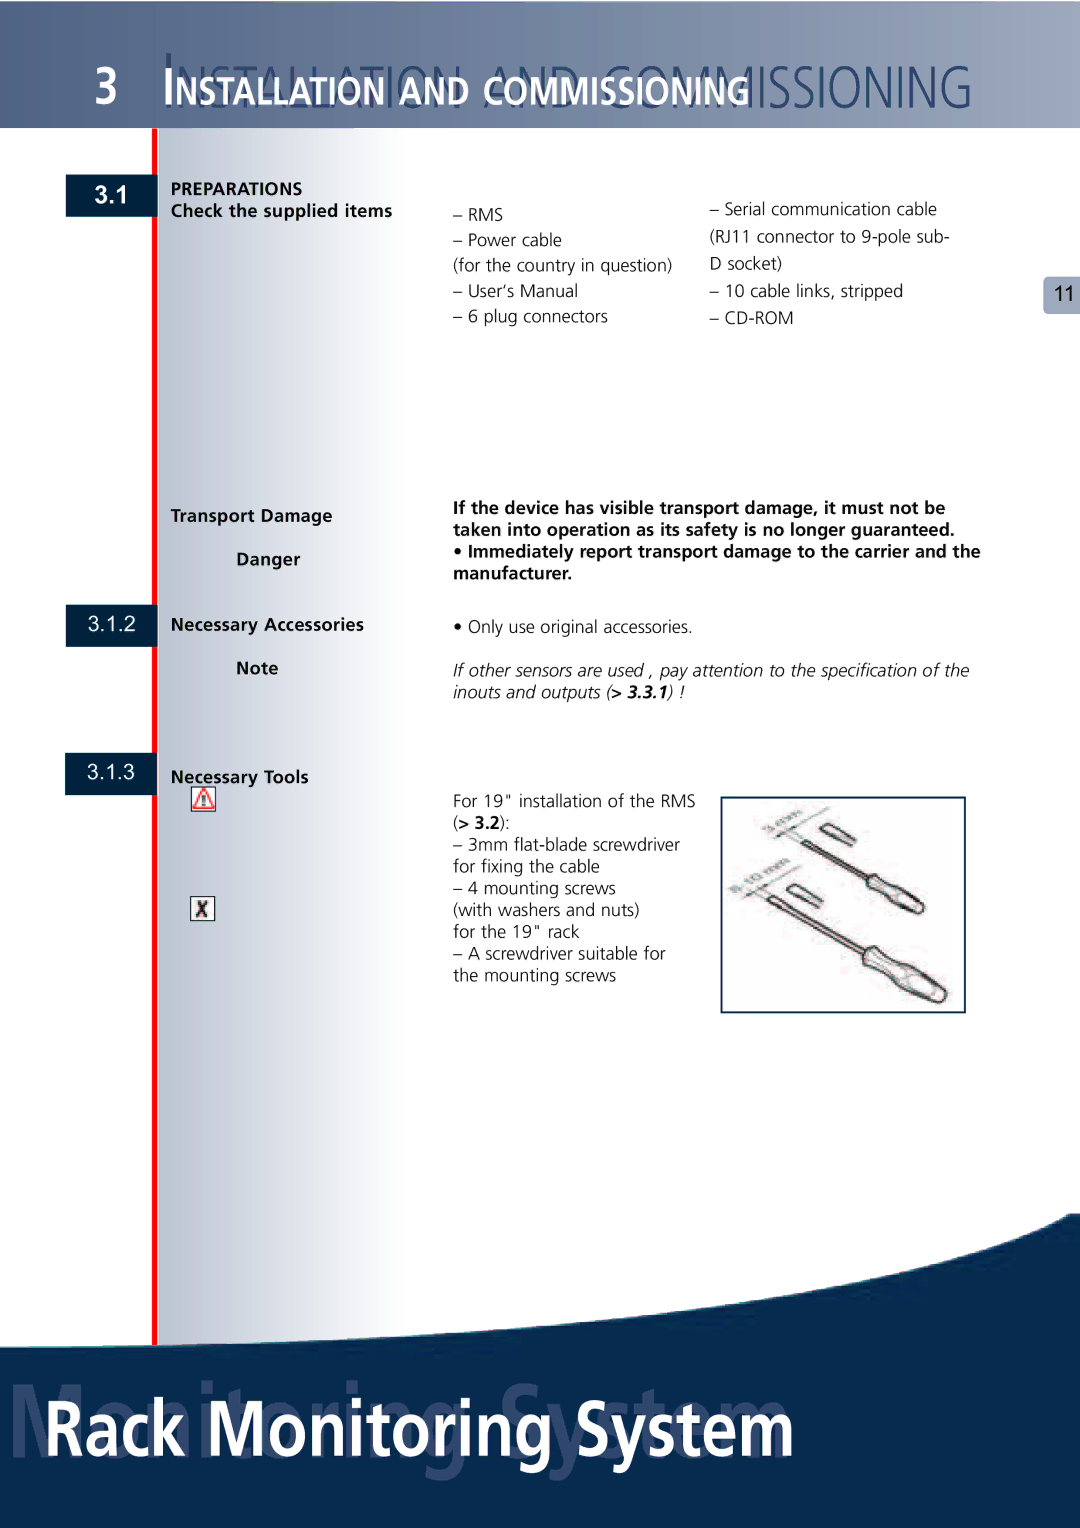
| For 19" installation of the RMS |
|
| (> 3.2): |
|
| – 3mm |
|
| for fixing the cable |
|
| – 4 mounting screws |
|
| (with washers and nuts) |
|
| for the 19" rack |
|
| – A screwdriver suitable for |
|
| the mounting screws |
