Windows XP
The following instructions assume you are running Windows XP with the default interface. If you are using the Classic interface (where the icons and menus look like previous Windows versions), please follow the instructions for Windows 2000.
1.Open the Network screen. To do this, click the Start button and select the Control Panel. From there, click the Network and Internet Connections icon, followed by the Network Connections icon.
2.Select the Local Area Connection icon for the applicable Ethernet adapter (usually it is the first Local Area Connection listed).
Figure
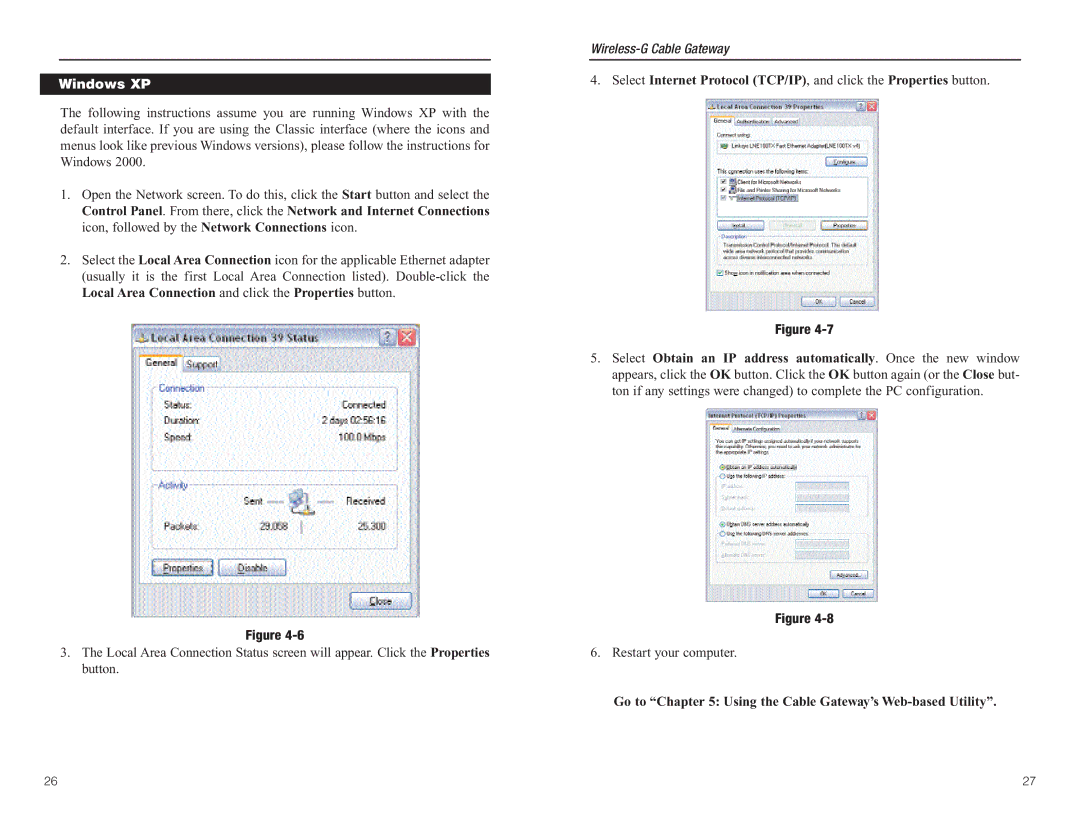
3.The Local Area Connection Status screen will appear. Click the Properties button.
4.Select Internet Protocol (TCP/IP), and click the Properties button.
Figure
5.Select Obtain an IP address automatically. Once the new window appears, click the OK button. Click the OK button again (or the Close but- ton if any settings were changed) to complete the PC configuration.
Figure
6. Restart your computer.
Go to “Chapter 5: Using the Cable Gateway’s Web-based Utility”.
26 | 27 |