Advanced
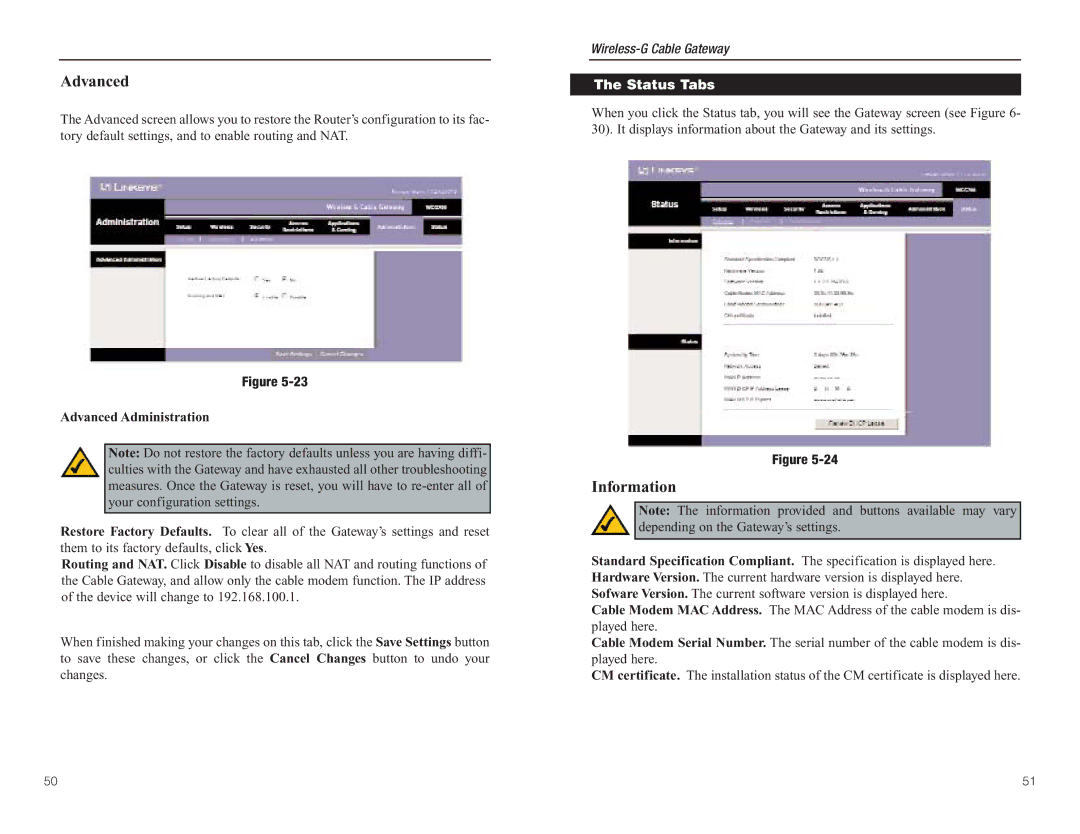
The Advanced screen allows you to restore the Router’s configuration to its fac- tory default settings, and to enable routing and NAT.
Figure
Advanced Administration
Note: Do not restore the factory defaults unless you are having diffi- culties with the Gateway and have exhausted all other troubleshooting measures. Once the Gateway is reset, you will have to
Restore Factory Defaults. To clear all of the Gateway’s settings and reset them to its factory defaults, click Yes.
Routing and NAT. Click Disable to disable all NAT and routing functions of the Cable Gateway, and allow only the cable modem function. The IP address of the device will change to 192.168.100.1.
When finished making your changes on this tab, click the Save Settings button to save these changes, or click the Cancel Changes button to undo your changes.
The Status Tabs
When you click the Status tab, you will see the Gateway screen (see Figure 6- 30). It displays information about the Gateway and its settings.
Figure
Information
Note: The information provided and buttons available may vary depending on the Gateway’s settings.
Standard Specification Compliant. The specification is displayed here. Hardware Version. The current hardware version is displayed here. Sofware Version. The current software version is displayed here.
Cable Modem MAC Address. The MAC Address of the cable modem is dis- played here.
Cable Modem Serial Number. The serial number of the cable modem is dis- played here.
CM certificate. The installation status of the CM certificate is displayed here.
50 | 51 |
