Changing the Network Connection
Every time you power on the phone, it searches for available networks. If you have more than one network set up, or if you are in an area with a different network than the last one used, you can change the network that the phone connects to.
1.Press Menu. Scroll to Settings. Press Select.
2.Scroll to Network. Press Select.
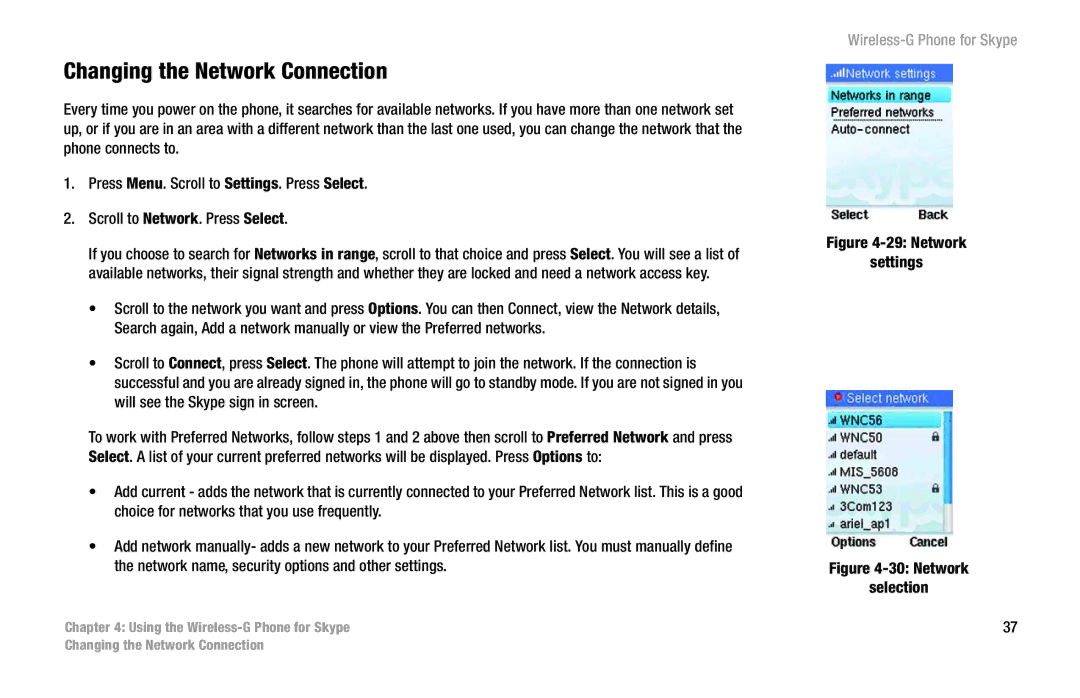
If you choose to search for Networks in range, scroll to that choice and press Select. You will see a list of available networks, their signal strength and whether they are locked and need a network access key.
•Scroll to the network you want and press Options. You can then Connect, view the Network details, Search again, Add a network manually or view the Preferred networks.
•Scroll to Connect, press Select. The phone will attempt to join the network. If the connection is successful and you are already signed in, the phone will go to standby mode. If you are not signed in you will see the Skype sign in screen.
To work with Preferred Networks, follow steps 1 and 2 above then scroll to Preferred Network and press Select. A list of your current preferred networks will be displayed. Press Options to:
•Add current - adds the network that is currently connected to your Preferred Network list. This is a good choice for networks that you use frequently.
•Add network manually- adds a new network to your Preferred Network list. You must manually define the network name, security options and other settings.
Chapter 4: Using the
Figure 4-29: Network
settings
Figure 4-30: Network
selection
37
Changing the Network Connection