When you have finished entering your settings, press the Setup button on the Remote Controller. The Adapter will save the settings and restart itself.
IP Settings
If the Adapter needs a static IP address, then select Fixed IP, and press the Select button. If the Adapter will be assigned an IP address automatically by your network router or other DHCP server, then select DHCP Client, and press the Select button.
IP Address and Subnet Mask
If you selected Fixed IP, then enter the IP Address and Subnet Mask for the Adapter in the IP Address and Subnet Mask fields.
Wireless Settings
If your wireless network uses
SSID
Enter the SSID or network name of your wireless network.
Channel
If your network uses
WEP Encryption
If your network uses
WEP Key
If your network uses WEP encryption, then enter its WEP Key. If you are using
When you have finished entering your settings, press the Setup button on the Remote Controller.
Proceed to “Chapter 8: Using the Media Navigator.”
Chapter 8: Using the Media Navigator
Overview
This chapter explains how to use the Adapter via the Media Navigator. Sample tasks include:
•Choose Music
•Play Music
•Choose Pictures
•Start a Slideshow
•Start a Slideshow with Music
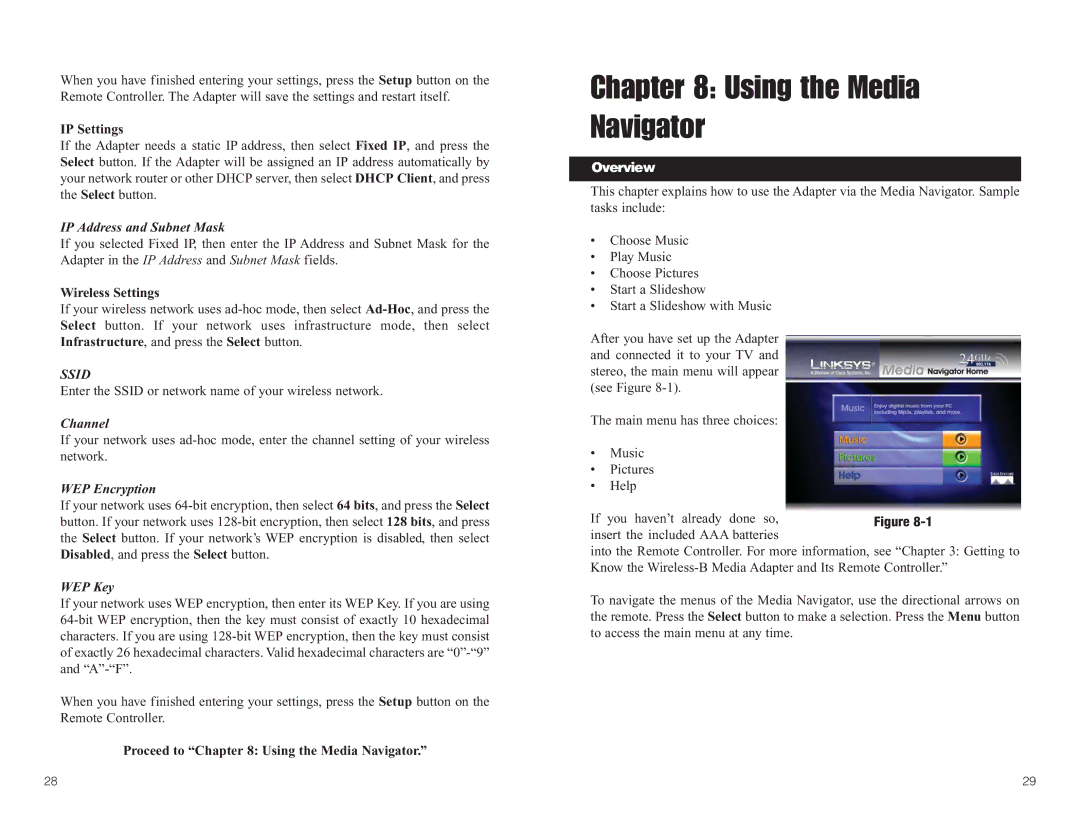
After you have set up the Adapter and connected it to your TV and stereo, the main menu will appear (see Figure
The main menu has three choices:
•Music
•Pictures
•Help
If you haven’t already done so, insert the included AAA batteries
into the Remote Controller. For more information, see “Chapter 3: Getting to Know the
To navigate the menus of the Media Navigator, use the directional arrows on the remote. Press the Select button to make a selection. Press the Menu button to access the main menu at any time.
28 | 29 |
