ENGLISH
1. SYSTEM SETUP
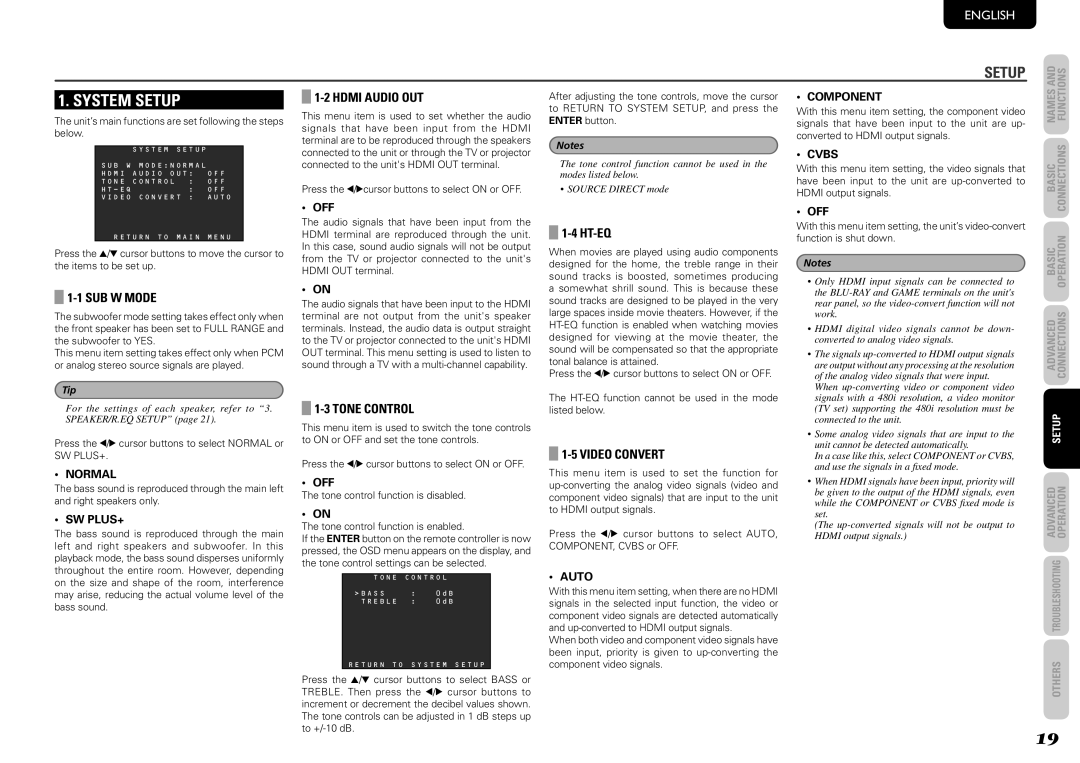
The unit’s main functions are set following the steps below.
SYSTEM SETUP
SUB W MODE:NORMAL
HDMI AUDIO OUT: OFF
TONE CONTROL : OFF
HT - EQ: OFF
VIDEO CONVERT : AUTO
RETURN TO MAIN MENU
Press the 3/4 cursor buttons to move the cursor to the items to be set up.
1-1 SUB W MODE
The subwoofer mode setting takes effect only when the front speaker has been set to FULL RANGE and the subwoofer to YES.
This menu item setting takes effect only when PCM or analog stereo source signals are played.
Tip
For the settings of each speaker, refer to “3. SPEAKER/R.EQ SETUP” (page 21).
Press the 1/2 cursor buttons to select NORMAL or SW PLUS+.
• NORMAL
The bass sound is reproduced through the main left and right speakers only.
• SW PLUS+
The bass sound is reproduced through the main left and right speakers and subwoofer. In this playback mode, the bass sound disperses uniformly throughout the entire room. However, depending on the size and shape of the room, interference may arise, reducing the actual volume level of the bass sound.
1-2 HDMI AUDIO OUT
This menu item is used to set whether the audio signals that have been input from the HDMI terminal are to be reproduced through the speakers connected to the unit or through the TV or projector connected to the unit's HDMI OUT terminal.
Press the 1/2cursor buttons to select ON or OFF.
• OFF
The audio signals that have been input from the HDMI terminal are reproduced through the unit. In this case, sound audio signals will not be output from the TV or projector connected to the unit's HDMI OUT terminal.
• ON
The audio signals that have been input to the HDMI terminal are not output from the unit's speaker terminals. Instead, the audio data is output straight to the TV or projector connected to the unit's HDMI OUT terminal. This menu setting is used to listen to sound through a TV with a
1-3 TONE CONTROL
This menu item is used to switch the tone controls to ON or OFF and set the tone controls.
Press the 1/2 cursor buttons to select ON or OFF.
• OFF
The tone control function is disabled.
• ON
The tone control function is enabled.
If the ENTER button on the remote controller is now pressed, the OSD menu appears on the display, and the tone control settings can be selected.
TONE CONTROL
>BASS | : | 0dB |
TREBLE | : | 0dB |
RETURN TO SYSTEM SETUP
Press the 3/4 cursor buttons to select BASS or TREBLE. Then press the 1/2 cursor buttons to increment or decrement the decibel values shown. The tone controls can be adjusted in 1 dB steps up to
After adjusting the tone controls, move the cursor to RETURN TO SYSTEM SETUP, and press the ENTER button.
Notes
The tone control function cannot be used in the modes listed below.
• SOURCE DIRECT mode
1-4 HT-EQ
When movies are played using audio components designed for the home, the treble range in their sound tracks is boosted, sometimes producing a somewhat shrill sound. This is because these sound tracks are designed to be played in the very large spaces inside movie theaters. However, if the
Press the 1/2 cursor buttons to select ON or OFF.
The
1-5 VIDEO CONVERT
This menu item is used to set the function for
Press the 1/2 cursor buttons to select AUTO, COMPONENT, CVBS or OFF.
• AUTO
With this menu item setting, when there are no HDMI signals in the selected input function, the video or component video signals are detected automatically and
When both video and component video signals have been input, priority is given to
SETUP
• COMPONENT
With this menu item setting, the component video signals that have been input to the unit are up- converted to HDMI output signals.
• CVBS
With this menu item setting, the video signals that have been input to the unit are
• OFF
With this menu item setting, the unit’s
Notes
•Only HDMI input signals can be connected to the
•HDMI digital video signals cannot be down- converted to analog video signals.
•The signals
When
•Some analog video signals that are input to the unit cannot be detected automatically.
In a case like this, select COMPONENT or CVBS, and use the signals in a fixed mode.
•When HDMI signals have been input, priority will be given to the output of the HDMI signals, even while the COMPONENT or CVBS fixed mode is set.
(The
NAMES AND | FUNCTIONS |
BASIC | CONNECTIONS |
BASIC | OPERATION |
ADVANCED | CONNECTIONS |
SETUP | |
ADVANCED | OPERATION |
TROUBLESHOOTING | |
OTHERS | |
19
