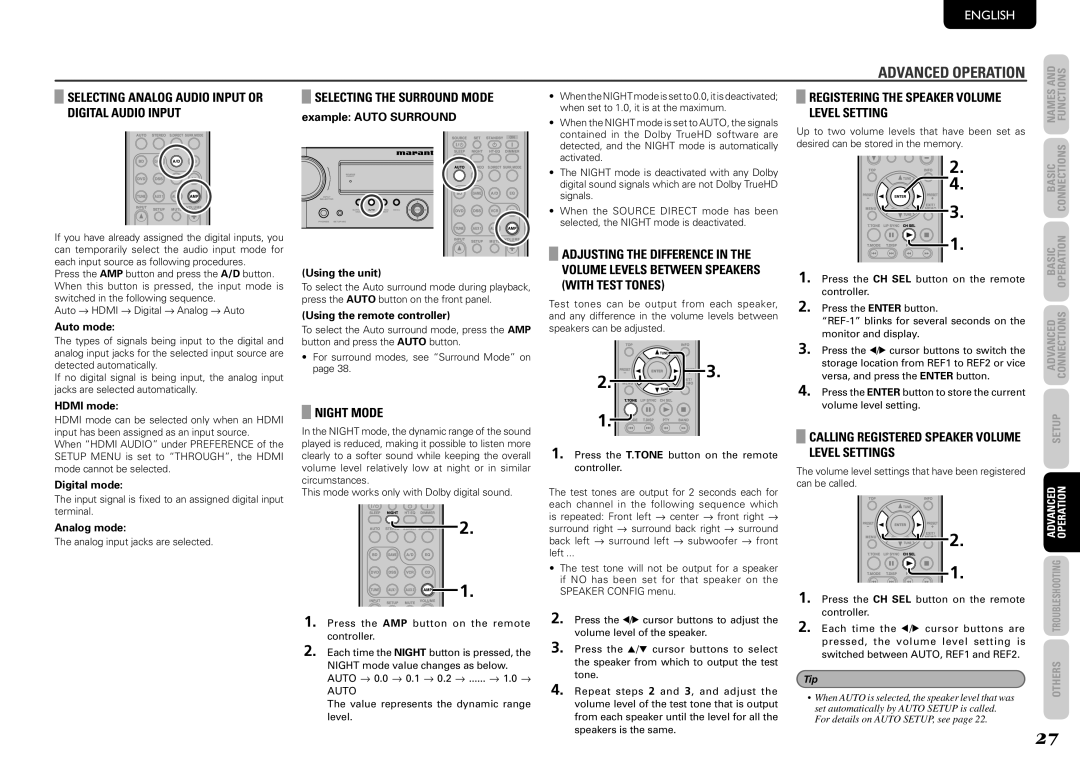
SELECTING ANALOG AUDIO INPUT OR DIGITAL AUDIO INPUT
If you have already assigned the digital inputs, you can temporarily select the audio input mode for each input source as following procedures.
Press the AMP button and press the A/D button. When this button is pressed, the input mode is switched in the following sequence.
Auto → HDMI → Digital → Analog → Auto
Auto mode:
The types of signals being input to the digital and analog input jacks for the selected input source are detected automatically.
If no digital signal is being input, the analog input jacks are selected automatically.
HDMI mode:
HDMI mode can be selected only when an HDMI input has been assigned as an input source.
When “HDMI AUDIO” under PREFERENCE of the SETUP MENU is set to “THROUGH”, the HDMI mode cannot be selected.
Digital mode:
The input signal is fixed to an assigned digital input terminal.
Analog mode:
The analog input jacks are selected.
SELECTING THE SURROUND MODE
example: AUTO SURROUND
(Using the unit)
To select the Auto surround mode during playback, press the AUTO button on the front panel.
(Using the remote controller)
To select the Auto surround mode, press the AMP button and press the AUTO button.
•For surround modes, see “Surround Mode” on page 38.
NIGHT MODE
In the NIGHT mode, the dynamic range of the sound played is reduced, making it possible to listen more clearly to a softer sound while keeping the overall volume level relatively low at night or in similar circumstances.
This mode works only with Dolby digital sound.
![]()
![]()
![]()
![]() 2.
2.
![]()
![]()
![]()
![]()
![]()
![]()
![]()
![]() 1.
1.
1. Press the AMP button on the remote controller.
2. Each time the NIGHT button is pressed, the
NIGHT mode value changes as below. AUTO → 0.0 → 0.1 → 0.2 → ...... → 1.0 →
AUTO
The value represents the dynamic range level.
•WhentheNIGHTmodeissetto0.0,itisdeactivated; when set to 1.0, it is at the maximum.
•When the NIGHT mode is set to AUTO, the signals contained in the Dolby TrueHD software are detected, and the NIGHT mode is automatically activated.
•The NIGHT mode is deactivated with any Dolby digital sound signals which are not Dolby TrueHD signals.
•When the SOURCE DIRECT mode has been selected, the NIGHT mode is deactivated.
ADJUSTING THE DIFFERENCE IN THE VOLUME LEVELS BETWEEN SPEAKERS (WITH TEST TONES)
Test tones can be output from each speaker, and any difference in the volume levels between speakers can be adjusted.
2. | 3. |
|
1.![]()
![]()
![]()
1. Press the T.TONE button on the remote controller.
The test tones are output for 2 seconds each for each channel in the following sequence which is repeated: Front left → center → front right → surround right → surround back right → surround back left → surround left → subwoofer → front left ...
•The test tone will not be output for a speaker if NO has been set for that speaker on the SPEAKER CONFIG menu.
2.Press the 1/2 cursor buttons to adjust the volume level of the speaker.
3.Press the 3/4 cursor buttons to select the speaker from which to output the test tone.
4.Repeat steps 2 and 3, and adjust the volume level of the test tone that is output from each speaker until the level for all the speakers is the same.
ENGLISH
ADVANCED OPERATION
REGISTERING THE SPEAKER VOLUME LEVEL SETTING
Up to two volume levels that have been set as desired can be stored in the memory.
2.
4.
![]()
![]()
![]() 3.
3.
![]()
![]()
![]()
![]()
![]()
![]()
![]() 1.
1.
1. Press the CH SEL button on the remote controller.
2. Press the ENTER button.
3. Press the 1/2 cursor buttons to switch the storage location from REF1 to REF2 or vice versa, and press the ENTER button.
4. Press the ENTER button to store the current volume level setting.
CALLING REGISTERED SPEAKER VOLUME LEVEL SETTINGS
The volume level settings that have been registered can be called.
![]()
![]()
![]() 2.
2.
![]()
![]()
![]()
![]()
![]()
![]()
![]() 1.
1.
1. Press the CH SEL button on the remote controller.
2. Each time the 1/2 cursor buttons are pressed, the volume level setting is switched between AUTO, REF1 and REF2.
Tip
•When AUTO is selected, the speaker level that was set automatically by AUTO SETUP is called. For details on AUTO SETUP, see page 22.
NAMES AND | FUNCTIONS |
BASIC | CONNECTIONS |
BASIC | OPERATION |
ADVANCED | CONNECTIONS |
SETUP | |
ADVANCED | OPERATION |
TROUBLESHOOTING | |
OTHERS | |
27