ENGLISH
FUNCTIONS | NAMES AND |
CONNECTIONS | BASIC |
OPERATION | BASIC |
CONNECTIONS | ADVANCED |
SETUP | |
OPERATION | ADVANCED |
TROUBLESHOOTING | |
OTHERS | |
SETUP
2. INPUT SETUP
The input source connected to the unit is set by following the steps below.
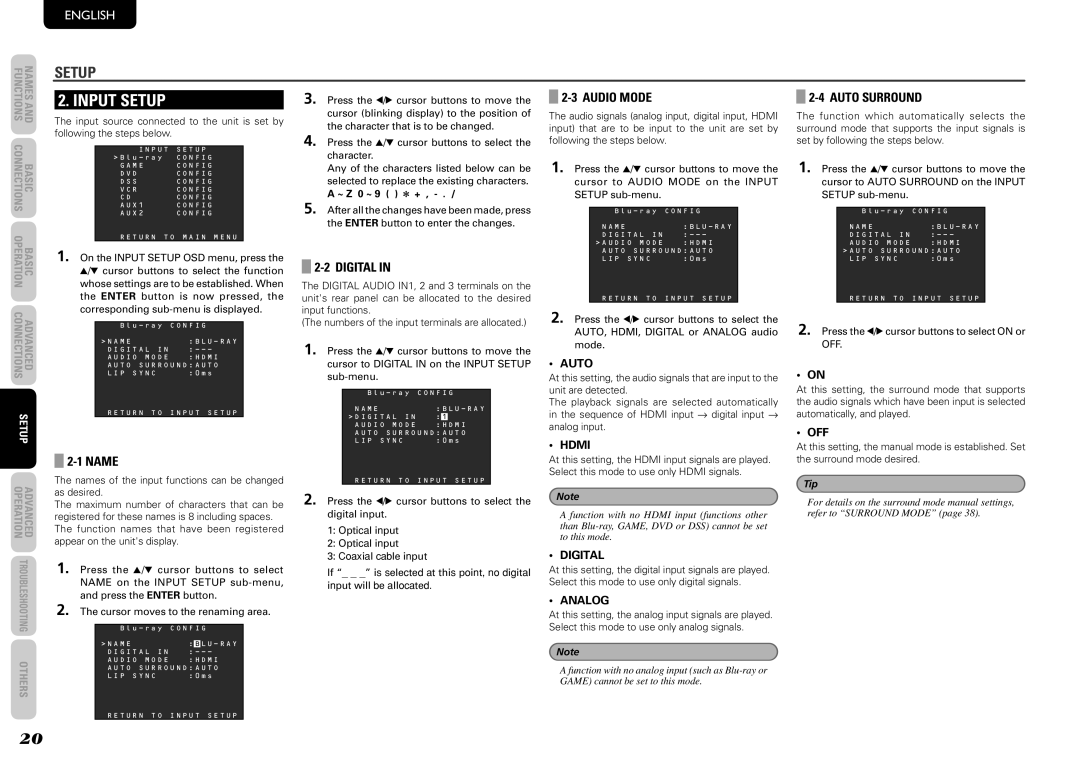
INPUT SETUP >Blu - ray CONFIG
GAME CONFIG
DVD CONFIG
DSS CONFIG
VCR CONFIG
CD CONFIG
AUX1 CONFIG
AUX2 CONFIG
RETURN TO MAIN MENU
1. On the INPUT SETUP OSD menu, press the
3/4 cursor buttons to select the function whose settings are to be established. When the ENTER button is now pressed, the corresponding
Blu - ray CONFIG
>NAME |
| :BLU - RAY |
DIGITAL IN | : | |
AUDIO | MODE | :HDMI |
AUTO | SURROUND:AUTO | |
LIP SYNC | :0ms | |
RETURN TO INPUT SETUP
2-1 NAME
The names of the input functions can be changed as desired.
The maximum number of characters that can be registered for these names is 8 including spaces. The function names that have been registered appear on the unit's display.
1. Press the 3/4 cursor buttons to select NAME on the INPUT SETUP
2. The cursor moves to the renaming area.
Blu - ray CONFIG
>NAME |
| : | B | LU - RAY |
DIGITAL IN | : | |||
AUDIO | MODE | :HDMI | ||
AUTO | SURROUND:AUTO | |||
LIP SYNC | :0ms | |||
RETURN TO INPUT SETUP
3. Press the 1/2 cursor buttons to move the cursor (blinking display) to the position of the character that is to be changed.
4. Press the 3/4 cursor buttons to select the character.
Any of the characters listed below can be selected to replace the existing characters.
A ~ Z 0 ~ 9 ( ) + ,
5. After all the changes have been made, press the ENTER button to enter the changes.
2-2 DIGITAL IN
The DIGITAL AUDIO IN1, 2 and 3 terminals on the unit's rear panel can be allocated to the desired input functions.
(The numbers of the input terminals are allocated.)
1. Press the 3/4 cursor buttons to move the cursor to DIGITAL IN on the INPUT SETUP
Blu - ray CONFIG
NAME |
| :BLU - RAY | ||
>DIGITAL IN | : | 1 |
| |
AUDIO | MODE | :HDMI | ||
AUTO | SURROUND:AUTO | |||
LIP SYNC | :0ms | |||
RETURN TO | INPUT SETUP | |||
2. Press the 1/2 cursor buttons to select the digital input.
1:Optical input
2:Optical input
3:Coaxial cable input
If “_ _ _” is selected at this point, no digital input will be allocated.
2-3 AUDIO MODE
The audio signals (analog input, digital input, HDMI input) that are to be input to the unit are set by following the steps below.
1. Press the 3/4 cursor buttons to move the cursor to AUDIO MODE on the INPUT SETUP
Blu - ray CONFIG
NAME |
| :BLU - RAY |
DIGITAL IN | : | |
>AUDIO | MODE | :HDMI |
AUTO | SURROUND:AUTO | |
LIP SYNC | :0ms | |
RETURN TO | INPUT SETUP | |
2. Press the 1/2 cursor buttons to select the AUTO, HDMI, DIGITAL or ANALOG audio mode.
• AUTO
At this setting, the audio signals that are input to the unit are detected.
The playback signals are selected automatically in the sequence of HDMI input → digital input → analog input.
• HDMI
At this setting, the HDMI input signals are played. Select this mode to use only HDMI signals.
Note
A function with no HDMI input (functions other than
• DIGITAL
At this setting, the digital input signals are played. Select this mode to use only digital signals.
• ANALOG
At this setting, the analog input signals are played. Select this mode to use only analog signals.
Note
A function with no analog input (such as
2-4 AUTO SURROUND
The function which automatically selects the surround mode that supports the input signals is set by following the steps below.
1. Press the 3/4 cursor buttons to move the cursor to AUTO SURROUND on the INPUT SETUP
Blu - ray CONFIG
NAME |
| :BLU - RAY |
DIGITAL IN | : | |
AUDIO | MODE | :HDMI |
>AUTO | SURROUND:AUTO | |
LIP SYNC | :0ms | |
RETURN TO INPUT SETUP
2. Press the 1/2 cursor buttons to select ON or OFF.
• ON
At this setting, the surround mode that supports the audio signals which have been input is selected automatically, and played.
• OFF
At this setting, the manual mode is established. Set the surround mode desired.
Tip
For details on the surround mode manual settings, refer to “SURROUND MODE” (page 38).
20