Disassembly Procedures

!WARNING

To avoid risk of electrical shock, personal injury, or death: disconnect electrical and gas supply before servicing.

Moving and/or Replacing Range

1.Turn off electrical power to the range.

2.Slide range forward from installation position.

3.Unplug power cord.

4.Replace range using Installation Instructions.

NOTE: When placing range into installation position, verify anti-tip bracket(s) are engaged.

Leveling Legs

Some floors are not level. For proper baking, your range must be level.

Leveling legs are located on each corner of the base of the range.

Place a level horizontally on oven rack and check front-to-back and side-to-side. Level by turning legs.

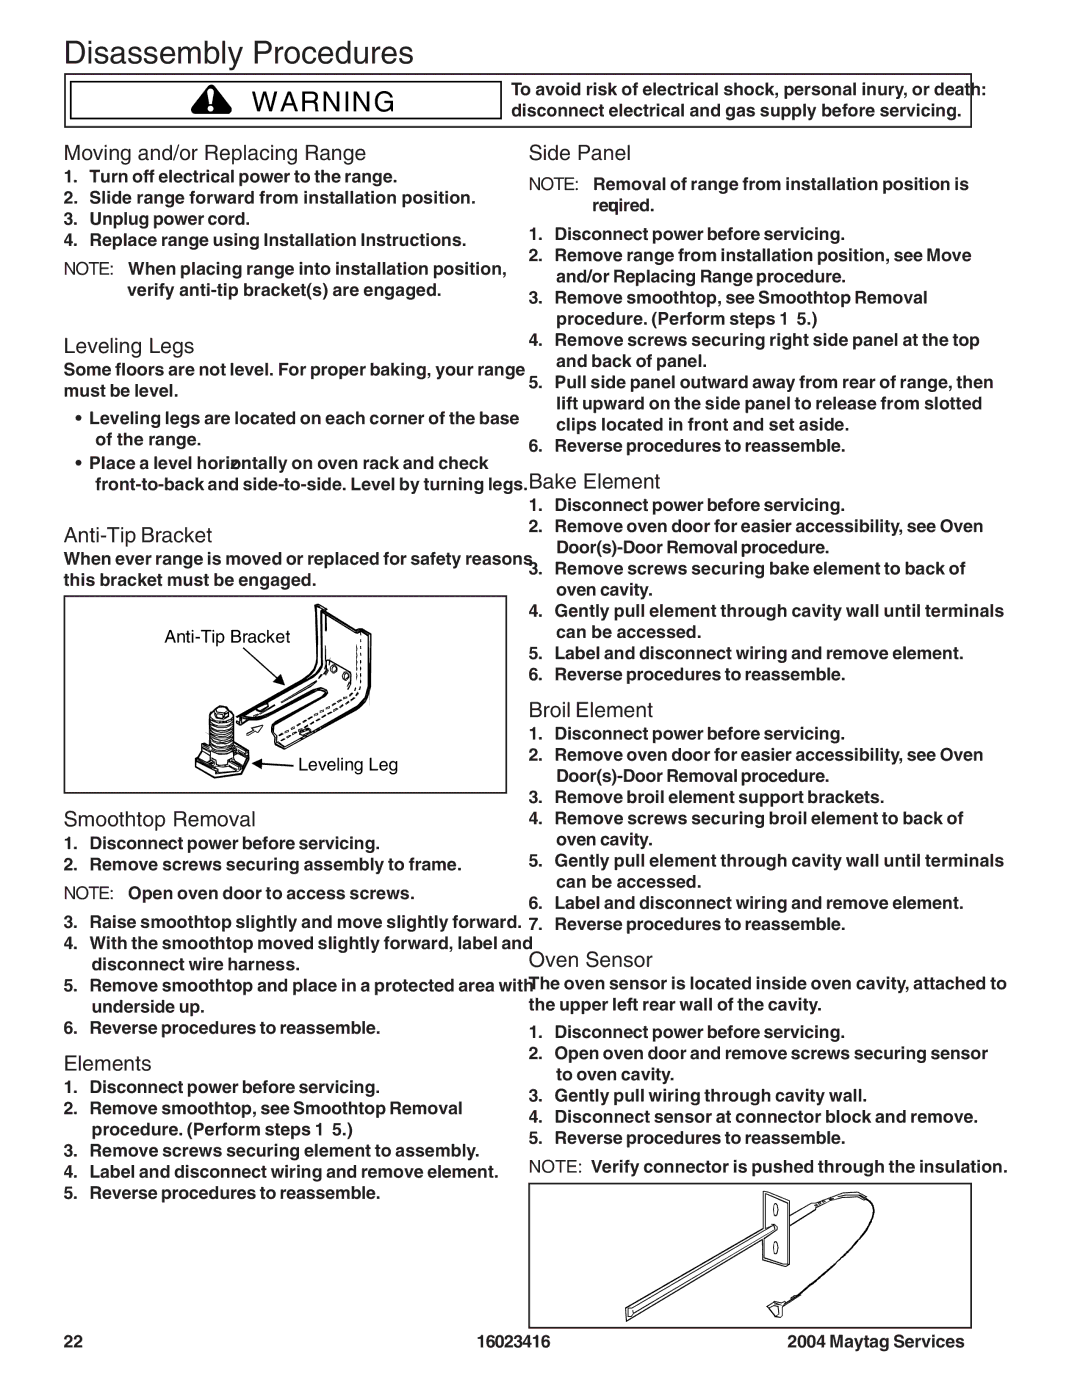
Anti-Tip Bracket

When ever range is moved or replaced for safety reasons this bracket must be engaged.

Anti-Tip Bracket

Leveling Leg

Smoothtop Removal

1.Disconnect power before servicing.

2.Remove screws securing assembly to frame.

NOTE: Open oven door to access screws.

3.Raise smoothtop slightly and move slightly forward.

4.With the smoothtop moved slightly forward, label and disconnect wire harness.

5.Remove smoothtop and place in a protected area with underside up.

6.Reverse procedures to reassemble.

Elements

1.Disconnect power before servicing.

2.Remove smoothtop, see "Smoothtop Removal" procedure. (Perform steps 1 – 5.)

3.Remove screws securing element to assembly.

4.Label and disconnect wiring and remove element.

5.Reverse procedures to reassemble.

Side Panel

NOTE: Removal of range from installation position is required.

1.Disconnect power before servicing.

2.Remove range from installation position, see "Move and/or Replacing Range" procedure.

3.Remove smoothtop, see "Smoothtop Removal" procedure. (Perform steps 1 – 5.)

4.Remove screws securing right side panel at the top and back of panel.

5.Pull side panel outward away from rear of range, then lift upward on the side panel to release from slotted clips located in front and set aside.

6.Reverse procedures to reassemble.

Bake Element

1.Disconnect power before servicing.

2.Remove oven door for easier accessibility, see "Oven Door(s)-Door Removal" procedure.

3.Remove screws securing bake element to back of oven cavity.

4.Gently pull element through cavity wall until terminals can be accessed.

5.Label and disconnect wiring and remove element.

6.Reverse procedures to reassemble.

Broil Element

1.Disconnect power before servicing.

2.Remove oven door for easier accessibility, see "Oven Door(s)-Door Removal" procedure.

3.Remove broil element support brackets.

4.Remove screws securing broil element to back of oven cavity.

5.Gently pull element through cavity wall until terminals can be accessed.

6.Label and disconnect wiring and remove element.

7.Reverse procedures to reassemble.

Oven Sensor

The oven sensor is located inside oven cavity, attached to the upper left rear wall of the cavity.

1.Disconnect power before servicing.

2.Open oven door and remove screws securing sensor to oven cavity.

3.Gently pull wiring through cavity wall.

4.Disconnect sensor at connector block and remove.

5.Reverse procedures to reassemble.

NOTE: Verify connector is pushed through the insulation.

22

16023416

©2004 Maytag Services

Page 22
Image 22
Maytag MER6875AAB/F/N/Q/S/W Moving and/or Replacing Range, Leveling Legs, Anti-Tip Bracket, Smoothtop Removal, Elements

MER6775ACB/F/N/S/W, MER6555ACW, MER6755ACB/S/W, MER6755AAB/Q/S/W, MER6875AAB/F/N/Q/S/W specifications

The Maytag MER6875AAB is a standout model in the range of electric freestanding ranges from Maytag, known for its combination of style, durability, and advanced cooking features. This range offers a generous cooking capacity, making it suitable for both everyday meals and larger gatherings.

Equipped with a powerful oven, the MER6875AAB features the Precision Cooking System, which uses advanced sensors to ensure consistent cooking results. The oven reaches high temperatures quickly, providing a reliable and efficient cooking experience. This model also includes a self-cleaning feature, allowing for easy maintenance and a cleaner cooking environment with minimal effort.

Another notable model, the Maytag MER6555ACW, is designed for those who appreciate simplicity without compromising performance. It features large oven windows for easy monitoring, along with an easy-to-use control panel. This model is also built with Maytag's famous heavy-duty cast-iron grates, ensuring a sturdy cooking surface that can withstand heavy pots and pans.

The MER6775ACB is known for its versatility, boasting multiple cooking modes including bake, broil, and convection options. The convection setting circulates hot air for even cooking, enhancing the flavor and texture of meals. This model's robust build ensures longevity, while the sleek design fits seamlessly into various kitchen aesthetics.

The MER6755AAB offers a user-friendly experience with straightforward controls and a wide array of preset cooking functions, catering to both novice cooks and seasoned chefs. With its high-heat capabilities, users can enjoy searing, broiling, and baking, all within a single appliance.

Last but not least, the MER6775AAB model is crafted with a focus on energy efficiency, allowing users to save on energy costs while maintaining optimal cooking performance. Its intuitive interface simplifies meal preparation, making it accessible for everyone in the household.

All models in this range exemplify Maytag's commitment to quality and innovation, with features designed to enhance cooking precision and ease of use. From self-cleaning capabilities to heavy-duty construction, these ranges address a variety of cooking needs, making them a smart investment for any kitchen. Whether you're baking a cake or roasting a chicken, Maytag ranges deliver reliable results time after time.