How to Operate the MDLP2, con’t
Fine Menu 1 Adjust
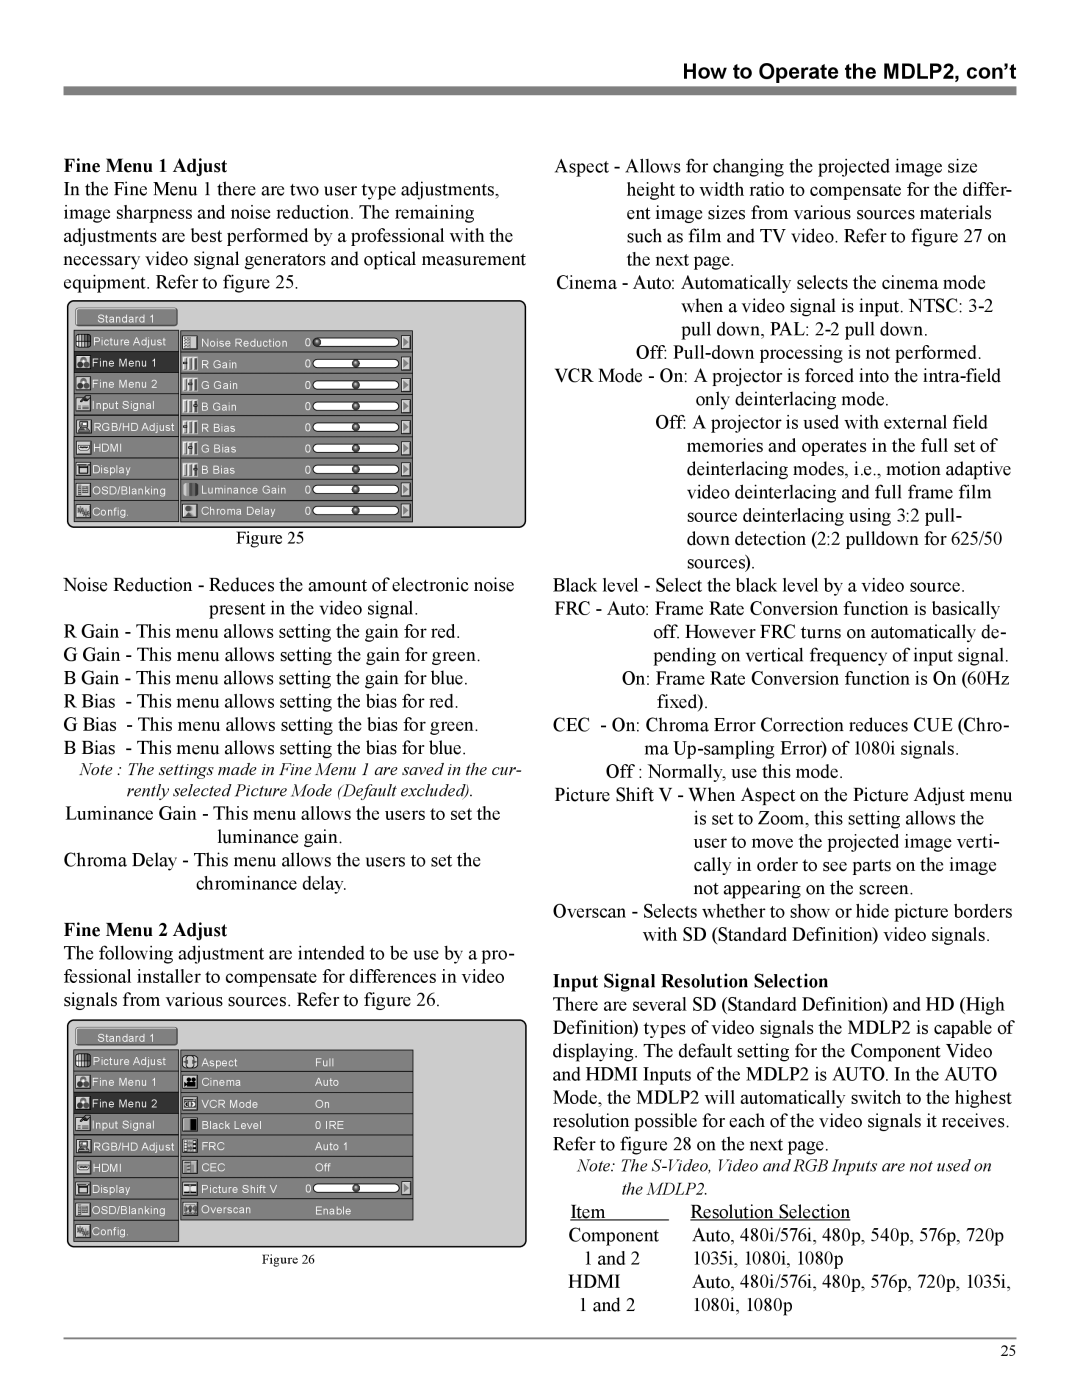
In the Fine Menu 1 there are two user type adjustments, image sharpness and noise reduction. The remaining adjustments are best performed by a professional with the necessary video signal generators and optical measurement equipment. Refer to figure 25.
Standard 1 |
|
|
Picture Adjust | Noise Reduction | 0 |
Fine Menu 1 | R Gain | 0 |
Fine Menu 2 | G Gain | 0 |
Input Signal | B Gain | 0 |
RGB/HD Adjust | R Bias | 0 |
HDMI | G Bias | 0 |
Display | B Bias | 0 |
OSD/Blanking | Luminance Gain | 0 |
Config. | Chroma Delay | 0 |
Figure 25
Noise Reduction - Reduces the amount of electronic noise present in the video signal.
R Gain - This menu allows setting the gain for red. G Gain - This menu allows setting the gain for green. B Gain - This menu allows setting the gain for blue. R Bias - This menu allows setting the bias for red. G Bias - This menu allows setting the bias for green. B Bias - This menu allows setting the bias for blue.
Note : The settings made in Fine Menu 1 are saved in the cur-
rently selected Picture Mode (Default excluded).
Luminance Gain - This menu allows the users to set the
luminance gain.
Chroma Delay - This menu allows the users to set the
chrominance delay.
Fine Menu 2 Adjust
The following adjustment are intended to be use by a pro- fessional installer to compensate for differences in video signals from various sources. Refer to figure 26.
Standard 1 |
|
|
Picture Adjust | Aspect | Full |
Fine Menu 1 | Cinema | Auto |
Fine Menu 2 | VCR Mode | On |
Input Signal | Black Level | 0 IRE |
RGB/HD Adjust | FRC | Auto 1 |
HDMI | CEC | Off |
Display | Picture Shift V | 0 |
OSD/Blanking | Overscan | Enable |
Config. |
|
|
Figure 26
Aspect - Allows for changing the projected image size height to width ratio to compensate for the differ- ent image sizes from various sources materials such as film and TV video. Refer to figure 27 on the next page.
Cinema - Auto: Automatically selects the cinema mode when a video signal is input. NTSC:
Off:
only deinterlacing mode.
Off: A projector is used with external field memories and operates in the full set of deinterlacing modes, i.e., motion adaptive video deinterlacing and full frame film source deinterlacing using 3:2 pull- down detection (2:2 pulldown for 625/50 sources).
Black level - Select the black level by a video source. FRC - Auto: Frame Rate Conversion function is basically
off. However FRC turns on automatically de- pending on vertical frequency of input signal.
On: Frame Rate Conversion function is On (60Hz fixed).
CEC - On: Chroma Error Correction reduces CUE (Chro- ma
Off : Normally, use this mode.
Picture Shift V - When Aspect on the Picture Adjust menu is set to Zoom, this setting allows the user to move the projected image verti- cally in order to see parts on the image not appearing on the screen.
Overscan - Selects whether to show or hide picture borders with SD (Standard Definition) video signals.
Input Signal Resolution Selection
There are several SD (Standard Definition) and HD (High Definition) types of video signals the MDLP2 is capable of displaying. The default setting for the Component Video and HDMI Inputs of the MDLP2 is AUTO. In the AUTO Mode, the MDLP2 will automatically switch to the highest resolution possible for each of the video signals it receives. Refer to figure 28 on the next page.
Note: The
| Item | Resolution Selection |
Component | Auto, 480i/576i, 480p, 540p, 576p, 720p | |
| 1 and 2 | 1035i, 1080i, 1080p |
HDMI | Auto, 480i/576i, 480p, 576p, 720p, 1035i, | |
| 1 and 2 | 1080i, 1080p |
25
