Visit our website at
www.MillerWelds.com
OM-4430 217 243R
2007−04
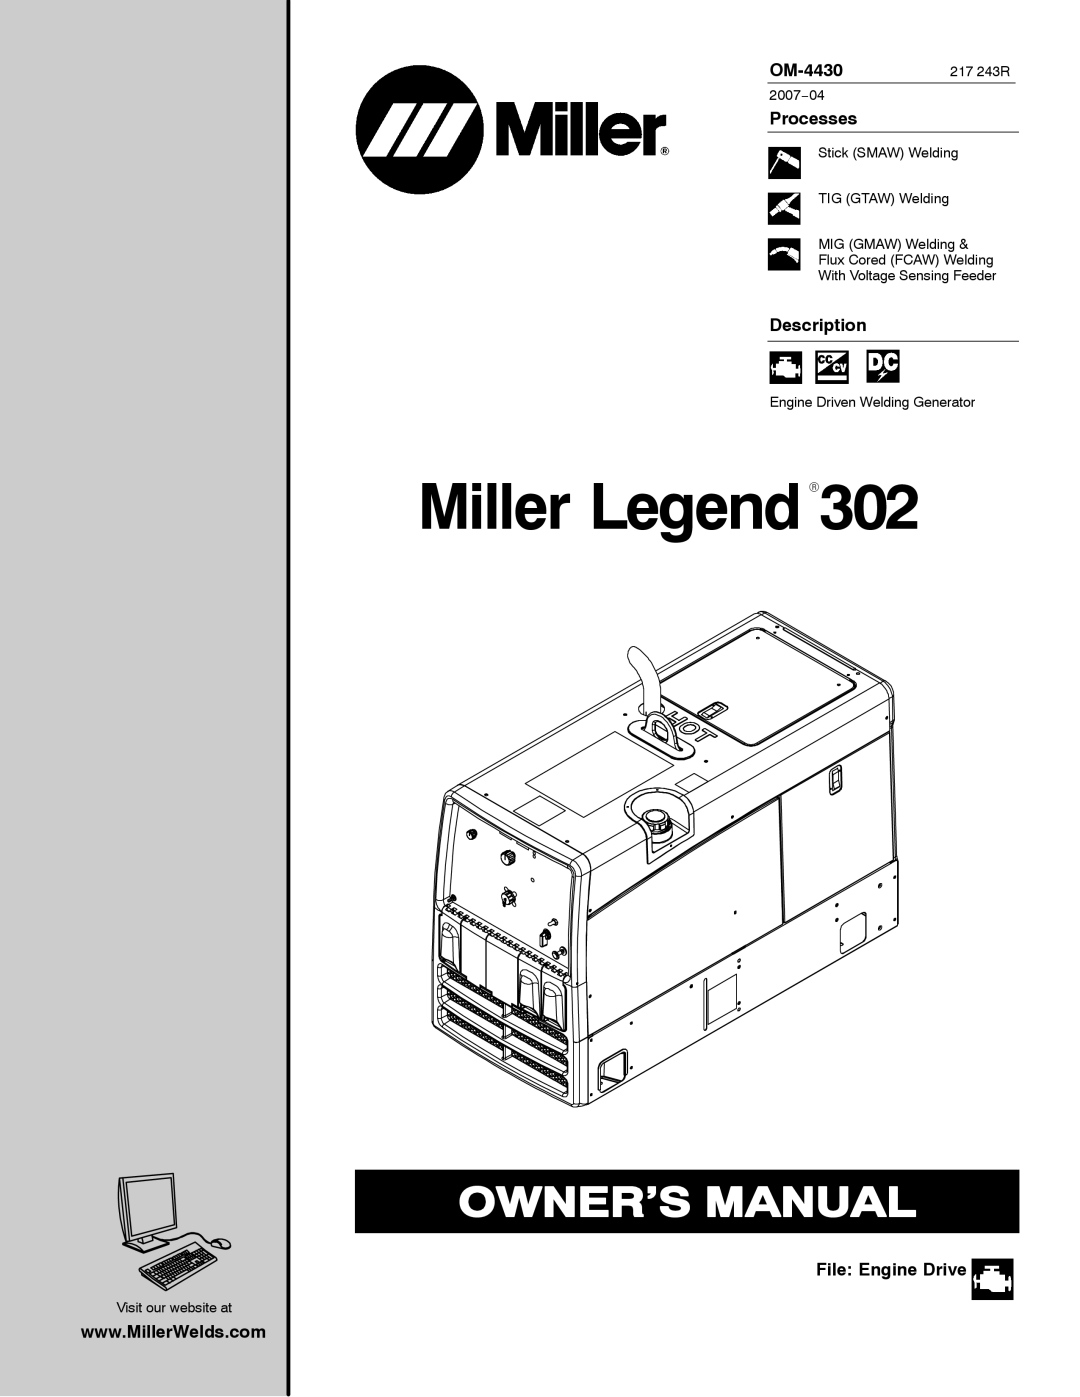
Processes
Stick (SMAW) Welding
TIG (GTAW) Welding
MIG (GMAW) Welding &
Flux Cored (FCAW) Welding
With Voltage Sensing Feeder
Description
Engine Driven Welding Generator
Miller LegendR302